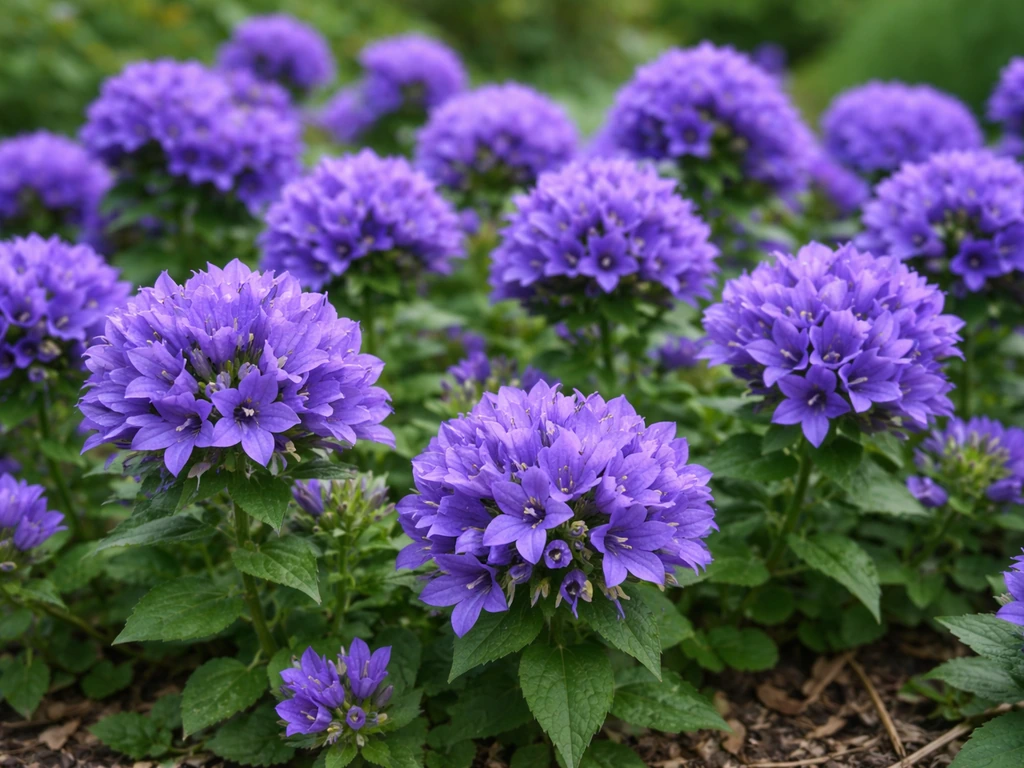
Clustered bellflower (Campanula glomerata) grows from seed into striking, upright perennial clumps that reach anywhere from 8 to 35 inches tall and come back year after year with very little fuss. The trick is surface sowing the seeds (they need light to germinate), keeping them around 68–72°F, and giving the plants a sunny spot with genuinely well-drained soil. Get those three things right and you will have dense, ball-shaped clusters of deep violet-purple flowers by summer, with almost no drama along the way.
How to Grow Clustered Bellflower From Seed to Clumps
Marcus Holloway
30 Jun 2026
What exactly is clustered bellflower and what does it need?
Before you sow a single seed, it helps to know what you are actually growing. Campanula glomerata is an upright perennial with a very distinctive flower arrangement: tight, rounded clusters (called glomerules) packed at the tops of the stems, with smaller clusters also tucked into the upper leaf axils further down. That stacked, globe-on-a-stick look is your best ID clue. The common name 'clustered bellflower' refers directly to this habit, and it separates it from the sprawling or single-flowered campanulas you might spot in rock gardens or shade beds.
In terms of what it wants to thrive, the requirements are pretty straightforward. It prefers full sun to part shade, average to medium moisture, and soil that drains well. It is not a bog plant and it is not a drought-lover either. Think 'reliably moist but never sitting in water.' As a bonus, bees absolutely love the flowers, so you will get plenty of pollinator activity when it blooms. It is genuinely one of the more beginner-friendly perennials once you get past the slightly fiddly germination stage.
Picking the right spot and getting the soil ready
Site selection matters more than most beginners expect. Clustered bellflower will bloom best in full sun, but it tolerates light shade, especially in hotter climates where afternoon shade can prevent stress. What it will not tolerate is heavy, waterlogged soil. Poor drainage is probably the single most common reason these plants look miserable or fail to establish, so spend a bit of time on soil prep before you plant anything.
For most garden beds, work the soil to about 12 inches deep and mix in a generous amount of organic matter: compost, aged bark fines, or well-rotted manure all work. If your soil is clay-heavy, add coarse grit or perlite (roughly a 20–30% mix by volume) to open up the structure. The goal is a soil that holds some moisture but lets excess water drain away within an hour of heavy rain. If you dig a hole, fill it with water, and it is still sitting there four hours later, you have a drainage problem worth solving before you plant.
Raised beds or gently sloped borders are naturally better-drained and are worth considering if your garden sits flat or collects water. Avoid planting at the bottom of a slope or near downspouts where water pools. Average, well-drained garden soil with moderate fertility is genuinely the sweet spot here. You do not need to enrich heavily, and very fertile soils can actually push lush foliage at the expense of flowers.
Starting from seed: indoors vs. direct sowing
You have two solid routes to germination, and each has a best-use case. Starting indoors gives you more control and a head start on the season. Direct sowing is simpler and works well if your spring weather is reliable. Here is how to think about each one.
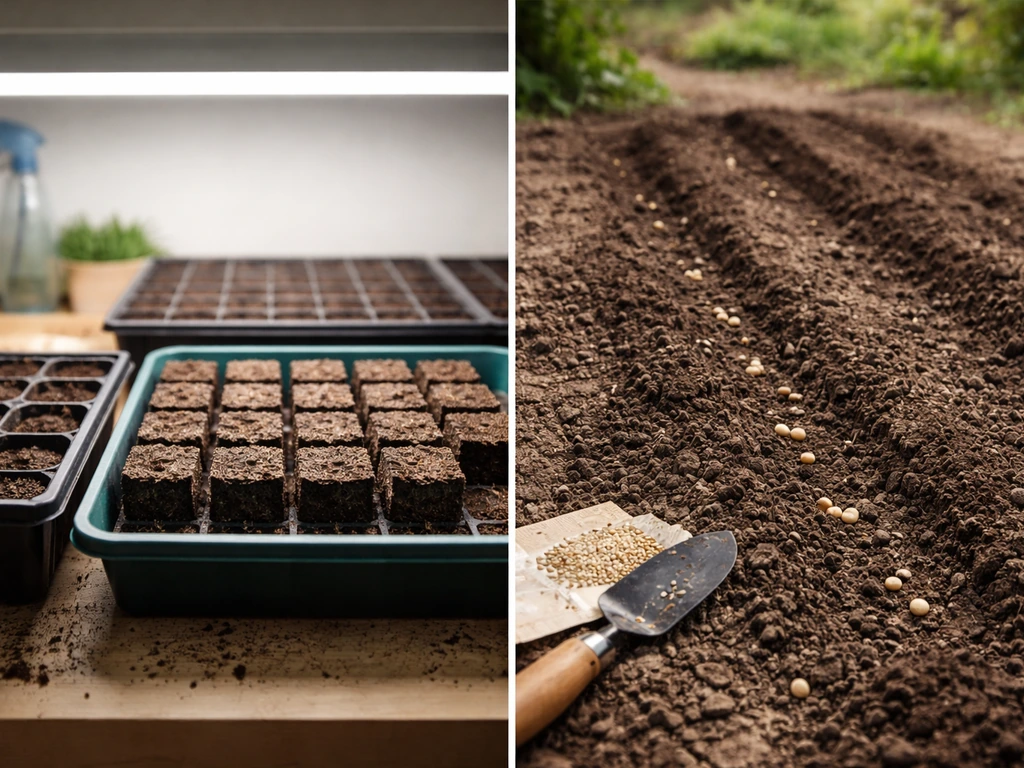
Starting seeds indoors
Sow indoors 8 to 10 weeks before your average last frost date. In most of the northern US that puts you somewhere between late January and mid-March. Use a standard seed-starting mix in shallow trays or cell packs. Moisten the mix thoroughly before you sow, because you want the growing medium damp but not dripping.
The critical step is this: do not bury the seeds. Campanula glomerata is a light germinator, meaning the seeds need exposure to light to trigger sprouting. Press them gently onto the surface of the mix and leave them uncovered, or at most dust the thinnest imaginable layer of fine vermiculite over them just to help retain moisture around the seed. Covering them with potting mix, even shallowly, can prevent germination entirely.
Keep the tray at 68–72°F (20–22°C) and place it under a grow light or on a bright windowsill. A clear plastic dome or plastic wrap over the tray helps hold humidity while you wait. Germination can take anywhere from 1 to 2 weeks at ideal temperatures, but campanulas are known to be slow and uneven germinators, and some seeds in a tray may take up to 4 to 8 weeks or longer. Do not give up on a tray that looks empty at week two. Keep it moist and watch.
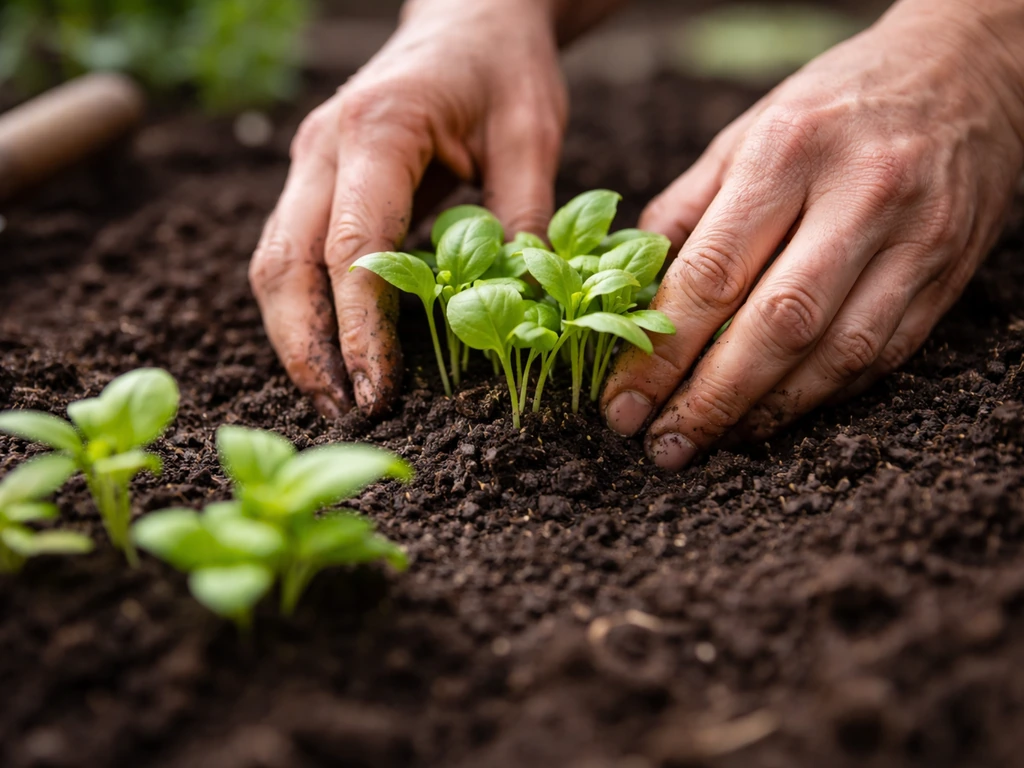
Once seedlings are up, remove the cover and make sure they get plenty of light: at least 14 to 16 hours of bright light per day under grow lights, or the sunniest window you have. This is where most indoor-start failures happen. Low light produces tall, floppy seedlings that never establish well outdoors. If stems are stretching toward the light source and flopping over, move the lights closer or switch to a window with more direct sun. Transplant seedlings outdoors after your last frost, once they have a few sets of true leaves.
Direct sowing outdoors
Direct sowing works best in late winter or early spring, when the ground can still experience cool spells. A professional Campanula greenhouse culture sheet (Sakata) gives an outdoor timing strategy for sowing “9, 10 weeks prior to the average last…” to help plan when to sow Direct sowing works best in late winter or early spring. Some seed suppliers suggest sowing in winter and letting natural freeze-thaw cycles help break any light dormancy in the seeds. In practice, surface sowing onto a prepared bed in early spring (around the time of your last frost or just before) and then keeping the area consistently moist is usually enough. Cold wet conditions can actually improve germination for some campanula populations, so an early cool sow is often better than waiting for warm weather.
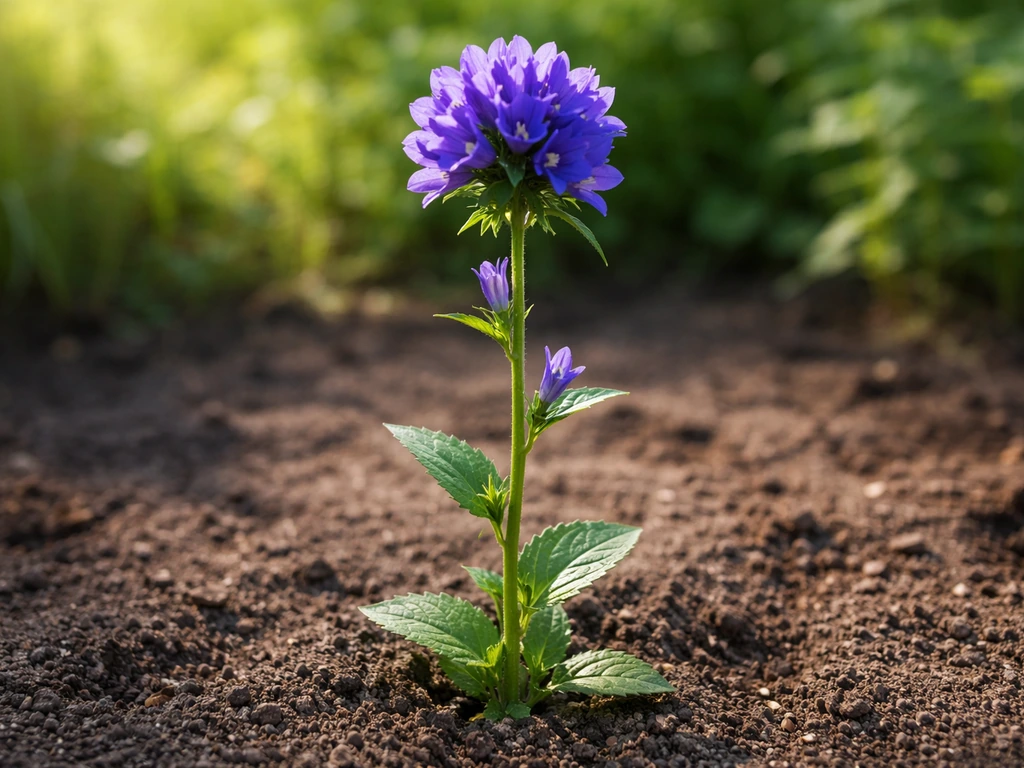
Prepare the outdoor bed by raking it to a fine, even surface with no large clumps or debris. Broadcast the seeds thinly and press them in lightly with your palm or a flat board so they make contact with the soil but stay at or very near the surface. Do not rake them in. Water gently with a fine spray and keep the bed from drying out until germination. Direct-sown plants will typically not bloom in their first year, while plants started indoors and transplanted out will often show at least some flowers by late summer of year one.
Sowing depth, spacing, and protecting the crown
Spacing for clumps rather than individual plants changes how you approach the bed. If you want that dense, naturalistic look where a group of plants merge into one impressive cluster, aim for plants spaced about 12 to 18 inches apart. They will spread slowly over years and fill in gaps. Wider spacing (closer to 18 inches) is smarter if you plan to let them multiply, since established clumps do spread via rhizomes.
When transplanting indoor-started seedlings, plant at exactly the same depth they were sitting in the pot. The crown, which is the point where the stem meets the root system, should sit at or just slightly above soil level. Burying the crown too deeply is a common mistake that leads to crown rot, especially in heavier soils or wet winters. Firm the soil gently around the roots but do not pack it tightly against the stem.
For direct-sown seedlings that have germinated in a cluster, thin them once they reach about 2 to 3 inches tall. Pull or snip the weakest seedlings to maintain that 12 to 18 inch spacing. It feels brutal to remove seedlings you waited weeks for, but overcrowded plants compete for nutrients and air circulation, and you will get far better clumps from fewer, well-spaced plants.
Watering, feeding, and light through the growing season
Once established, clustered bellflower needs consistently moderate moisture. Aim to keep the soil evenly moist rather than swinging between soaking wet and bone dry. In Hawaii, focus on choosing the right sun exposure and keeping the soil well-drained so tuberose bulbs can establish successfully tuberose in Hawaii. In most temperate climates with average rainfall, established plants may need supplemental watering only during dry spells of a week or more. Water at the base of the plant rather than overhead to reduce the risk of fungal issues.
What 'too wet' looks like in practice: leaves turning yellow or developing a slightly translucent, water-soaked appearance, stems going soft near the base, or a plant that seems to be melting from the center. If you see these signs, ease off watering and check that drainage is actually working. Standing water around the crown for more than a day or two is a genuine problem and one of the most reliable ways to kill an otherwise healthy plant.
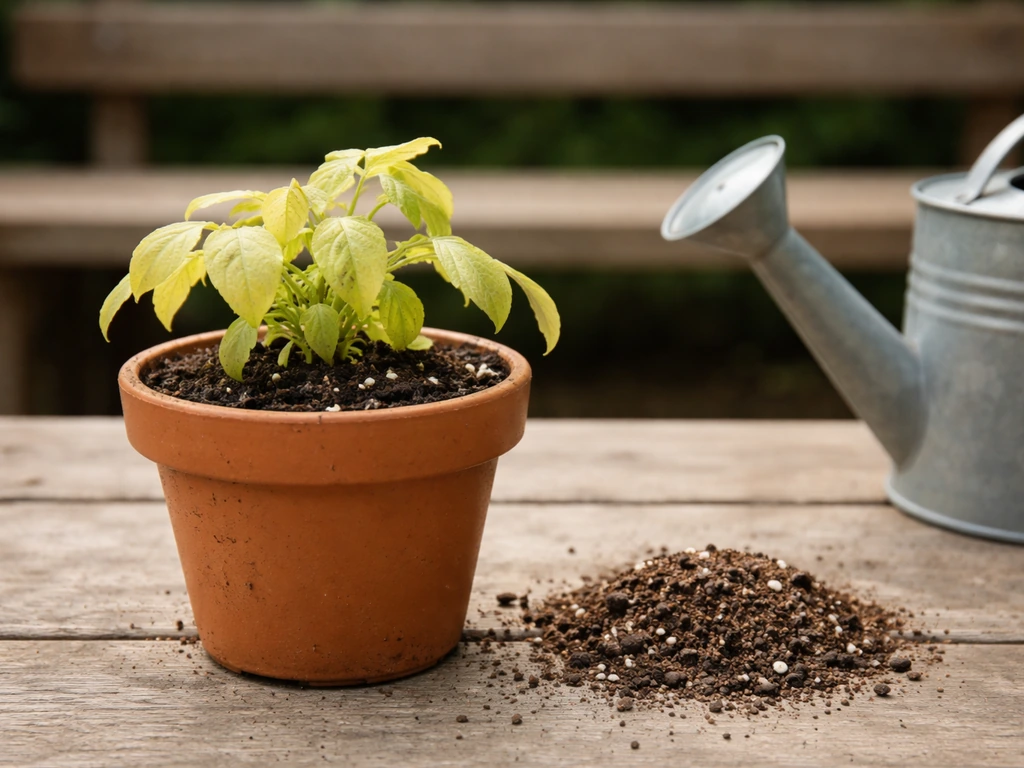
For feeding, clustered bellflower is not a heavy feeder. A balanced, slow-release granular fertilizer worked into the soil at planting (or top-dressed in early spring each year) is usually sufficient. If you started seeds indoors, begin feeding seedlings once they are 3 to 4 weeks old with a balanced starter solution at half the recommended strength. Over-fertilizing with high-nitrogen products pushes leafy growth at the expense of flowers, so resist the urge to keep feeding through summer. If your soil was well-prepared with compost at the start, you may not need additional fertilizer at all.
Light is non-negotiable for good flowering. A minimum of six hours of direct sun per day is ideal. Plants in shadier spots will grow but tend to produce fewer flowers and may flop over. If your plant is leafy, tall, and bloom-shy, insufficient light is the first thing to suspect.
Keeping clumps tidy: thinning, deadheading, and managing spread
Deadheading spent flower clusters extends the blooming season and prevents the plant from self-seeding more than you want. Once the terminal cluster at the top of a stem finishes flowering, cut the stem back to just above a lower leaf axil where you can see a bud forming. This encourages the axillary clusters lower on the stem to continue developing. At the end of the season, once all stems have finished, cut the whole plant back to near the base.
Clustered bellflower spreads via rhizomes (underground stems) and can expand beyond its original spot over several years. This is usually a good thing, since the spreading habit is what creates those full, lush clumps. But if a clump starts looking sparse in the center, or if it is creeping into areas where you do not want it, that is your cue to divide. More on that in the winter care section below.
During the growing season, you can also do light thinning inside a dense clump by removing a few stems at the base if the center is getting very crowded. This improves airflow and reduces the risk of fungal problems in humid summers. Do not be too aggressive with this mid-season; just remove visibly weak or crossed stems and let the strong ones do their thing.
Troubleshooting: when things go wrong
Most problems with clustered bellflower trace back to a small handful of causes. Here is how to diagnose and fix the most common ones.
| Problem | Most likely cause | Fix |
|---|---|---|
| Seeds not germinating | Seeds were covered with soil or medium blocking light | Re-sow on the surface; do not cover; ensure temperature is 68–72°F |
| Very slow/uneven germination | Normal variation or slightly cool temperatures | Be patient (up to 8–10 weeks); maintain consistent warmth and moisture |
| Leggy, floppy seedlings | Insufficient light indoors | Move under grow lights 2–3 inches from bulb, or to sunniest window; increase light hours to 14–16 per day |
| Seedlings collapsing at soil level | Damping off (fungal) from overwatering or poor air circulation | Reduce watering, improve air circulation with a small fan; use sterile seed-starting mix |
| Plant not flowering | Shade, over-fertilizing, or plant too young (year 1 from direct sow) | Move to sunnier spot; reduce nitrogen feeding; wait for second year from direct sow |
| Yellowing leaves, soft base | Overwatering or poor drainage | Cut back on water; check and improve drainage; avoid crown burial |
| Clump going sparse in center | Natural aging; needs division | Divide in spring or autumn every 3–5 years to rejuvenate |
Damping off deserves a special mention because it is so discouraging for beginners. It is a fungal issue that causes seedlings to suddenly collapse and die right at the soil line, usually in trays that are too wet and have poor air movement. Prevention is straightforward: use a sterile seed-starting mix, water from the bottom when possible, do not let trays sit in standing water, and run a small fan nearby to keep air moving around seedlings. Once damping off hits a tray it spreads quickly, so remove affected seedlings immediately and let the medium dry out slightly.
End of season: collecting seeds, winter care, and dividing clumps
If you want to collect seeds for next year, let a few flower clusters fully mature and dry on the plant after blooming. The seed capsules will turn brown and papery; at that point, cut the stems and let the capsules finish drying in a paper bag indoors. Store the seeds in a cool, dry place in a labeled envelope until your next sowing season. Keep in mind that seeds from named cultivars may not come true to the parent plant, so if you are growing a specific color form, division is a more reliable way to propagate it. If you are using a forget-me-not grow kit, the seed-starting steps are similar: keep the medium damp but not soaked and protect the seeds from getting buried too deep forget-me-not grow kit instructions.
For winter care, clustered bellflower is a hardy perennial that handles cold reasonably well, but the crown is its most vulnerable point in wet winters. After the foliage dies back in autumn, cut the plant to just a few inches above the ground and add a light mulch of straw or dry leaves over the crown, especially in climates with freeze-thaw cycles or heavy winter rain. The goal is to keep the crown from sitting in cold, saturated soil for extended periods. Remove the mulch in early spring as new growth emerges.
Division is the most reliable and rewarding way to maintain and expand your clumps. Divide in spring when new growth is just emerging, or in early autumn at least six weeks before your first frost. Dig up the whole clump, shake off excess soil, and use a sharp spade or garden fork to split it into sections, each with a good chunk of roots and a few shoots. Replant the divisions at the same soil depth as the original, water them in well, and keep them moist for the first few weeks. Dividing every 3 to 5 years keeps clumps vigorous, prevents them from going sparse in the middle, and gives you free plants to expand your border or share with neighbors.
If you enjoy growing cottage-garden perennials from seed, the same patient surface-sowing technique used here applies well to other flowers in this style of growing. If you are specifically trying to learn how to grow blanket flowers, the same basic idea applies: start with light and well-prepped conditions so seeds can germinate reliably. The key lesson that transfers across all of them is this: matching the plant's actual germination needs (light, temperature, moisture) to your setup before you sow is what separates a tray full of healthy seedlings from a tray full of disappointment.
FAQ
Why aren’t my clustered bellflower seeds germinating even though the soil stays moist?
They are surface-sown, so do not expect them to pop up if the seeds get buried even slightly. For indoor starts, keep the seeds pressed to the surface and uncovered, or use only a dusting of the thinnest vermiculite layer. For direct sowing, rake the bed to a fine, even surface and press seeds in lightly with your palm, then avoid covering with more soil.
Can I start clustered bellflower indoors and transplant right away, or do I need to wait?
Yes, but time matters. Transplant only after you have a few sets of true leaves and after your last frost, and harden them off for about a week by gradually increasing sun and outdoor time. If you transplant too early or skip hardening, stressed seedlings often stall and may not flower until the following year.
What should I do if only some seeds germinate and the rest look stalled?
If only a few show up, you still need to maintain light contact and moisture. Keep the tray at 68–72°F and under bright light, since germination can take 1 to 2 weeks at best but sometimes 4 to 8 weeks. If nothing appears after 8 weeks, check that the seeds were not covered, then restart with fresh seed rather than repeatedly rewatering and risking damping off.
How often should I water clustered bellflower, and how do I tell if I’m overdoing it?
Watering changes by stage. After sowing, keep the surface evenly moist (mist or fine spray) but never waterlogged, since the crown is vulnerable later. Once established, water at the base during dry spells of a week or more, aiming to keep soil moderately moist, not saturated.
My plants are tall and leafy, but they barely flower, what’s the most likely reason?
A common cause of poor flowering is not enough sun. Aim for at least 6 hours of direct sun, and if plants are leafy and tall but bloom-shy, increase light before adding more fertilizer. Also check spacing, if plants are overcrowded they compete and can flop while producing fewer terminal flower clusters.
How do I deadhead clustered bellflower correctly to get a longer bloom period?
Cut spent top clusters and trim the stem back just above a lower leaf axil with a visible bud, this encourages additional axillary clusters. If you cut too low or remove green tissue that holds buds, you reduce the chance of follow-on blooms.
Should I fertilize clustered bellflower often during the growing season?
Overfeeding is a frequent issue. Use a balanced slow-release fertilizer at planting or top-dress in early spring, then avoid high-nitrogen supplements through summer. If seedlings were started indoors, feed only after they have been growing for a few weeks, and use half strength at most.
How far apart should I plant clustered bellflower if I want dense clumps?
For clumps, space plants about 12 to 18 inches apart, with closer spacing for a quicker filled-in look. If you plan to let them spread more and you want fewer divisions later, lean toward 18 inches. Wider spacing also reduces the chance of crowded centers where airflow is poor.
Do I really need to thin seedlings, and when is the best time?
A little thinning is normal, but use it strategically. Thin direct-sown seedlings once they are about 2 to 3 inches tall, removing weaker ones to maintain the target spacing. If you thin too late, you get weaker plants and a crowded bed that is harder to manage.
When and how should I divide clustered bellflower, and will it bloom sooner after dividing?
Yes, but do it during mild periods and keep timing cautious. Divide in spring just as new growth emerges, or in early autumn at least 6 weeks before your first frost. Replant at the same depth, water in well, and keep evenly moist for the first few weeks, too-wet or deeply planted crowns tend to fail.
What’s the fastest way to fix drainage problems if clustered bellflower keeps dying back?
Not really. Clustered bellflower is not a bog plant, so if your soil stays wet after rain, seeds may rot and crowns can suffer over winter. If drainage is poor, switch to a raised bed or amend with compost plus coarse grit/perlite, and test drainage by filling a hole with water and watching how long it takes to drain.
Should I mulch clustered bellflower in winter, and can mulch cause problems?
Choose mulch carefully. In winter, a light layer of straw or dry leaves over the crown can protect against freeze-thaw and heavy rain, but do not leave thick, damp mulch sitting on the crown all winter. Remove mulch in early spring as new shoots begin so crowns do not stay cool and wet too long.
Next Article
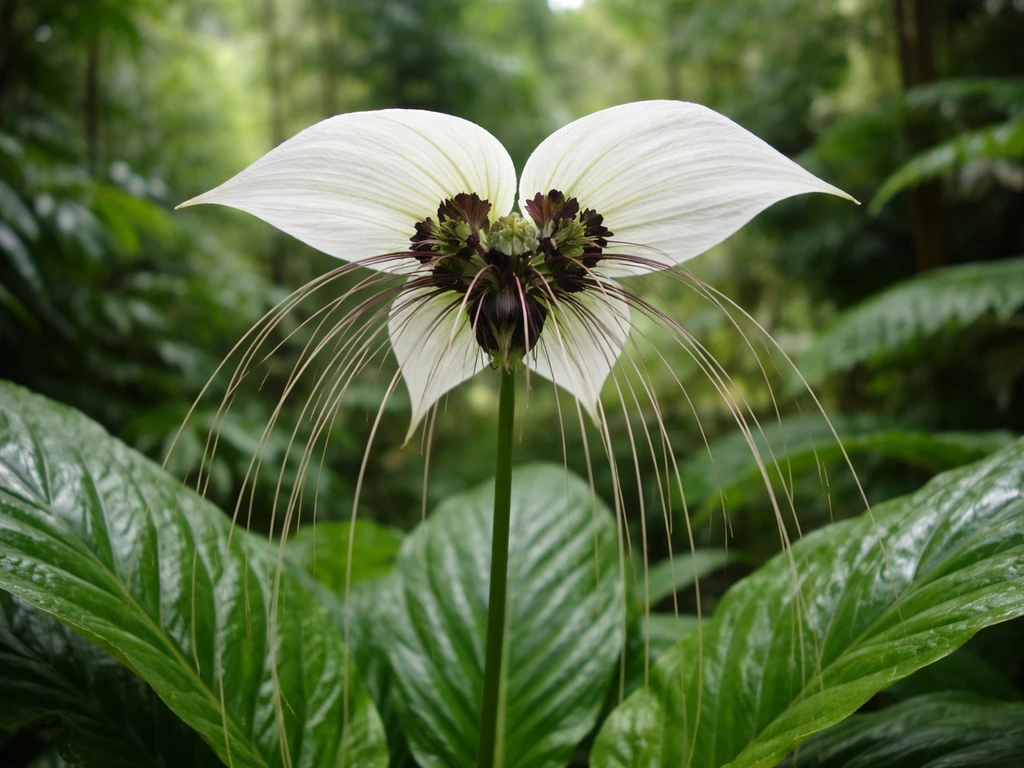
How to Grow White Bat Flower From Seed to Blooms
Step-by-step guide to grow white bat flower from seed to blooms, including timing, sowing, care, and fixes for no sprout