You can grow chrysanthemum from dried flowers, but only if what you have contains actual seed. If you want to try this route, focus on rescuing viable seed first, because that is what makes growing chrysanthemum from a bouquet possible. The first thing to figure out is whether your dried material is a seed head (with tiny dark achenes inside the papery center disc) or just dried bouquet stems and petals with no seed at all. Once you know that, the path forward is clear: extract the seed, sow it indoors about two months before your last frost, keep the surface moist and brightly lit, and grow your seedlings through to transplant. It takes patience, but it works.
How to Grow Chrysanthemum From Dried Flowers: Step-by-Step
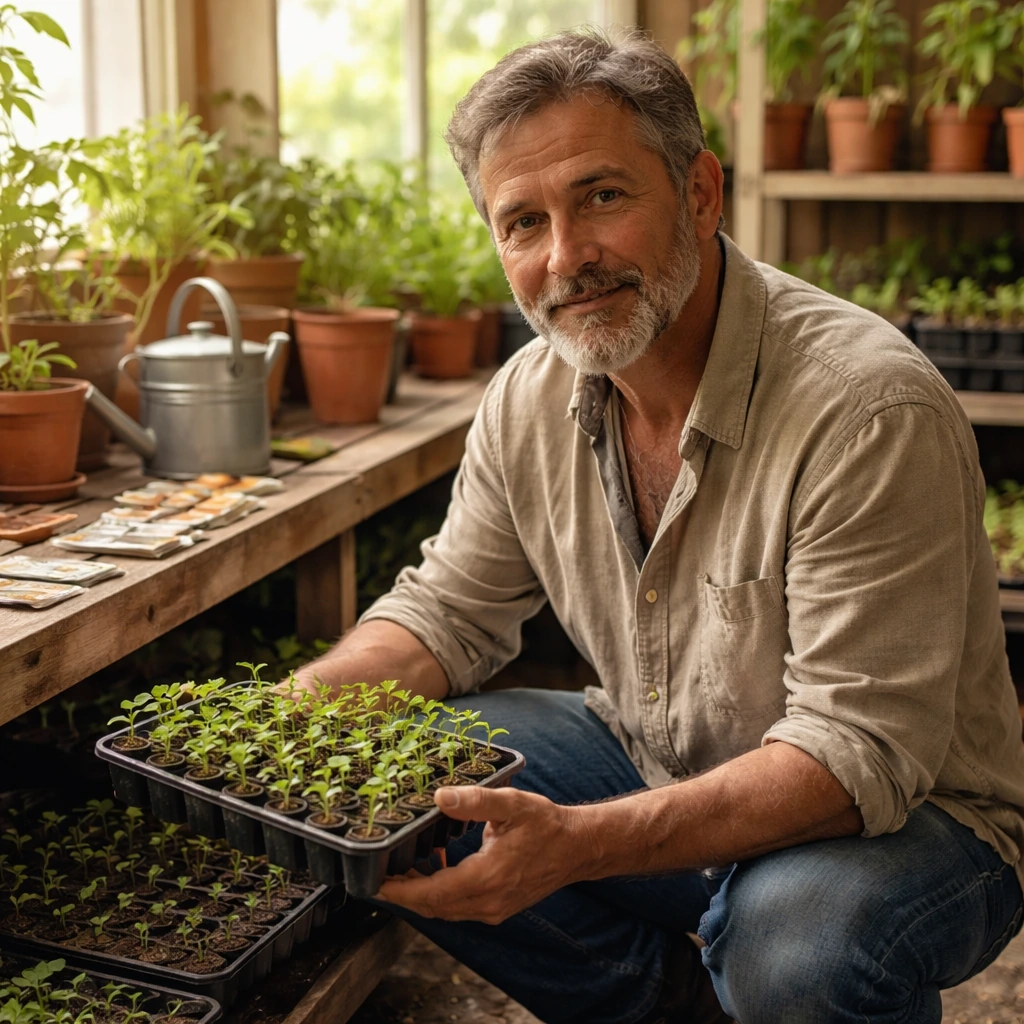
Marcus Holloway
3 Jul 2026
What kind of dried chrysanthemum do you actually have?

This is the single most important question to answer before you do anything else. "Dried chrysanthemum" can mean two completely different things, and your propagation options depend entirely on which one you're holding.
The first type is a dried seed head: the central disc of the flower has dried to a papery, crumbly structure, and if you break it apart gently you'll find tiny, narrow, dark seeds (botanically called achenes) nestled in the debris. These seeds are what you want. The second type is dried bouquet or florist material: this is all woody stem, papery petals, and nothing in the center that resembles a seed-bearing structure. Florist chrysanthemums are usually cut before they've been pollinated and set seed, so even if the flower looked intact when it was fresh, there's typically no viable seed inside.
Here's how to tell them apart quickly. Crumble the center disc between your fingers. If it breaks into dry, grainy bits and you spot tiny slender dark particles (each roughly 2–3 mm), you have seeds worth trying. If the center is either completely absent, or hard, woody, and hollow with nothing inside, you're looking at decorative dried material with no seed. In that case, if the stems are not completely desiccated, you might be able to attempt rooting a cutting instead. Gardeners have had success rooting florist chrysanthemum stems in sterile perlite or vermiculite, though results are inconsistent and the stems need to be relatively fresh rather than fully dried out.
How chrysanthemum actually reproduces from dried material
Chrysanthemum has three main propagation routes: seeds, cuttings, and division of established plants. When you're working from dried flowers, seeds are the realistic option for most people. Cuttings are more reliable for preserving a specific cultivar (commercial growers use cuttings almost exclusively for that reason), but a fully dried stem is not going to root. If your stem still has a little flexibility and wasn't cut more than a week or two ago, you can try it in sterile rooting mix. But if it's brittle and bone dry, cuttings are off the table and seed is your only route.
One realistic caveat about seed from dried flowers: chrysanthemum, especially the garden mum types (Chrysanthemum morifolium), can exhibit self-incompatibility, meaning a flower won't reliably set seed from its own pollen. If you want the bigger picture on cultivation and care, see our guide on how to grow chrysanthemum morifolium garden mum types (Chrysanthemum morifolium). If your dried flower came from a plant that was grown in isolation or was a hybrid variety, the seeds inside may be sparse or non-viable even if the seed head looks promising. Set your expectations accordingly and sow more seed than you think you need.
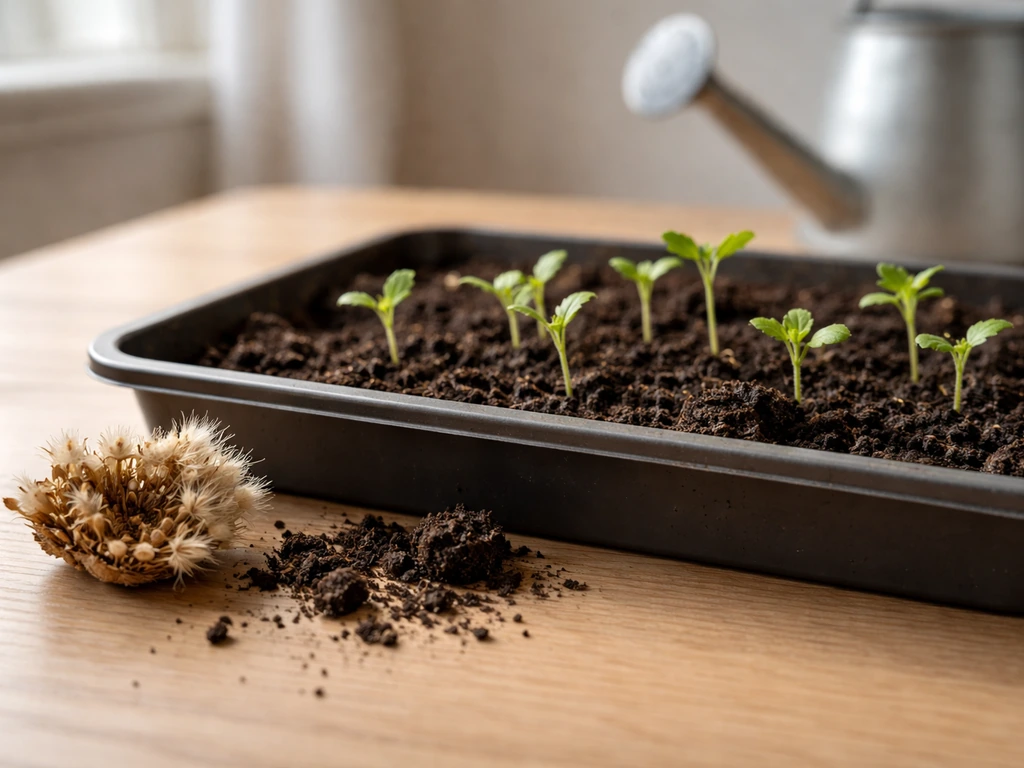
How to rescue viable seed from dried chrysanthemum flowers

Assuming you've identified a real seed head, here's how to get usable seed out of it.
- Work over a clean sheet of white paper so you can see what you're doing. Break the dried center disc apart gently with your fingers.
- You'll see a mix of chaff (dry bract material, spent petals) and seeds. The seeds are small, narrow, slightly curved, and usually tan to dark brown or nearly black.
- Separate seeds from chaff by blowing gently across the paper. Chaff is lighter and will drift; seeds stay put.
- Do a quick viability check: drop the seeds into a small glass of water and wait 10 minutes. Seeds that sink are more likely to be viable; seeds that float are often empty or compromised. This isn't foolproof, but it filters out the obvious duds.
- Let any seeds you tested dry completely on the paper before sowing or storing.
- If you're not sowing immediately, store seeds in a small paper envelope inside a sealed container in the fridge (around 35–40°F / 2–4°C). Heat and humidity fluctuations destroy viability fast, so avoid kitchen counters or windowsills.
One honest note: seed collected from hybrid chrysanthemums (which covers most garden center and florist varieties) will not produce plants identical to the parent. You might get a lovely mix of colors and forms, or you might get something that looks quite different. If the dried flower came from an open-pollinated or species-type chrysanthemum, you'll have better odds of getting something similar to what you started with.
When to start your seeds: timing by climate and season
Chrysanthemum needs to be started at the right time so seedlings have enough of the season ahead of them to establish and bloom. Sow too late and you'll get plants without flowers. The standard guidance from extension sources and commercial growers is to sow seeds indoors at least two months before your last spring frost date, or alternatively to start them indoors over winter for spring transplanting.
| Climate situation | When to sow indoors | When to transplant outdoors |
|---|---|---|
| Cold climates (USDA zones 4–6, last frost April–May) | Late February to mid-March | After last frost, late May to early June |
| Moderate climates (zones 7–8, last frost March–April) | January to early February | Late March to mid-April |
| Mild/warm climates (zones 9–10, little to no frost) | October–November for winter sowing | Late winter to early spring |
| Outdoor direct sowing (mild summers only) | After last frost once soil reaches 60°F / 15°C | Direct sow in place, thin later |
If you're reading this in early summer (say, June or July in a cold climate) and just collected seed, you can still start now for late-season transplants, but blooming that same year is a stretch. In that case, treat the plants as a long-term investment: overwinter them where hardy and expect your best bloom the following season. If you're in a mild climate, you have more flexibility.
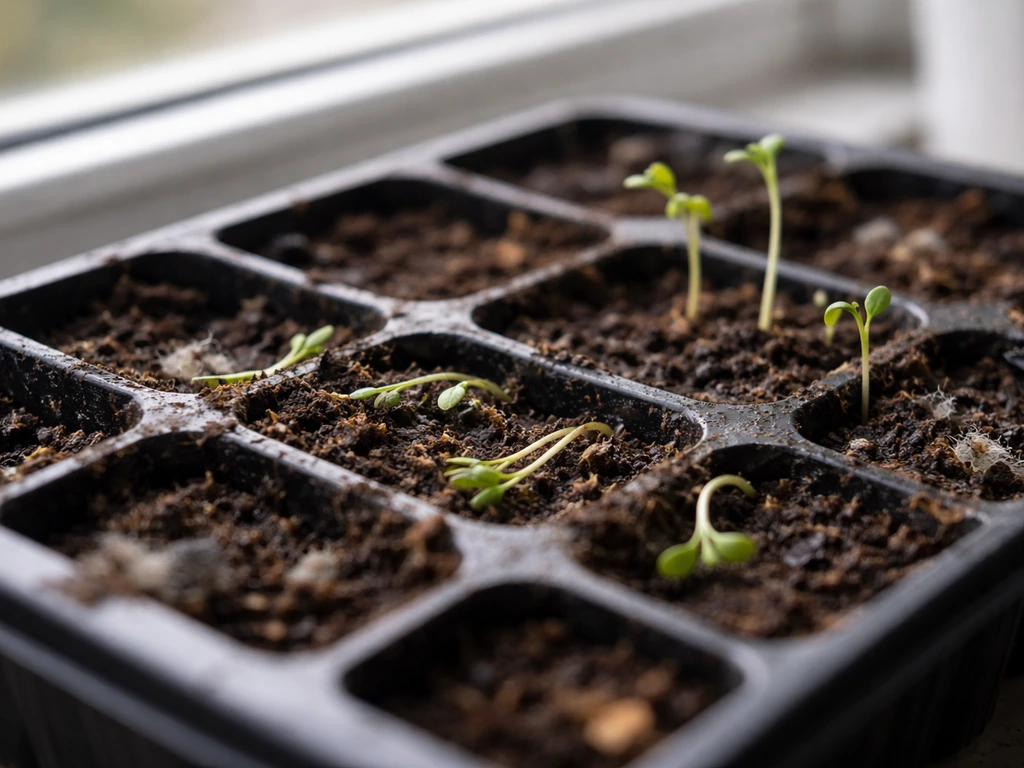
Sowing step by step: soil, light, and getting seeds to germinate
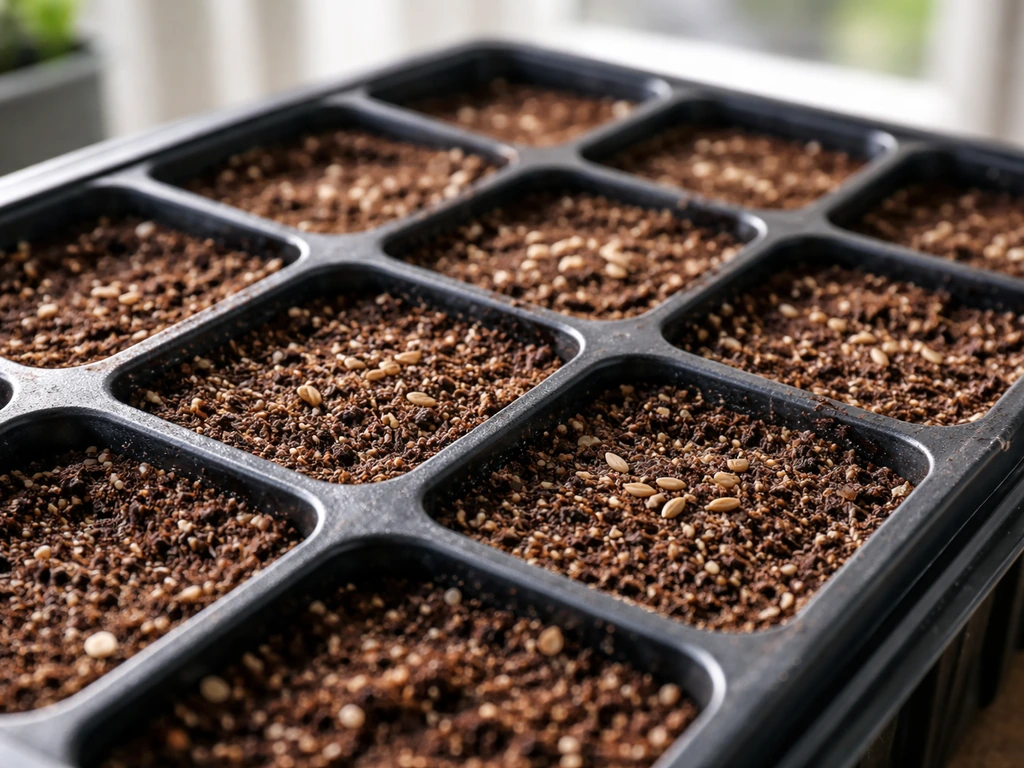
Chrysanthemum seed is small and needs light to germinate properly, so your sowing technique matters more than it does for bigger, deeper-sown seeds. Here's the exact process.
- Fill a seed tray or small pots with fresh, sterile seed-starting mix. Do not use garden soil or old potting compost; both can carry damping-off pathogens that wipe out seedlings fast.
- Water the mix thoroughly before sowing and let it drain. You want it evenly moist but not waterlogged.
- Scatter seeds thinly on the surface. Don't bury them. Chrysanthemum seeds need light to germinate, so press them gently into the surface of the mix with a flat piece of cardboard or the back of a spoon so they make good contact with the soil, then leave them uncovered or just dust a very fine layer (about 1 mm) of vermiculite over them.
- Cover the tray loosely with a clear plastic lid or wrap to hold humidity, then place it under grow lights or in a bright south-facing window.
- Keep soil temperature between 68–72°F (20–22°C). A heat mat helps if your space is cool.
- Germination typically takes 10–14 days at the right temperature. Check daily and mist lightly if the surface starts to dry.
- As soon as seedlings emerge, remove the plastic cover and ensure they get at least 12–14 hours of bright light per day. Insufficient light at this stage is the number one cause of leggy, weak seedlings.
Caring for seedlings until they're ready to move outside
Once you have sprouts, the goal shifts to keeping them sturdy without overwatering them. This is the stage where most beginners run into trouble.
Watering
Water from the bottom when possible: set the tray in a shallow dish of water and let the mix absorb moisture upward for about 20 minutes, then drain. This keeps the soil surface drier and dramatically reduces damping-off risk. If you water from above, do it early in the day so the surface can dry before evening. Wet surfaces overnight invite the fungal pathogens that cause damping-off, which can collapse an entire tray of seedlings seemingly overnight.
Thinning
Once seedlings show their first true leaves (the second set of leaves after the initial seed leaves), thin to one seedling per cell or roughly 2 inches apart in a tray. Crowded seedlings compete for light and airflow and are much more vulnerable to disease. Snip unwanted seedlings at soil level with scissors rather than pulling, so you don't disturb the roots of the ones you're keeping.
Feeding
Start feeding lightly about three weeks after germination, once seedlings have two or three sets of true leaves. A half-strength balanced liquid fertilizer (something like 10-10-10) once a week is plenty at this stage. Don't push nitrogen too hard or you'll get soft, lush growth that struggles at transplant time.
Light and preventing legginess
Leggy, stretched seedlings are almost always a light problem. If your seedlings are reaching upward and flopping over, they need more light, not more water or fertilizer. Move them closer to a grow light (2–4 inches from a fluorescent or LED shop light works well) or give them more hours of direct sun. Weak, leggy growth before transplant is hard to recover from, so fix the light situation early.
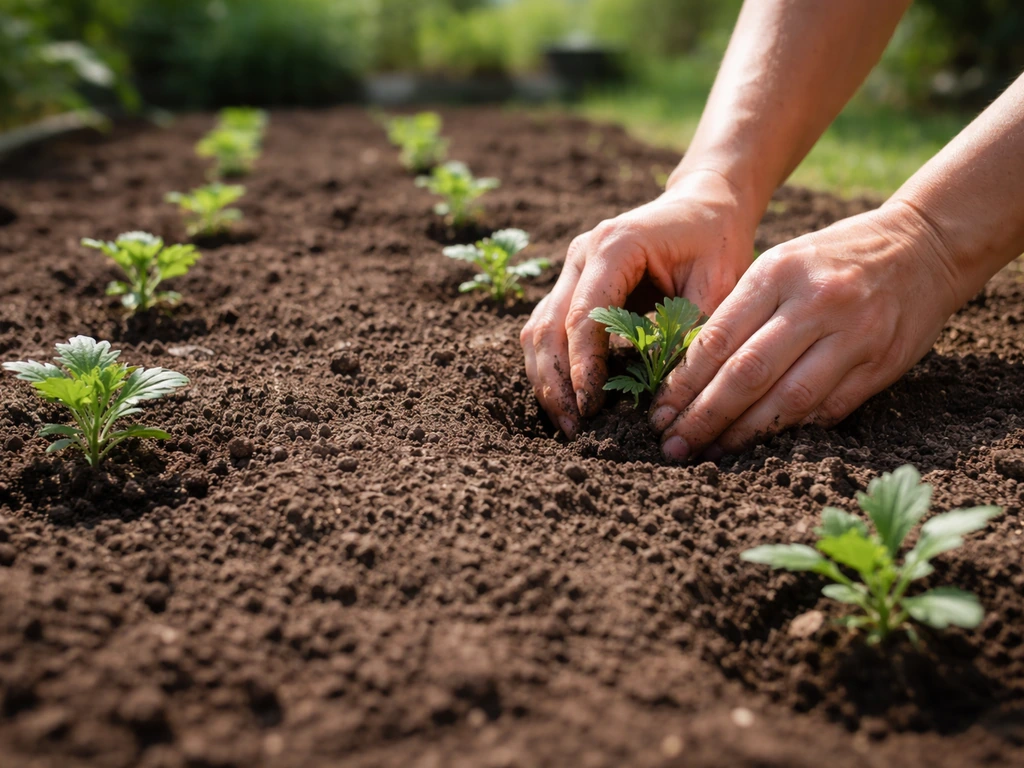
Transplanting, spacing, pinching, and growing to bloom
About a week before transplanting, start hardening off your seedlings. Set them outside in a sheltered, partially shaded spot for a few hours each day, gradually increasing their exposure to sun and wind over 7–10 days. Skipping this step leads to transplant shock, scorched leaves, and stunted plants.
Choose a planting spot with full sun (at least 6 hours per day) and well-drained soil. UC IPM also emphasizes planting chrysanthemums in rich soil with good drainage, including for containers, to avoid wet feet well-drained soil. Chrysanthemums hate wet feet. If your soil is heavy clay, mix in compost and consider raised beds or containers. Space plants 18–24 inches apart in beds to give them room and the airflow they need to stay healthy.
Water transplants in well and keep them consistently moist for the first couple of weeks while they establish roots. After that, let the top inch of soil dry out slightly between waterings. Always water at the base of the plant, not overhead, and do it in the morning.
Pinching for bushy plants
Pinching is what turns a single leggy stem into a full, bushy plant loaded with blooms. Once your transplants reach about 8 inches (20 cm) tall, pinch out the growing tip (the top inch or so of the main stem) with your fingers or sharp scissors. This forces the plant to branch. Continue pinching the tips of new side shoots every few weeks through early to mid-summer. Stop pinching around mid to late July (in most northern hemisphere temperate climates) so the plant has time to set buds and bloom in fall. Pinching after late July delays flowering and may mean you don't get blooms before frost.
Troubleshooting and what to realistically expect
Germination rates may disappoint you
Be prepared for patchy germination, especially from dried flowers that weren't stored under ideal conditions. Heat and humidity fluctuations degrade seed viability quickly. If your dried chrysanthemum sat in a vase or on a shelf at room temperature for months, some or all of the seed may be dead. Sow generously, at least two or three times more seed than you think you need, and don't give up until 14–18 days have passed at the correct temperature.
Damping-off
Damping-off is a fungal problem that makes seedlings suddenly collapse at soil level like they've been cut with a wire. It's almost always caused by wet surface conditions combined with poor airflow. Prevention is your only real tool: use fresh sterile seed-starting mix every time (never reuse old mix or use garden soil), water from below, keep air moving around your trays, and don't sow seeds too deeply or too thickly.
Pests and disease in established plants
Once plants are in the garden, the main issues to watch for are aphids, spider mites (especially in dry hot weather), powdery mildew, and chrysanthemum rust. Rust appears as pale spots on the upper leaf surface with orange or buff pustules on the undersides. Improve airflow, water at the base only, and remove affected leaves promptly. Preventive fungicide sprays every 7–10 days (and after heavy rain) can help once plants are established if rust or mildew has been a problem in your garden before.
Hybrid offspring won't match the parent plant
If your dried flower came from a named hybrid cultivar (which covers most florist mums and many garden center varieties), the seedlings you grow will not be true copies of the parent. The color, form, and size can vary significantly. That's not a failure, it's just how hybrid seed works. You might end up with something beautiful and completely different. If you want to reliably reproduce a specific cultivar, you'd need to take cuttings from the living plant, which is a separate process covered in guides on growing chrysanthemum from stem cuttings or from bouquet material.
Growing chrysanthemum from dried flowers is genuinely doable, and it's one of those satisfying projects that rewards a little patience and attention to the details. If you want the full India-specific plan for planting, timing, and care, follow a complete how to grow chrysanthemum in India guide growing chrysanthemum from dried flowers. The seed extraction, careful sowing, and pinching routine are all straightforward once you've done them once. Your first batch may be scrappy and unpredictable, and that's completely fine. Keep the best performers, note what worked, and next season you'll know exactly what you're doing.
FAQ
What if my dried chrysanthemum center looks like it has seeds, but nothing germinates?
Treat it as a viability problem first. Chrysanthemum seed can lose viability quickly when stored warm, so sow thicker than you want (about 3x). Also confirm you used a sterile seed-starting mix and kept the surface moist but not wet, since damping-off can kill seedlings before you notice. Germination that fails to start within 14 to 18 days usually means either dead seed or incorrect temperature/light conditions.
How do I know the right germination temperature for chrysanthemum seed from dried flowers?
Aim for a consistently cool-to-mild range rather than hot indoor temperatures, because heat spikes reduce germination. Keep the seed on the surface with light exposure, and use a clear humidity cover only briefly if needed, then vent daily to prevent fungal buildup. If your room runs very warm, a shaded windowsill or a cooler propagation shelf can make a noticeable difference.
Should I bury the extracted seeds or just press them into the soil?
Do not bury deep. Pressing or lightly covering with a very thin layer of mix (or leaving them essentially on the surface) is best for light-assisted germination. Deep sowing is a common reason for “no sprouts,” even when the seed is viable.
Can I use seeds harvested from the same dried flower head I’m planting, or do I need to clean them further?
Clean seed from the papery debris by gently breaking apart the seed head and picking out the slender dark achenes. Removing extra chaff helps you see what you’re sowing and reduces mold growth in the tray. Let the seed air-dry briefly before sowing if it feels tacky, but avoid long storage after extraction.
How long should I keep the seedlings under lights before transplanting?
Once they emerge, keep them on a consistent light schedule so they do not stretch. If you see leggy growth, move them closer to the light or increase daily light hours immediately, since fertilizer and watering will not fix weak stem development. A window alone is often not strong enough for leggy-prone seedlings.
What watering method is safest when starting chrysanthemum seed?
Bottom watering is the safest default. Let the mix absorb moisture for about 20 minutes, then drain so the tray is not sitting in water. If you must water from above, do it early in the day so the surface dries before night, and avoid misting so droplets do not pool at the crown.
When should I start thinning, and what happens if I leave seedlings crowded?
Thin as soon as you can identify sturdy plants, typically after true leaves appear. Leaving them crowded reduces airflow, increases disease risk, and causes taller, weaker stems that are harder to harden off. Snip at soil level to avoid tearing roots of neighboring seedlings.
Can I fertilize immediately after germination to boost growth?
No, start lightly later. Begin feeding around three weeks after germination when there are two to three sets of true leaves, using half-strength balanced fertilizer. Overfeeding, especially nitrogen, encourages soft growth that collapses or stalls when you transplant.
My seedlings died at the soil line, what should I change next time?
This is classic damping-off behavior. Switch to fresh sterile seed-starting mix, never reuse old mix, and ensure good airflow around the trays. Water from below and avoid keeping the surface wet overnight. Also avoid sowing too thickly, since dense moisture pockets promote fungal spread.
How do I handle self-incompatibility when trying to save seed from dried flowers?
Self-incompatibility means single-origin seeds may be sparse. Since you cannot control pollination after the fact, compensate by sowing more seed than you think you need and accept that some seeds will be non-viable. If you want consistent results in future seasons, collect seed from plants that had cross-pollination or from known sources.
Will the flowers match the original dried florist chrysanthemum?
Usually not. If the dried flower came from a hybrid cultivar, the seedlings will vary in color, form, and size. To reproduce the exact cultivar reliably, you need stem cuttings from a living plant, not seed.
What if my climate is too warm, and I collected seed in late summer?
You can still start seeds, but expect a lower chance of flowering the same year. Plan for overwintering as a long-term investment, then aim for blooms the following season. In mild climates, you may have more flexibility, but watch pinching timing so you do not delay bud set.
Do I need to pinch chrysanthemum seedlings grown from seed, or can I skip it?
Pinching is what creates a fuller, bloom-ready plant. If you skip it, you will often get fewer branches and fewer flowers. Pinch once the main plant reaches about 8 inches, then continue on new side shoots until mid to late summer so buds form on schedule.
How do I prevent rust or mildew once plants are in the garden?
Start with airflow and dry leaves. Plant in full sun with proper spacing, water at the base in the morning, and remove affected leaves promptly. If rust or powdery mildew was common in your yard before, consider preventive protection on a schedule after plants establish, not only after symptoms appear.
Next Article
How to Grow Marigold From Petals: What Works and What Fails
Learn why marigold petals rarely grow, plus seed and cutting steps, troubleshooting, and next-season tips for blooms.