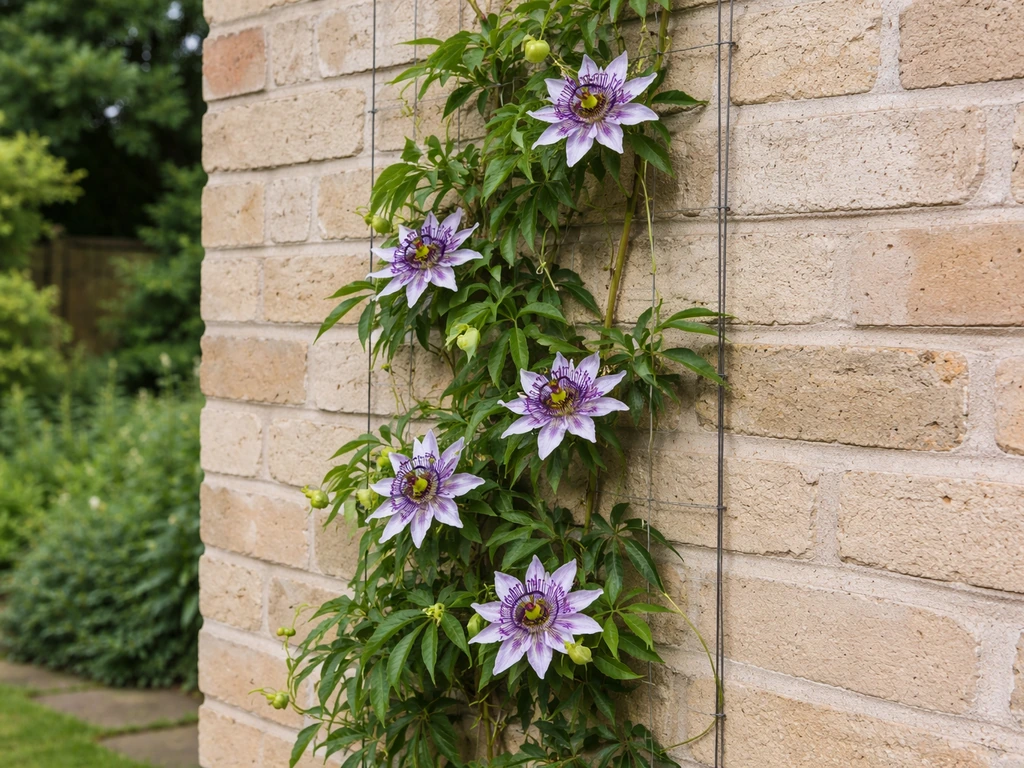
Maypop passion flower (Passiflora incarnata) can absolutely be grown from seed, but you need to work with its quirks upfront: it needs warmth and darkness to germinate, it's slow to show up, and once it does, it takes off fast. Start seeds indoors 8 to 10 weeks before your last frost date, keep them warm (around 30°C/86°F), block out light, and give them time. Outside, plant in full sun with something sturdy to climb, and you'll have a sprawling, exotic-looking vine blooming by midsummer and producing fruit from July through October.
How to Grow Maypop Passion Flower From Seed to Blooms

Marcus Holloway
11 Jul 2026
What you're actually growing (and what to expect)
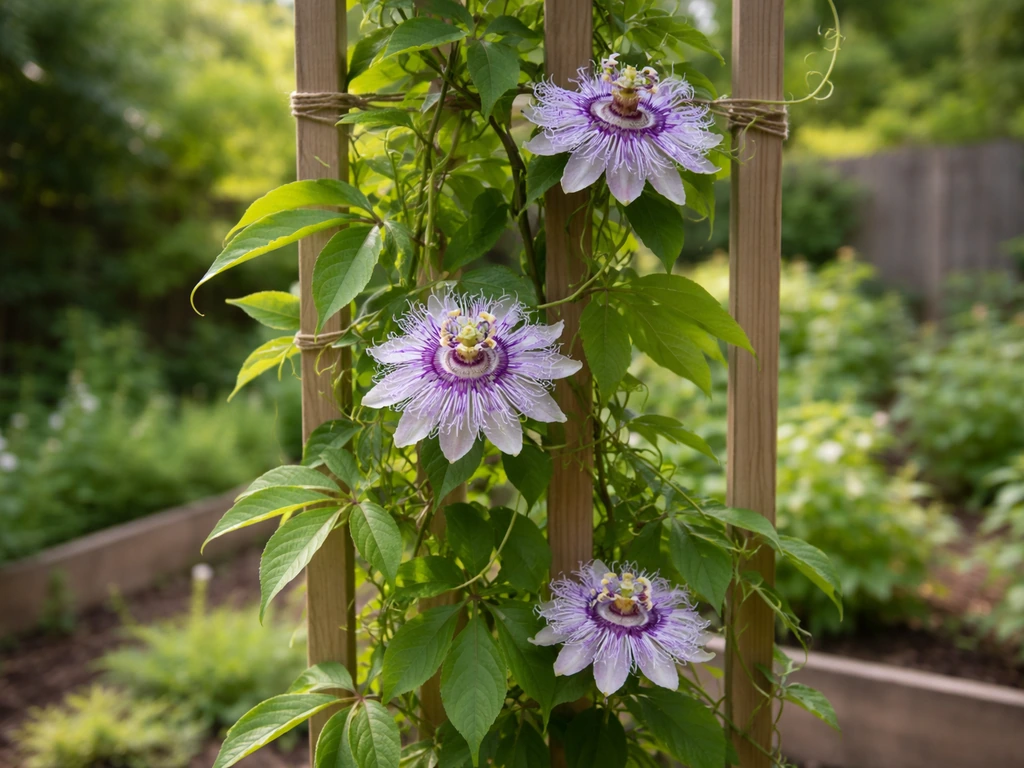
Maypop is a native North American passion flower, and that matters because it behaves differently from the tropical types you might see at the garden center. It's a fast-growing perennial vine that dies back to the ground in winter and re-sprouts from the roots each spring. It's cold-hardy down to about USDA Zone 6 with some protection, and it thrives all the way through Zone 11. If you're in the Southeast or lower Midwest, this plant is practically wild in roadside ditches. You're not growing something fussy and exotic here, you're growing something that genuinely wants to grow for you.
The flowers are spectacular: intricate purple and white blooms that look like something from a greenhouse catalog. After flowering, the plant sets egg-shaped green fruits (the "maypops") that ripen to yellow in fall. From flower to ripe fruit takes about 70 to 75 days, and the fruiting season runs from July through October. So if you want both flowers and fruit in the same season, you need to get seeds started early enough to have a mature, established vine by early summer.
One honest heads-up: maypop spreads by underground runners and can pop up well beyond where you planted it. It's not invasive in the harmful sense, but it is enthusiastic. Plant it where you're okay with it roaming a little, or keep an eye on it and pull up runners you don't want.
Starting from seed: timing, prep, and what germination actually looks like
Maypop seeds have a few things working against quick germination. They're photoblastically negative, meaning light actually suppresses sprouting. They also need warmth, real warmth, not just room temperature. Research consistently shows the most rapid germination happens between 30 and 35°C (86 to 95°F). Below that, germination slows dramatically or doesn't happen at all. This is why a lot of beginners plant maypop seeds in a windowsill and wait and wait and nothing happens: the soil is too cool and too bright.
When to start
Aim to start seeds indoors 8 to 10 weeks before your last average frost date. For most of the US Southeast and Mid-Atlantic, that puts you in the February to March window. In cooler climates (Zone 6 edges, or the UK), you'd start indoors in late February to early March and not move plants outside until late May or June when nights are reliably mild. Don't be tempted to start earlier thinking you'll get a jump, maypop seedlings can get leggy and rootbound if they're stuck inside too long.
Seed preparation: scarification and soaking
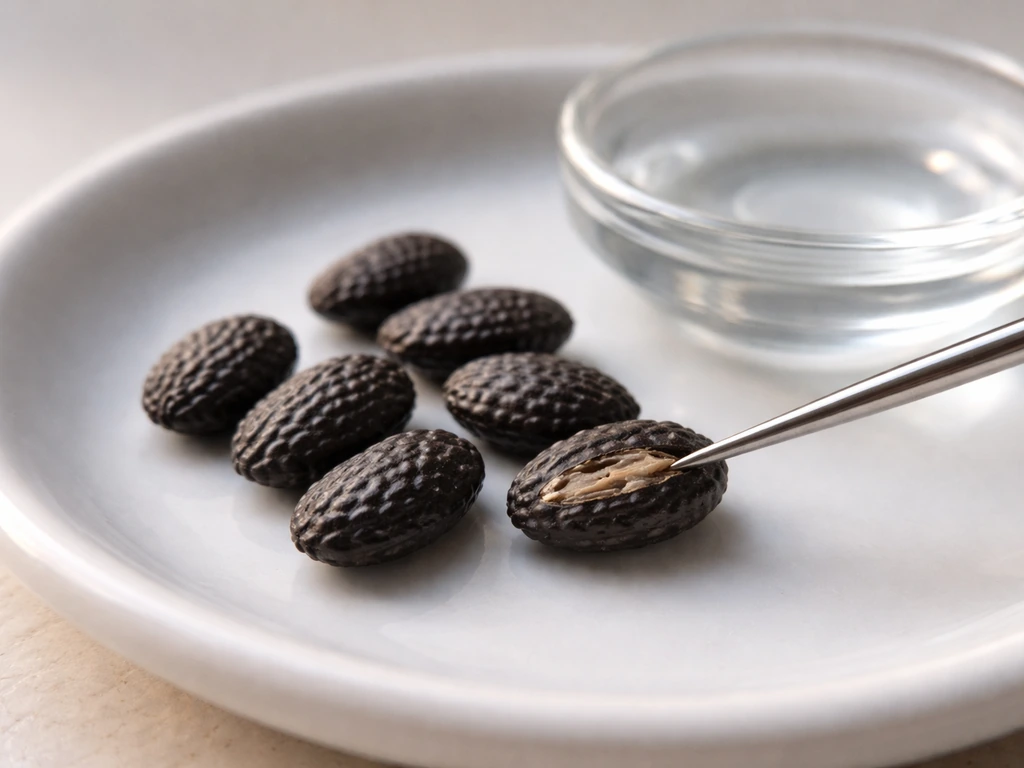
Maypop seeds have a hard outer coat that slows water uptake. Scarification, lightly scratching or nicking the seed coat, helps water get in faster and can meaningfully improve germination rates. You have two easy options: rub the seeds gently between two sheets of sandpaper, or use a nail file to nick the rounded edge of each seed (avoid the embryo end). After scarifying, soak the seeds in warm water for 24 to 48 hours. You'll often see them swell slightly. Drain and sow right away rather than letting them sit wet.
Cold stratification is sometimes recommended for maypop, but the research is more nuanced here. Unlike many native perennials that require cold to break dormancy, maypop's germination actually favors warmth, not cold. Some growers do report improved results with a brief (2 to 4 week) cold period before switching to warm conditions, possibly mimicking the natural winter-to-spring cycle. If you have fresh seeds from a reputable source and a good heat mat, skip cold stratification and go straight to warm. If you've had failures before or are working with older seeds, a short cold-moist stratification in the fridge for 3 to 4 weeks before sowing is worth trying.
Realistic germination expectations
Even with good prep, maypop is not a quick sprouter. With scarified seeds at the right temperature, expect germination to begin somewhere between 10 and 30 days. Some seeds take longer. Germination rates in controlled studies peaked around 53% under optimal conditions, so don't panic if a third or more of your seeds don't sprout, that's normal. A peer-reviewed MDPI study testing pre-germination treatments, temperature, and light conditions for Passiflora incarnata found that those factors affected both germination percentage and mean germination time, which can help guide beginner methods pre-germination treatments, temperature, and light conditions affected germination percentage and mean germination time. Sow more seeds than you think you need, and treat any sprout that shows up as a win.
Sowing and caring for seedlings
Containers and soil mix
Use small individual cells or 3-inch pots rather than a communal seed tray, maypop roots don't love being disturbed, so starting each seed in its own container avoids a messy separation later. Fill with a well-draining seed-starting mix. A mix of 50% peat or coir and 50% perlite works well. Avoid heavy potting mixes that stay wet; maypop seeds sitting in soggy soil will rot before they ever sprout.
Sowing depth and covering
Sow seeds about 5 to 6mm deep (roughly a quarter inch). After covering with soil, cover the container completely with black plastic or simply put it in a dark cupboard or box. This isn't optional, darkness genuinely helps, and light suppresses germination for this species. Check daily by lifting the cover briefly, and don't uncover permanently until you see the first seedling pushing up.
Warmth is everything
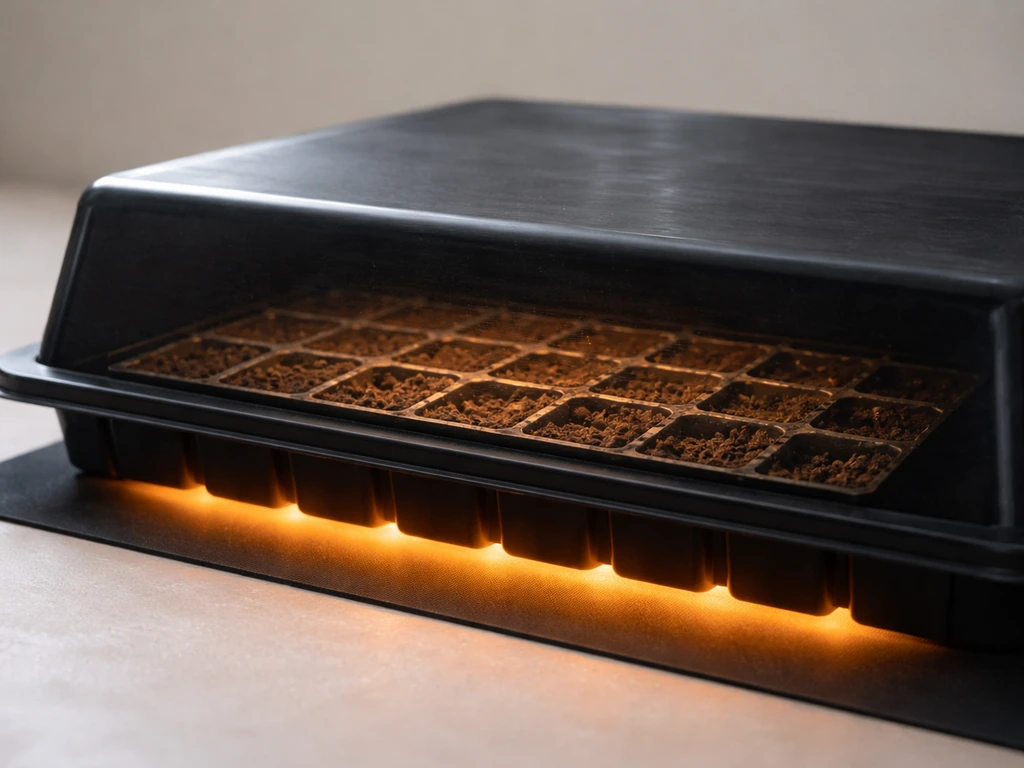
Put your containers on a heat mat set to 30°C (86°F). This is the single biggest factor for success. A heat mat designed for seed starting is cheap and makes a real difference, don't try to substitute with a warm windowsill or the top of a refrigerator if you can help it. The soil temperature needs to be consistently warm, not just the air temperature around the pot.
Watering seedlings
Keep the soil consistently moist but not soaked. Bottom-watering works well here: set the pots in a shallow tray of water for 20 minutes, let them absorb what they need, then remove. This keeps the surface drier (reducing damping-off risk) while keeping roots moist. Check every day or two and never let the soil dry out completely, dry soil will stall germination or kill young seedlings almost immediately.
Light after germination
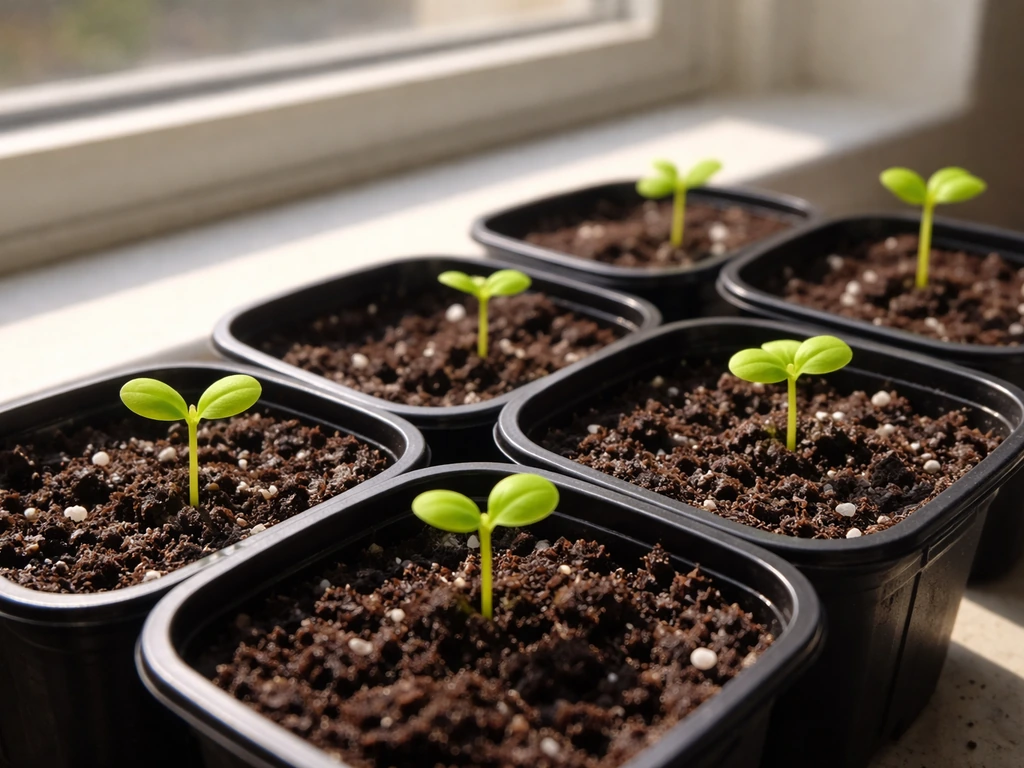
Once seedlings emerge, move them immediately into bright light. A sunny south-facing window works if you're getting 6 or more hours of direct sun. A grow light positioned 4 to 6 inches above the seedlings for 14 to 16 hours a day is better, especially in late winter when window light is weak. Maypop seedlings stretch toward light fast; if they're getting leggy and pale, they need more of it. Aim to grow compact, stocky seedlings before transplanting.
Moving outside: transplanting, hardening off, and setup
Hardening off
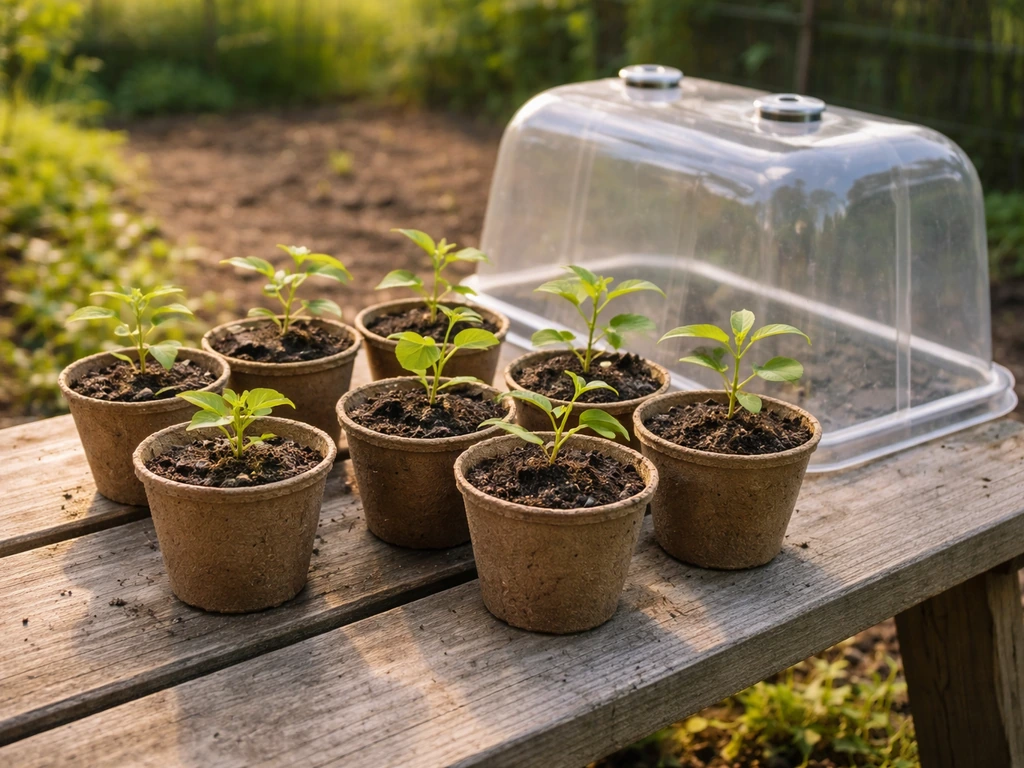
Don't skip hardening off. Maypop seedlings grown indoors are soft and not ready for direct sun, wind, or temperature swings. About 7 to 10 days before your planned transplant date, start setting them outside in a sheltered, partly shaded spot for a couple of hours, then bring them back in. Each day, extend the time outside and gradually introduce more direct sun. By the end of the week, they should be spending full days outside and coming in only if frost threatens.
Choosing a site and preparing soil
Maypop needs full sun, at least 6 hours of direct sunlight per day, and more is better. Choose a spot that's also sheltered from strong cold winds, which can desiccate vines and slow establishment. Soil should be fertile and well-drained; soggy roots are a problem. USDA Plants guidance for Passiflora incarnata classifies it as a vine that prefers fertile, well-drained soil as a baseline for healthy growth blank" rel="noopener noreferrer">Soil should be fertile and well-drained; soggy roots are a problem.. Dig in some compost before planting to improve both drainage and fertility. If your soil is heavy clay, consider raised beds or mounding the planting area slightly. Avoid planting in deep shade, you'll get vine and leaves but very few flowers or fruit.
Spacing and support
Space plants at least 90cm to 1.2m apart (3 to 4 feet). Maypop vines can reach 6 to 9 feet in a single season, and they climb using tendrils, so they need something to grab onto. If you want long stem flowers, prioritize a taller support and careful training early so the vine can grow straight and strong reach 6 to 9 feet. Install a trellis, fence panel, pergola post, or sturdy wire structure before you plant so you're not trying to thread an established vine through support later. A trellis at least 5 feet tall is a minimum; taller is better. The vine will find and use it on its own once it has something in reach.
Planting depth and watering in
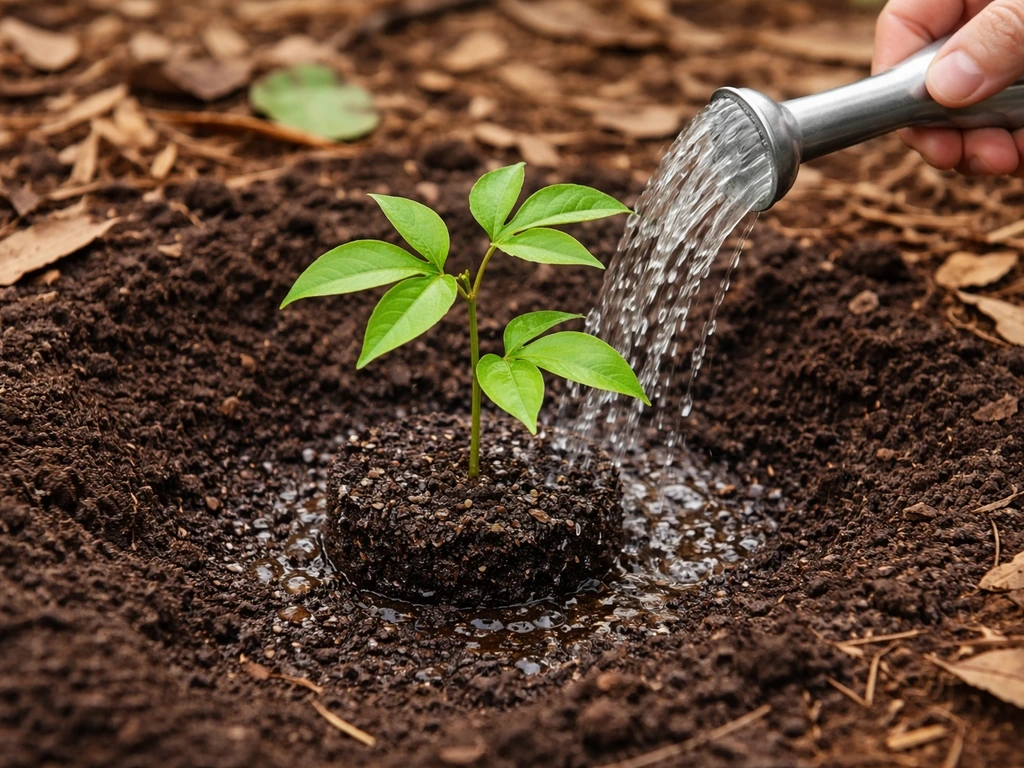
Plant at the same depth the seedling was growing in its pot. Water in well immediately after planting. For the first two weeks, check soil moisture every day, transplants need consistent moisture to establish roots in new soil, and any drought stress at this stage can really set them back.
Feeding and watering through the growing season
Once established, maypop is not a heavy feeder, but it does benefit from some nutrition to support all that fast growth and flowering. If you want corky stem passion flower specifically, start by matching these same seed-starting and warm germination principles to its needs how to grow corky stem passion flower. Apply a balanced granular fertilizer (something like 10-10-10) at the start of the growing season when new growth emerges. Once buds start forming, switch to a low-nitrogen, higher phosphorus and potassium feed (like a tomato fertilizer) to support flowering and fruiting rather than pushing more leafy growth. Avoid over-fertilizing with nitrogen, you'll end up with a lush green vine and barely any flowers.
For watering, maypop is reasonably drought-tolerant once established, but it'll fruit and flower much better with regular moisture. Water deeply once or twice a week rather than lightly every day. Aim to water at the base of the plant and avoid wetting the foliage. During the fruiting period from July through October, consistent watering matters more, irregular watering during fruit development can cause fruit drop or splitting.
Pruning and training the vine
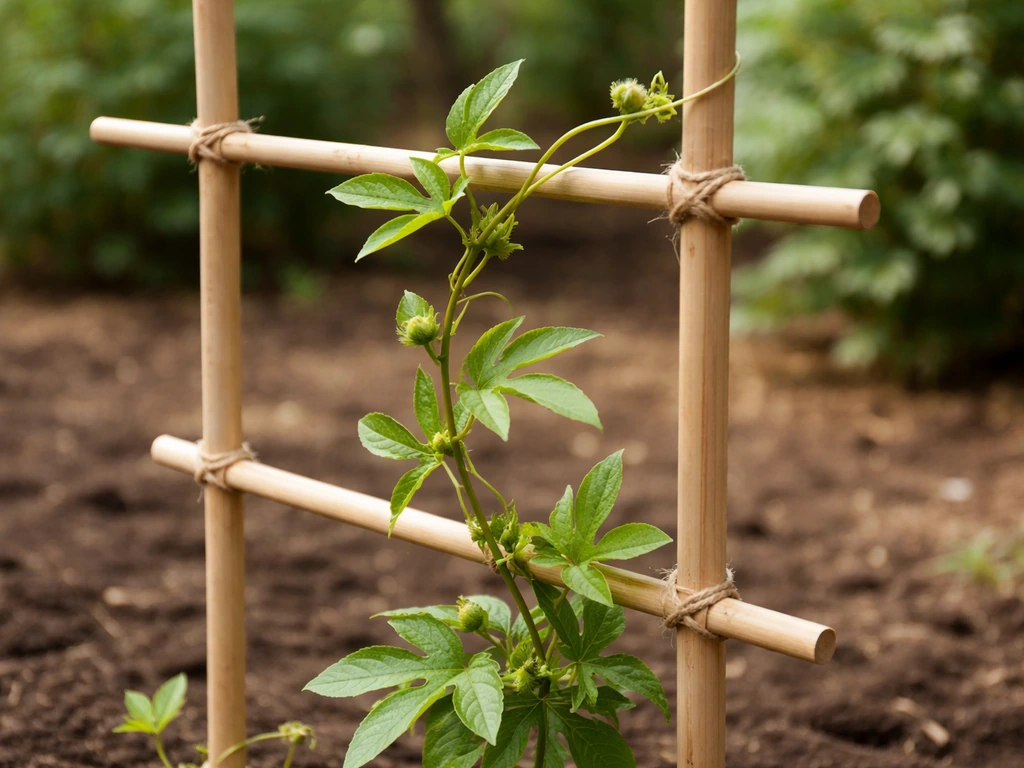
Maypop blooms on new growth, which is great news for pruning: you can cut it back hard and it won't cost you any flowers, it'll produce more. The best time to prune is in late winter or very early spring, before new growth starts. Cut stems back to a basic framework of strong main stems, removing all the old flowered growth from the previous season. This keeps the plant from becoming an impenetrable tangle and encourages vigorous new shoots that will carry this year's blooms.
Through the growing season, training new shoots onto your trellis helps keep things tidy and ensures good airflow through the plant. When shoots reach the top of the support, pinch them back to encourage branching lower down. More branching means more flowering nodes. You don't need to be precious about pruning, maypop is tough and will bounce back from aggressive cuts. Just avoid heavy pruning once buds have formed, because that's when the plant is investing energy in flowering.
Troubleshooting problems and overwintering
Common problems and fixes
| Problem | Likely Cause | Fix |
|---|---|---|
| Seeds not germinating | Too cool or too much light | Use a heat mat at 30°C, cover to block light, be patient up to 30+ days |
| Leggy, pale seedlings | Not enough light after sprouting | Move to grow light or brighter window immediately; reduce heat mat once sprouted |
| Damping-off (seedlings collapsing at soil line) | Overwatering + poor airflow | Bottom-water only, improve airflow, use sterile mix |
| No flowers despite healthy vine | Too much nitrogen or not enough sun | Cut back nitrogen feed, ensure 6+ hours full sun |
| Yellowing leaves | Overwatering or nutrient deficiency | Check drainage first; if soil is moist and draining well, apply balanced feed |
| Japanese beetles or caterpillars on foliage | Common pest pressure | Hand-pick or use neem oil spray; maypop recovers well from defoliation |
Overwintering by climate zone
In Zones 7 and above, maypop is genuinely perennial and will die back to the ground after frost then re-sprout from the roots in spring. The roots are hardy down to around -15°C (5°F) with good mulching. After the first hard frost kills the top growth, cut stems back to a few inches and pile on 4 to 6 inches of straw, shredded leaves, or bark mulch over the root zone. This is usually all it needs. Don't panic in spring if it's slow to emerge, maypop roots can take until late May to show above ground, even when the weather is warm. It hasn't died; it's just taking its time.
In Zone 6 or colder, or in the UK and similar cool-temperate climates, you have two practical options. If you're wondering how to grow passion flower UK, focus on starting early, keeping warmth for germination, and protecting the plants through winter. You can treat maypop as a root-hardy perennial and mulch heavily, hoping the roots survive, some gardeners in Zone 6 have good luck with this, especially against a south-facing wall. Or you can grow it in a large container and move it somewhere frost-free but cool (a garage, basement, or unheated greenhouse) for winter. If containerizing for winter, water well before the soil freezes, then water only sparingly through the dormant period. Move back outside after your last frost date the following spring and harden off again before putting it in full sun.
Harvesting fruit and setting up for next season
Maypops are ready to harvest when they turn from green to yellowish and feel slightly soft when gently squeezed, usually late summer through fall. Don't worry if some fall off the vine on their own; a ripe maypop will often drop when it's ready. The interior has seeds surrounded by a tangy, sweet-tart pulp that can be eaten fresh, juiced, or used in cooking. The seeds are edible but often spit out. Flowering to ripe fruit takes about 70 to 75 days, so a vine that starts blooming in early July can have ripe fruit by mid-September.
To save seeds for next year, scoop the seeds from fully ripe fruit and rinse them clean of pulp. Spread them on a paper towel to dry for a week, then store in a sealed envelope or small jar in a cool, dry place. Properly dried seeds stay viable for at least a year, and you can use them to start fresh plants next season using the same warm, dark germination method described above.
At the end of the season, after the first frost cuts the top growth back, do a final tidy: remove dead stems, refresh the mulch layer over roots, and make note of where the plant is so you don't accidentally dig into it in early spring. If you're growing maypop in a mixed bed, mark the spot clearly, the re-sprouting shoots are easily mistaken for weeds when they first emerge, and more than one maypop has been accidentally pulled by a well-meaning gardener clearing a border in May.
If you're interested in growing other passion flower varieties, the approach described here for maypop shares some common ground with growing passion flowers generally and with species suited to cooler climates, but maypop's cold hardiness and native-plant status make it genuinely one of the easiest starting points for gardeners outside tropical zones.
FAQ
Why won’t my maypop seeds germinate even though I kept them warm?
The two most common misses are not keeping the soil temperature consistently near 30°C (86°F) and not using darkness. Even a bright windowsill can suppress sprouting, and fluctuating temperatures slow it down sharply. Also confirm you scarified and soaked after nicking, because the hard seed coat often prevents water uptake.
Do I need to soak maypop seeds before planting, or can I just sow them directly?
Soaking is strongly beneficial after scarification. Aim for 24 to 48 hours in warm water, then sow promptly while the seeds are freshly hydrated. If you soak without scarifying, the hard coat may still limit water penetration and germination may be erratic.
How long should I wait before assuming my maypop seeds failed?
With proper warmth and darkness, expect germination to start in about 10 to 30 days, but some seeds take longer. Avoid discarding containers early, especially if you nicked seeds, since delayed sprouting happens. If nothing appears after roughly 6 to 8 weeks under stable heat, then it’s reasonable to count that batch as a failure.
Should I remove the black plastic cover as soon as I see sprouts?
You can uncover briefly for daily checks, but avoid leaving the seeds exposed long-term before emergence is underway. Once you have visible seedlings pushing up, move them to bright light right away, otherwise they may stretch and become weak before you transplant.
What’s the best light setup after germination to prevent leggy seedlings?
If you do not get 6 or more hours of direct sun, use a grow light on a timer for 14 to 16 hours per day. Keeping the light 4 to 6 inches above the seedlings usually produces sturdier growth than relying on an indoor window alone.
Can I start maypop in a communal seed tray to save space?
It’s better to use individual cells or separate 3-inch pots because maypop seedlings do not like root disturbance. If you sow in a shared tray, separating seedlings later often damages roots and can delay establishment after transplant.
Why are my seedlings dying after sprouting?
Damping-off is the usual culprit, often caused by staying too wet or poor drainage. Use a well-draining mix, keep moisture consistent but not soggy, and consider bottom-watering so the surface stays less wet while roots still receive water.
When is it safe to transplant maypop outdoors, and should I protect it from late frosts?
Transplant after your last frost date and only once seedlings have been hardened off for 7 to 10 days. If unexpected cold snaps are forecast, use row cover or cloches for night protection, since young maypop plants can be damaged even when mature roots are hardier.
How much fertilizer should I use, and what if my vine grows lots of leaves but no flowers?
Use a balanced feed early in the season, then switch to a lower-nitrogen, higher-phosphorus formula once buds begin forming. If you keep feeding nitrogen-heavy fertilizer, you’ll often get lush foliage with fewer blooms. Also avoid over-fertilizing in containers, where salts can build up faster.
Is maypop drought-tolerant in the long run, or does it need frequent watering?
Once established, it can handle some dry spells, but fruit set and flower quality improve with steady moisture. During fruit development (roughly July through October), irregular watering can lead to fruit drop or splitting, so prioritize deep watering rather than daily light watering.
Will pruning at the wrong time reduce flowering or fruiting?
Pruning is safe in late winter or very early spring before new growth starts. Avoid heavy pruning once buds have formed, because the plant is already investing energy into flowering and fruiting. Light training and pinching at the top of the support is fine during active growth.
Does maypop need help climbing right away after transplanting?
It helps to have a trellis in place before you plant so the vine can grab onto as soon as it begins climbing. If the plant is left unsupported for too long, it may twine in an awkward direction and require more effort later to retrain onto the support.
How can I tell when a maypop fruit is ripe for harvest?
Harvest when the fruit shifts from green to yellowish and feels slightly soft when gently squeezed. Fruits often drop on their own when fully ripe, so check plants regularly in late summer and early fall to catch them at peak flavor.
Can I save seeds from store-bought maypop fruit?
You can, but seed viability is not guaranteed if the fruit is old, dried improperly, or was from plants not producing true-to-type offspring. For best results, use fully ripe maypops and dry the extracted seeds for about a week, then store cool and dry. Viability may decline faster than seeds saved from fresh, known-source fruit.
My maypop is sprouting slowly in spring. Is it dead?
Slow emergence is common, especially in cooler zones, because roots can take until late May to show above ground. Don’t dig around to check too early, since that can damage emerging shoots. Wait for warm weather to persist, and only then remove or assess if you see no growth.
Next Article
How to Grow Passion Flower in the UK Step by Step
Step-by-step UK guide for growing passion flower from seed or cuttings, with planting, care, pruning, and winter protect