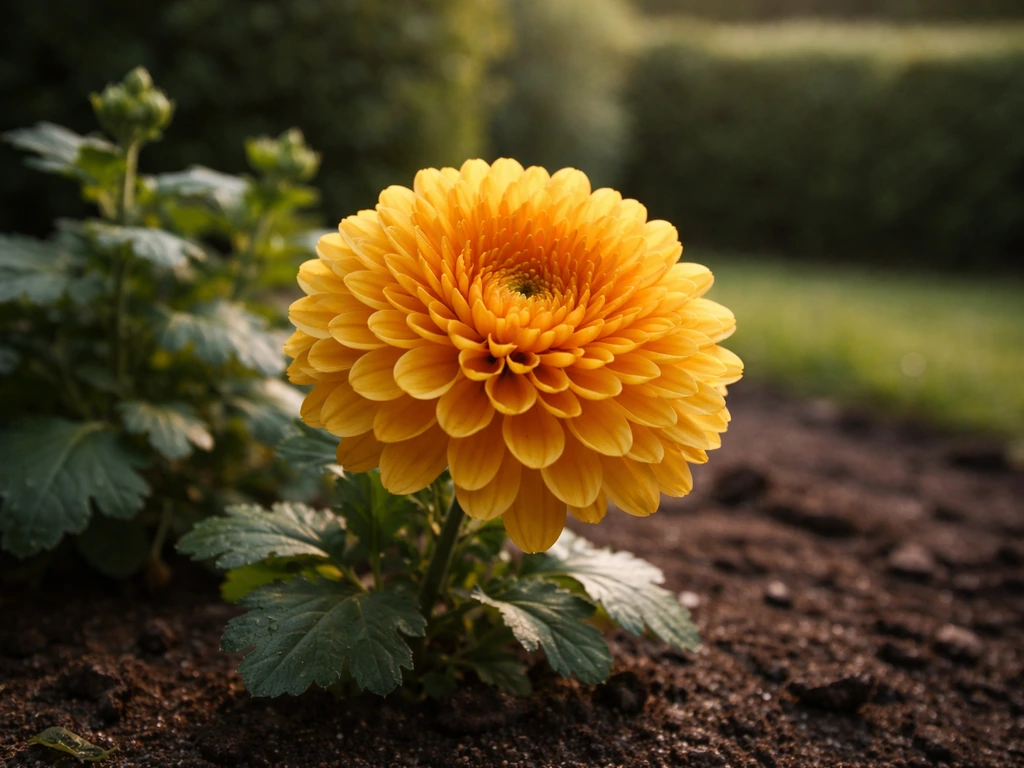
To grow disbud chrysanthemums and get those big, single show-stopping blooms, you remove every side bud and lateral shoot from each stem so the plant pours all its energy into one terminal flower. That single act of disbudding is what separates a gorgeous dinner-plate-sized bloom from a cluster of small flowers. Do it consistently from mid-summer onward, keep the plant well fed and in full sun, and you will cut flowers that look like they came from a professional florist.
How to Grow Disbud Chrysanthemum for Big Blooms
Marcus Holloway
3 Jun 2026
What disbud chrysanthemums actually are (and why the technique matters)
A disbud chrysanthemum is not a specific variety name. It describes any chrysanthemum grown using the disbudding method, where you deliberately remove the side shoots and side buds that form along each stem, leaving only one terminal or crown bud to develop. Left to their own devices, chrysanthemums branch freely and produce many smaller flowers. That is actually what spray chrysanthemums are prized for. But if you want one enormous single bloom per stem, you need to redirect the plant's energy by eliminating the competition. Think of it like thinning apples on a fruit tree: fewer fruits, but each one grows much larger and better formed. The disbudding process is not complicated, but it does require regular attention because chrysanthemums push out new lateral growth persistently and you have to stay ahead of it.
Seeds or cuttings, and when to start
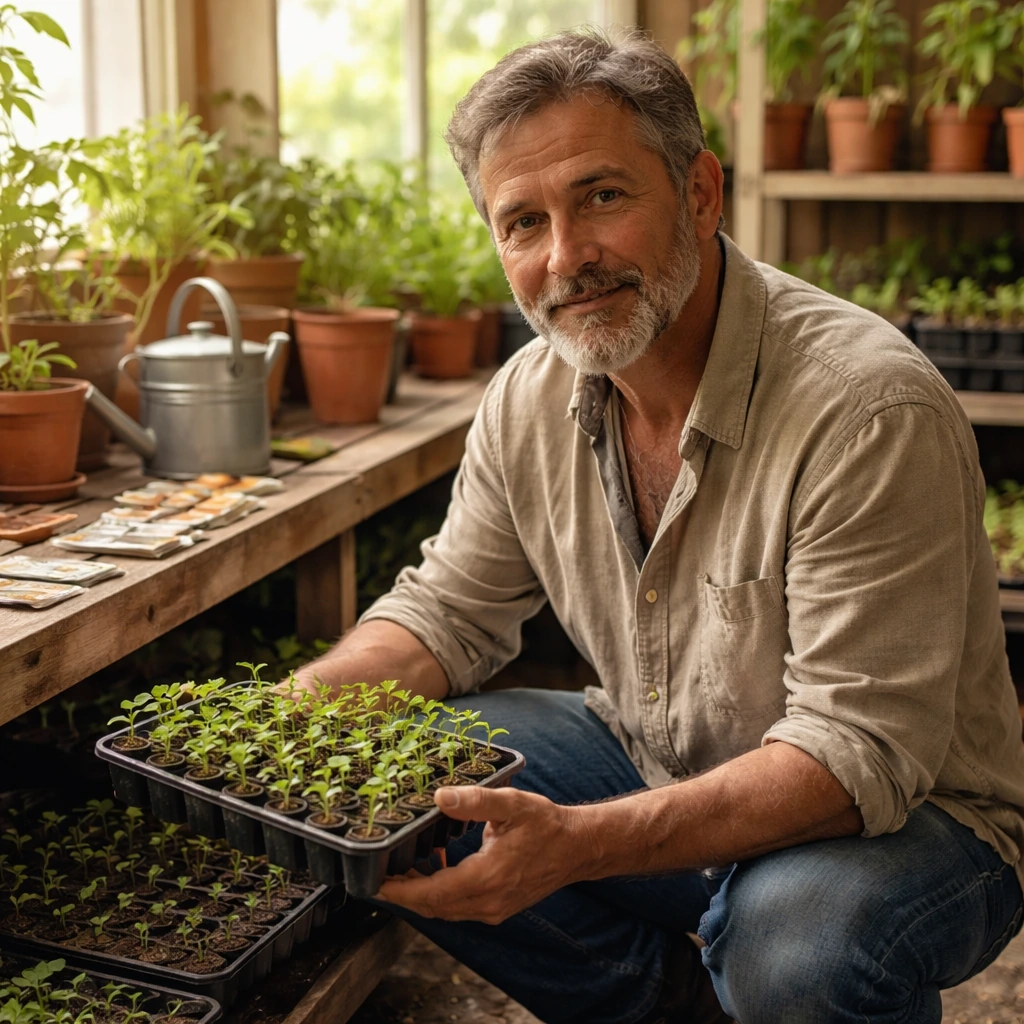
Most home gardeners and exhibition growers start disbud chrysanthemums from rooted cuttings rather than seed, and for good reason. Chrysanthemums grown from seed are variable, meaning the flowers may not look like what is pictured on the packet, and they are slower to reach blooming size. Cuttings taken from a known parent plant are genetically identical to it, so you get reliable, predictable blooms. If you already have chrysanthemums overwintering in your garden or a neighbor has a plant you love, take 3- to 4-inch basal cuttings in early spring, around late February through April, when the new growth emerging from the base of the stool (the overwintered root clump) is fresh and vigorous.
If you are starting from seed, sow indoors 10 to 12 weeks before your last frost date. For most of the US, that means starting seeds in January or February for a spring transplant. Seed-grown plants can still be disbudded and will produce nice blooms, but manage your expectations about flower size and form compared to named cutting varieties.
| Method | Best start time | Time to bloom | Flower reliability | Best for |
|---|---|---|---|---|
| Basal cuttings | Late Feb to April | Late summer to fall (5-7 months) | High, true to parent | Show blooms, cutting garden |
| Purchased rooted plugs | Spring after last frost risk | Late summer to fall | High | Beginners, convenience |
| Seed indoors | 10-12 weeks before last frost | Fall (longer season) | Variable | Budget growers, experimentation |
Key growth milestones to watch for: cuttings should root in 2 to 3 weeks at 60 to 65°F. By weeks 4 to 6, you should see 3 to 4 inches of new top growth. Transplant outdoors after your last frost date when the plant has 4 to 6 healthy leaves. By mid-summer (around week 10 to 14 from rooting), the plant should be 12 to 18 inches tall and ready for its first topping or pinching. Buds typically appear in late summer, and flowers open in September through October depending on your variety and location.
Starting indoors, transplanting, and spacing
Starting cuttings or seeds indoors
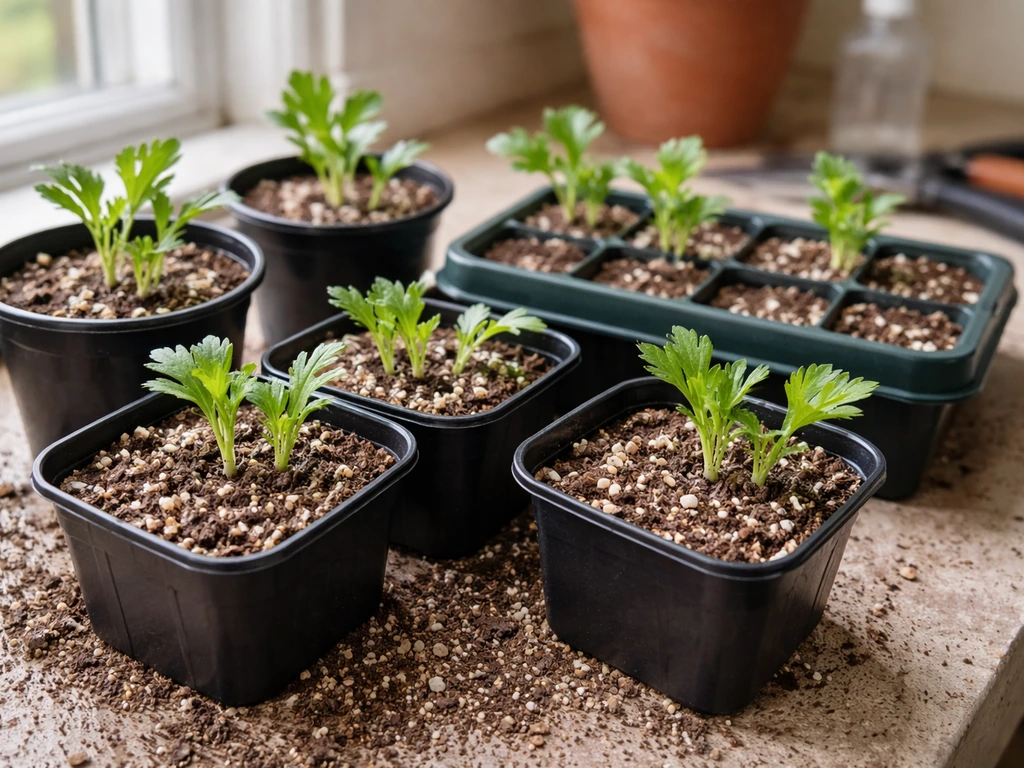
For cuttings, fill 3-inch pots or a tray with a moist, well-draining propagation mix (perlite and peat or a commercial cutting mix works well). Strip the lower leaves from your cutting, leaving two or three at the top, and push the stem about an inch into the mix. Cover loosely with a clear plastic bag or humidity dome to retain moisture, and place in a bright spot out of direct sun at around 60 to 65°F. Check every few days and mist if the mix feels dry. Roots develop in 2 to 3 weeks. You will know they have rooted when the cutting starts producing new top growth and resists a gentle tug.
For seeds, sow thinly across the surface of a seed-starting tray filled with moist seed compost, press lightly, and cover with a thin layer of vermiculite. Germination typically takes 10 to 18 days at 65 to 70°F. Once seedlings have two true leaves, prick them out into individual 3-inch pots and grow on under bright light or a grow lamp set 2 to 3 inches above the foliage.
Transplanting outside and spacing
Harden off your young plants over 7 to 10 days before transplanting by moving them outside to a sheltered spot for increasing periods each day. Transplant after your last frost date when nighttime temperatures stay reliably above 45°F. Space disbud chrysanthemums 18 to 24 inches apart. They need that room to be staked and supported individually without crowding each other, and good airflow between plants dramatically reduces fungal disease problems. Plant at the same depth as they were in their pots, firm the soil gently, and water in well.
Sun, soil, water, and feeding for the strongest stems
Chrysanthemums are not fussy plants overall, but disbud growing demands more from them than ordinary garden growing, so getting the basics right makes a real difference in final bloom size.
- Sunlight: full sun is non-negotiable. Aim for at least 6 hours of direct sun daily, and 8 is better. Plants in partial shade stretch and produce weak stems that cannot support a heavy terminal bloom without flopping.
- Soil: well-draining, fertile loam with a pH between 6.0 and 7.0. Work in a generous amount of well-rotted compost before planting to improve drainage and nutrient availability. Avoid waterlogged spots, which encourage root rot.
- Watering: consistent and deep. Aim to keep the soil evenly moist but never soggy. Deep watering once or twice a week (more in heat) is better than shallow daily watering because it encourages deeper root development. Water at the base of the plant, not overhead, to avoid wet foliage that invites fungal problems.
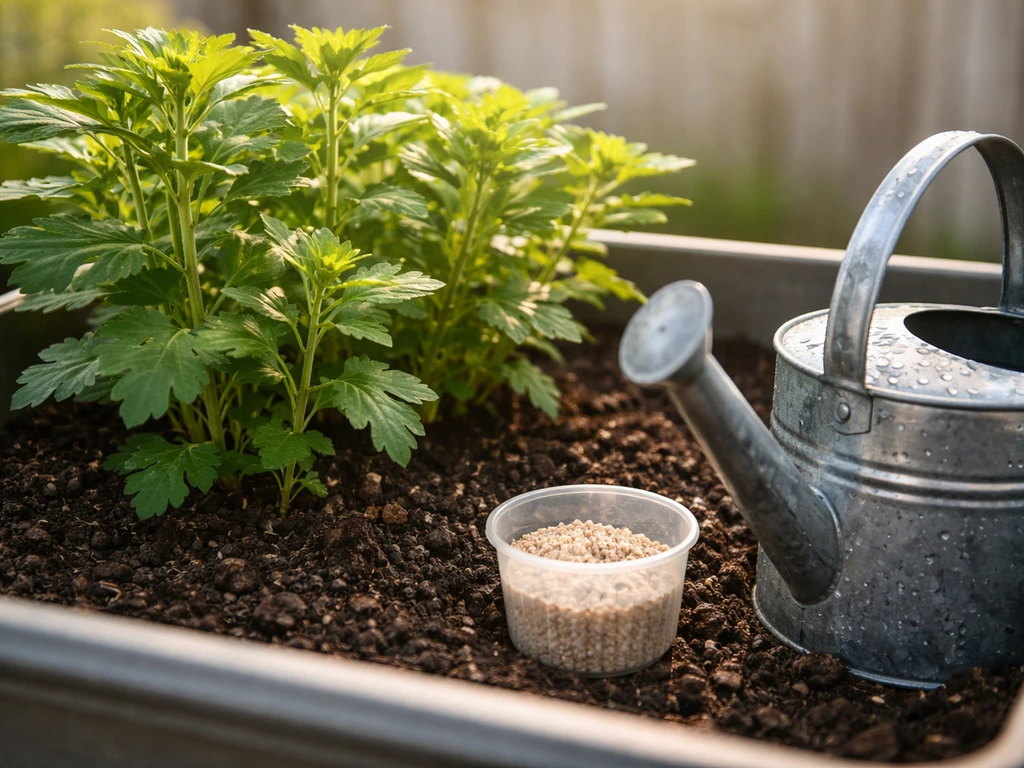
- Fertilizing: start with a balanced fertilizer (roughly 10-10-10) when transplanting, then switch to a higher-nitrogen feed through the vegetative phase to build strong stems and leaves. About 6 to 8 weeks before buds appear, shift to a lower-nitrogen, higher-phosphorus formula (something like 5-10-10) to encourage strong bud development rather than more leafy growth. Feed every 2 weeks through the season. Stop fertilizing once buds show color.
Strong stems are everything with disbud chrysanthemums because that single large bloom is heavy. If you let plants go hungry or dry, stems thin out and the flower head will droop. Regular feeding is genuinely one of the most important things you can do to get show-quality results.
Topping, disbudding, and training the stem
The first pinch (topping)
When your young plant is about 6 to 8 inches tall and has 4 to 6 leaves, pinch out the growing tip. This is called topping or stopping, and it encourages the plant to send up several new shoots rather than one single spindly stem. From those shoots, you will eventually select the best one (or a few, if you want multiple blooms) to carry your terminal bud. Without this early pinch, plants tend to be taller but thinner and less productive. Do this first pinch by late May or early June if you started cuttings in spring.
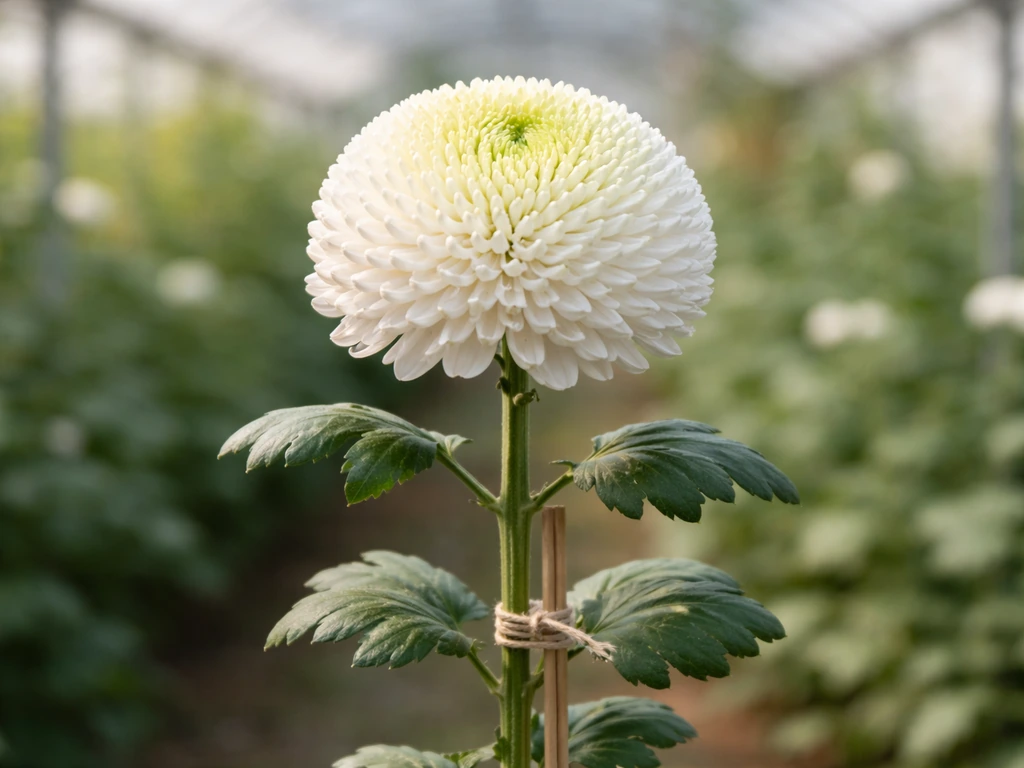
Selecting and training your main stems
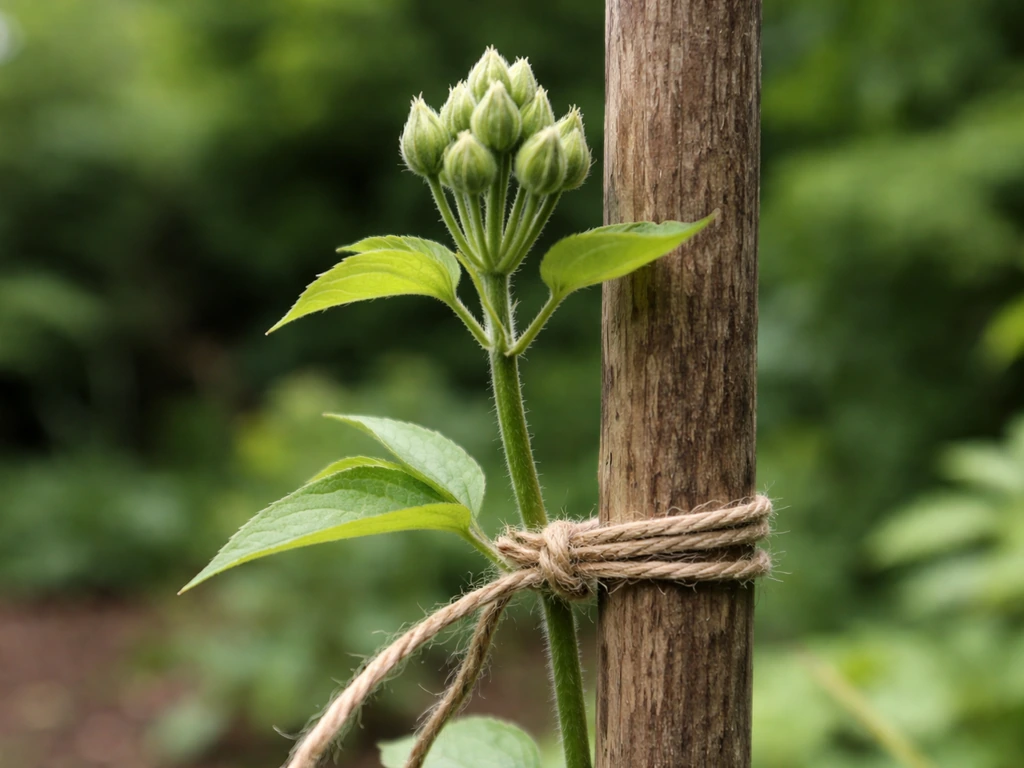
After the first pinch, the plant will produce several lateral shoots. For one large bloom per plant, select the single strongest, most upright shoot and remove the others completely at their base. If you want two or three blooms from one plant, you can keep that many shoots, but be aware that the more stems you keep, the smaller each bloom tends to be because energy is shared. Once you have selected your shoot or shoots, insert a bamboo cane next to each one and loosely tie the stem to it with soft twine or a plant clip every 4 to 6 inches as it grows. Staking early and tying as you go prevents the stem from developing a kink or bend that will ruin the presentation of the final flower.
The disbudding stage: what to remove and when
As your selected stem grows through summer, it will produce side shoots and eventually a cluster of buds at the top. The terminal bud sits at the very center of that cluster. Your job is to remove everything except that central terminal bud. Here is how to do it step by step: If you want the full step-by-step routine, you can follow this guide on how do you grow chrysanthemums from planting through disbudding.
- Start checking for lateral buds in mid-summer, roughly 6 to 8 weeks before your expected bloom time (usually late July through August).
- Each time you check the plant (aim for every 5 to 7 days), run your fingers gently along the stem and pinch off any side shoots or secondary buds that are forming in the leaf axils below the terminal bud cluster.
- When the terminal bud cluster appears at the tip of the stem, identify the largest, most centrally placed bud. That is your chosen bloom. Carefully pinch or rub off all the surrounding buds in the cluster, leaving only the one central terminal bud intact.
- Continue removing any new lateral growth that appears below the bud as the stem elongates. New shoots appear persistently, so check every week until the bud begins to show color.
- Do not delay removal of side buds. The earlier you remove them, the more energy redirects to your chosen bud. Buds left too long before removal can leave scars on the stem or slow the terminal bud's development.
This regular weekly checking during bud development is what separates growers who get impressive blooms from those who end up with a cluster of small ones. It genuinely only takes a few minutes per plant once you get the hang of it.
Supporting the bloom as it opens
As the terminal bud swells and begins to open, the weight of the bloom increases significantly. Check your stake tie every week and add a new tie just below the developing bud head to support it. Some growers use a small wire support ring or a loop of soft twine attached to the cane to cradle the bloom from underneath. This prevents the neck of the stem from bending under the weight of the flower, which is a real problem with larger varieties.
Pests, diseases, and common problems to watch for
Pests
Aphids are the most common pest on chrysanthemums, clustering on new growth and on the developing bud. Check the undersides of leaves and around the bud weekly when you do your disbudding rounds. A strong spray of water knocks them off effectively, or use insecticidal soap for heavier infestations. Earwigs can damage petals as the flower opens, often feeding at night. Set a damp rolled newspaper trap near the plant at night and dispose of it in the morning. Leaf miners leave pale tunneling trails in the leaves. Remove and destroy affected leaves promptly.
Diseases
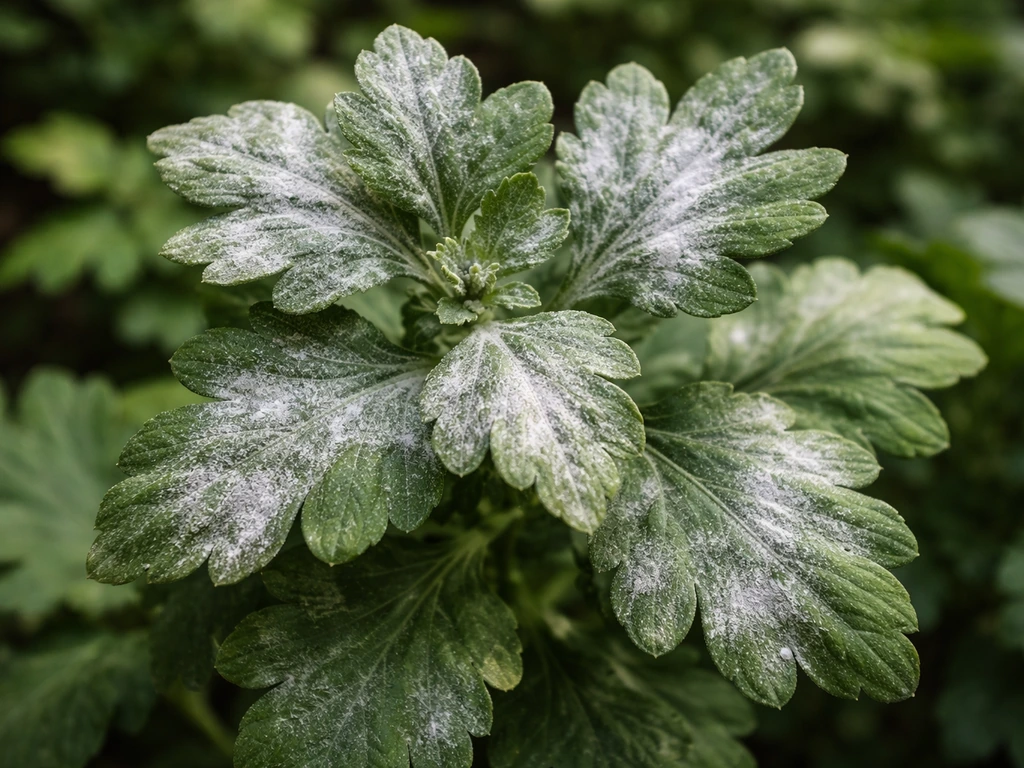
Powdery mildew shows up as a white coating on the leaves, especially in humid, low-airflow conditions. Prevention is far easier than cure: space plants properly (that 18 to 24 inch spacing really helps), avoid overhead watering, and water in the morning so foliage dries before evening. If mildew appears, a baking soda spray (1 tablespoon per quart of water plus a drop of dish soap) applied weekly can slow its spread. Botrytis (grey mould) is another fungal problem that can attack petals as the bloom opens, especially in wet autumns. Keep the flower off the foliage and ensure good air movement around plants.
Common growth problems
| Problem | Likely cause | Fix |
|---|---|---|
| Leggy, weak stems | Insufficient sunlight or overfeeding nitrogen late in season | Move to full sun; switch to lower-nitrogen feed after mid-summer |
| Bud abortion (bud forms then drops) | Irregular watering, sudden temperature swings, or stress | Keep watering consistent; protect from early hard frost with fleece |
| Small final bloom | Side buds not removed early enough, or too many stems kept | Disbud earlier and more aggressively; reduce to one stem per plant |
| Poor branching after first pinch | Pinching done too late or plant not growing vigorously | Pinch when plant is 6-8 inches; feed well during vegetative phase |
| Yellowing lower leaves | Overwatering or nutrient deficiency | Check drainage; resume regular feeding schedule |
| Flower head drooping | Stem not staked or tied close enough to bud | Add stake tie just below bud head; use a support ring |
Cutting, storing, and getting blooms next season
When and how to cut
Cut disbud chrysanthemums when the bloom is about three quarters to fully open. At this stage, the petals are well developed but the center of the flower (if it is a daisy or anemone type) still looks fresh and firm. Cutting too early means the bloom may not fully develop in the vase; cutting too late means it will have a shorter vase life. Use clean, sharp scissors or pruners and cut stems in the early morning or evening when temperatures are cooler. Cut the stem as long as possible, removing it cleanly at an angle. Immediately place stems into a bucket of clean water and get them into a cool, shaded spot quickly.
Keeping cut flowers fresh
Strip any leaves that would sit below the waterline in your vase, as submerged foliage rots and shortens vase life quickly. Recut the stems at an angle under water before arranging. Chrysanthemums are naturally long-lasting cut flowers, often giving 10 to 14 days in the vase, and disbud blooms with their single large flower heads tend to last particularly well. Keep them away from direct sunlight and drafts, change the vase water every 2 days, and recut the stems each time you change the water.
Getting plants back next season
After flowering, cut the main stems back to about 6 inches above the ground. In milder climates (roughly USDA zones 6 and above), chrysanthemums will overwinter in the ground if you mulch the roots heavily with straw or shredded leaves after the first frost. In colder zones, dig up the root clump (the stool), shake off the loose soil, and store it in a frost-free place in barely moist compost or sawdust. In late winter or early spring, bring the stool out of storage, water it, and wait for the fresh basal shoots to emerge. Those shoots are your cuttings for next season, and you start the whole process again. This is how experienced chrysanthemum growers maintain and improve their best varieties year after year without buying new plants.
If you enjoy chrysanthemums and want to experiment with other growing styles, the same plant handled differently gives you quite different results. Spray chrysanthemums are grown without disbudding and produce that multi-bloom look, while garland and carinatum types are grown more like annuals from seed. If you are growing garland chrysanthemums, the main difference is that they are trained more like annuals from seed rather than disbudded for one single terminal bloom. If you want to know how to grow chrysanthemum carinatum, follow the same basics but plan for their seed-starting, more casual growth habit carinatum types. Disbud growing is the most hands-on of the chrysanthemum styles, but the payoff, a single enormous bloom that genuinely looks like a show flower, makes the weekly checking and pinching completely worth it.
FAQ
How do I know which shoot to keep if more than one “terminal” bud seems to form on my disbud chrysanthemum?
Look for the strongest upright central shoot, where the tight bud cluster forms at the very top. Remove side shoots at their base as soon as you can, then re-check every 2 to 3 days at peak bud set, because a “secondary” bud can appear if the main crown is disturbed or pinched too late.
My stems look healthy early on, but the final bloom is smaller than expected. What usually causes that?
Most often it is late or inconsistent disbudding (letting small side buds develop for even a week), or uneven water and feeding that thins stems and reduces flower size. Also check that you topped at about 6 to 8 inches, because skipping that first pinch often leads to fewer, weaker productive shoots.
When is the best time of day to disbud and handle the stems without damaging buds?
Do it in the cooler part of the day (morning or early evening) so you avoid stressing tender new growth. Use clean fingers or disinfected pruners, and keep the crown bud area intact, only removing competing lateral buds and shoots, not twisting the stem.
Can I disbud a chrysanthemum that I started as a store-bought potted plant?
Yes, if you can identify a main upright stem and start selecting early, but timing matters. If the plant is already far into bud development, you may not be able to redirect growth fully, so expect smaller or less perfectly formed blooms compared with plants started from spring cuttings or seed with earlier pinching.
What if my plant becomes leggy and the flower head ends up bending or leaning even though I stake it?
Tie the stem higher than you think you need once buds start to swell, then add support ties just below the bud head as it grows. If the neck is already kinked, you cannot fully correct it, so preventing the first bend by staking early is key, use soft ties that allow slight movement rather than tight wire.
Do I need to remove leaves while disbudding to help prevent mildew and airflow problems?
Remove only damaged or heavily diseased leaves, and avoid aggressive defoliation, because chrysanthemums still need foliage to fuel the main bloom. For airflow, focus on spacing, morning watering, and keeping plant structure open by removing competing shoots, then consider removing a few lower leaves that stay continuously wet or touch the soil.
How often should I feed during disbud chrysanthemum season, and what should I look for in the plant response?
Feed regularly through summer rather than only at planting, because bloom size depends on consistent nutrition. A good sign is steady, sturdy growth without excessive soft, overly green growth; if plants look lush but stems are weak, reduce nitrogen slightly and rely on balanced feeding.
Why do my buds turn out clustered instead of one big single flower?
That happens when competing buds on lateral growth are not fully removed, or you wait too long between checks during the weeks before opening. Make disbudding routine frequent at bud development, remove every side bud in the top cluster area except the central crown bud.
Can I use disbud chrysanthemums in containers, and what changes if I do?
Yes, but choose a large pot and plan on heavier staking because container plants often dry faster, which reduces stem strength. Keep consistent moisture and feeding, and expect that flower size may be slightly smaller than in-ground plants due to more frequent fluctuations in water and nutrients.
What should I do if I see aphids after I already started disbudding and the buds are swelling?
Treat immediately, because feeding on new growth can distort buds. A strong water spray can be enough for light infestations, use insecticidal soap carefully so it coats aphids without repeatedly wetting the crown, and avoid stressing the plant with aggressive sprays close to opening.
How do I cut disbud chrysanthemums for the longest vase life if weather is hot or the plant is in full sun?
Cut early when temperatures are cooler and move stems into water right away. Keep them out of direct sun and drafts, and make sure any leaves below the waterline are removed, because rotting submerged foliage is the quickest way to shorten vase life even when the bloom is fully formed.
After the blooms finish, can I leave the plant in the ground and still get good shoots next year in colder areas?
Sometimes, but reliability drops in colder zones because stools can heave or rot during freezing and thawing. If your winters are harsh, dig and store in barely moist compost or sawdust, then restart in late winter or early spring so the basal shoots emerge before you commit to the outdoor season.
Next Article
How Do You Grow Chrysanthemums: Step-by-Step Guide
Step-by-step guide to grow chrysanthemums from seed or cuttings, manage pinching, and get UK timing for blooms and cut f