Growing chrysanthemums comes down to four things done consistently: full sun, well-drained soil around pH 6.5, regular pinching until midsummer, and keeping plants well watered without letting roots sit in water. Get those right and you'll have strong, bushy plants loaded with blooms from late summer into autumn. Whether you're starting from seed, rooted cuttings, or even a bunch of shop-bought cut flowers, the process is more forgiving than most people expect.
How Do You Grow Chrysanthemums: Step-by-Step Guide

Marcus Holloway
24 Apr 2026
Choosing the right chrysanthemum type and where to get plants or seed
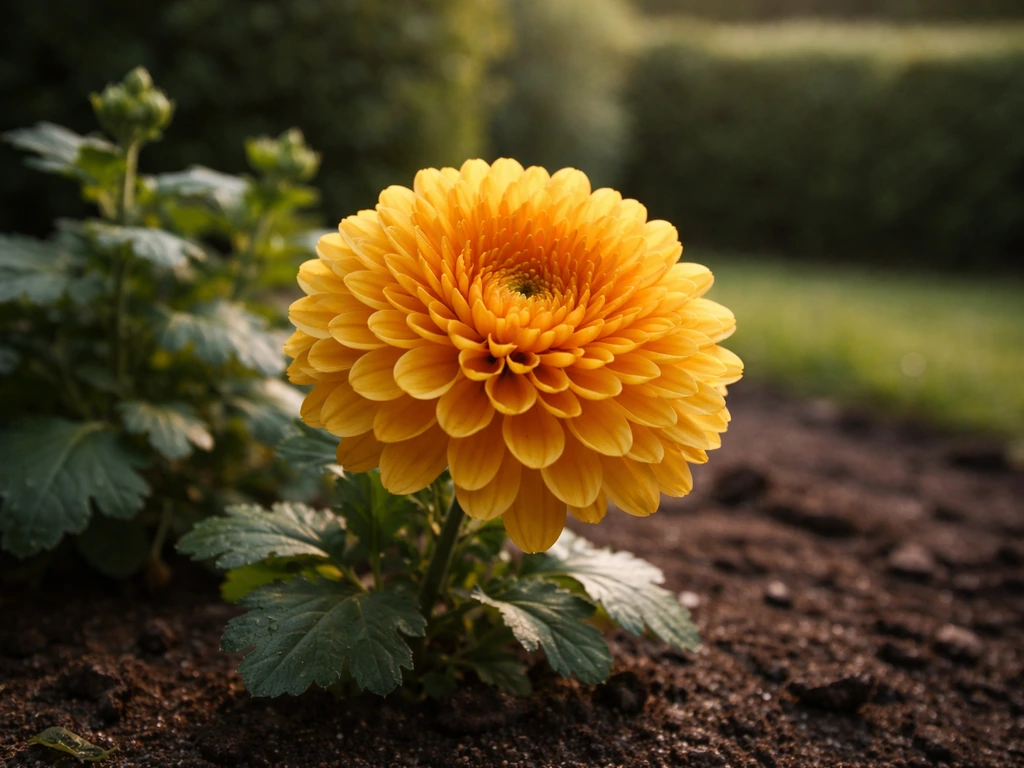
Before you buy anything, it helps to know what kind of chrysanthemum you're actually after, because they're not all grown the same way. The main groups a home gardener will encounter are hardy garden mums (the clump-forming perennials sold everywhere in autumn), disbud types (grown for one large statement bloom per stem, popular with exhibitors and serious cut-flower growers), spray types (multi-stemmed with lots of smaller flowers, excellent for cutting), garland chrysanthemum (an edible annual, quite different in culture), and the colourful annual Chrysanthemum carinatum. Each has slightly different spacing, pinching, and timing needs.
For most home gardeners, rooted cuttings or young plug plants are the best starting point. Commercial growers almost exclusively propagate chrysanthemums vegetatively via stem cuttings, and that's because hybrid varieties don't reliably come true from seed. If you buy seed, stick to species types or older heirloom varieties labelled as seed-suitable. Seed is fine for annual types like Chrysanthemum carinatum or garland chrysanthemum, but for the perennial garden mums or exhibition disbud types, sourcing named rooted cuttings from a specialist nursery gives you a much more predictable result.
- Hardy garden mums: buy as rooted cuttings or pot-grown plants from spring; widely available at garden centres
- Disbud/exhibition types: order named rooted cuttings from specialist chrysanthemum nurseries in late winter or early spring
- Spray types: rooted cuttings or plugs from spring; ideal for cut-flower production at home
- Annual types (carinatum, garland): grow easily from seed sown direct or indoors
- Heirloom/heritage varieties: available through specialist seed companies or the National Chrysanthemum Society (NCS)
The conditions chrysanthemums need to thrive
Chrysanthemums are not difficult, but they are unforgiving about a couple of things. Get these conditions right from the start and everything else becomes much easier.
Sun
Aim for a minimum of six hours of direct sun a day. Chrysanthemums genuinely don't perform well in shade. Less sun means weaker stems, fewer flowers, and plants that are more susceptible to disease. A south- or west-facing bed or border is ideal. In the UK, make the most of whatever sunny spot you have because even a partially shaded position will noticeably reduce flowering.
Soil
Chrysanthemums do well in most soils as long as drainage is excellent. A slightly acidic pH of around 6.5 is ideal. Good drainage is genuinely non-negotiable: more chrysanthemums are killed by waterlogged roots than by frost. Before planting, dig in plenty of well-rotted compost to improve both drainage and fertility. If your soil is heavy clay, raising the bed by even a few inches makes a real difference.
Watering
Water consistently so plants never wilt, but never let roots sit in standing water. When soil becomes waterlogged, water displaces the air in soil pores and roots effectively drown. The practical rule is: water deeply, then let the top inch of soil dry slightly before watering again. Newly planted chrysanthemums need regular watering while they establish. Once established, they're reasonably drought-tolerant but will produce fewer and smaller flowers if consistently dry.
Temperature
Chrysanthemums are cool-season bloomers and actually prefer temperatures in the range of 10–18°C (50–65°F) for the best flower development. They handle light frosts once established but won't survive hard freezes in wet soil. In warm summers, flowering may be slightly delayed, which is normal since chrysanthemums are naturally short-day plants: flower buds initiate when nights become longer, typically from late summer onwards.
Starting chrysanthemums: seed vs cuttings, step by step
Growing from seed
Seed is the right route for annual types (carinatum, garland chrysanthemum) and some heirloom varieties. For UK gardeners, Burpee's general guideline of sowing about eight weeks before the last frost date translates to starting indoors in late February to March. Here's the process:
- Fill small pots or seed trays with fresh, moist seed compost and firm it gently
- Scatter seeds thinly on the surface and cover with a fine layer of sieved compost no deeper than the seed's own diameter (check your packet; some need light to germinate)
- Water gently using a fine rose or mister to avoid dislodging seeds
- Place in a warm spot at around 18°C (65°F) — a heated propagator or a warm windowsill works well
- Germination typically takes 10–18 days; keep the compost consistently moist but not soggy
- Once seedlings have two true leaves, prick out carefully into individual 7–9 cm pots
- Grow on in a bright, frost-free spot and harden off over 7–10 days before planting outside after your last frost date
Growing from cuttings
Cuttings are the best route for perennial garden mums, disbud, and spray types. The classic timing runs from late February through May. If you're overwintering plants from the previous year, they'll produce new basal shoots (called stolons or break cuttings) in late winter that are perfect propagation material.
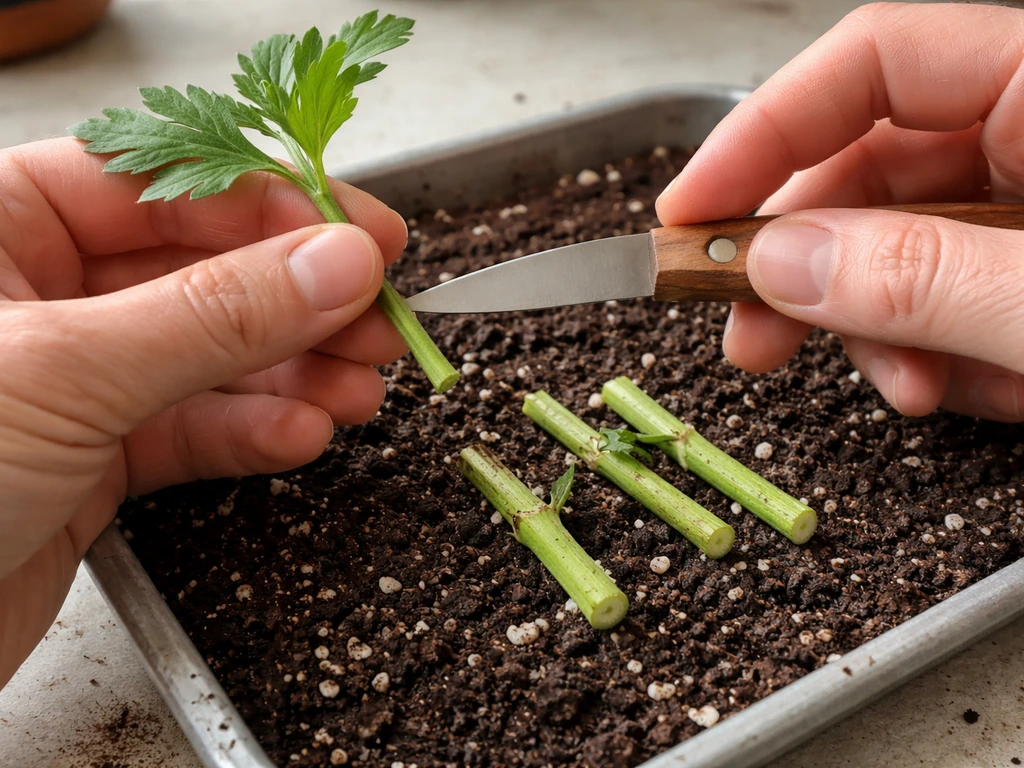
- Select a healthy shoot tip 7–10 cm (3–4 inches) long with at least two or three leaf nodes
- Cut cleanly just below a node with a sharp, clean blade — ragged cuts invite rot
- Remove the lower leaves, leaving two or three at the tip to reduce moisture loss
- Insert cuttings into small pots of perlite/cutting compost mix, firming gently around the stem
- Water in and place in a shaded, humid environment (a propagator or tent of clear polythene) to prevent wilting while roots form
- Keep the compost moist but not wet; rooting typically takes 3–4 weeks
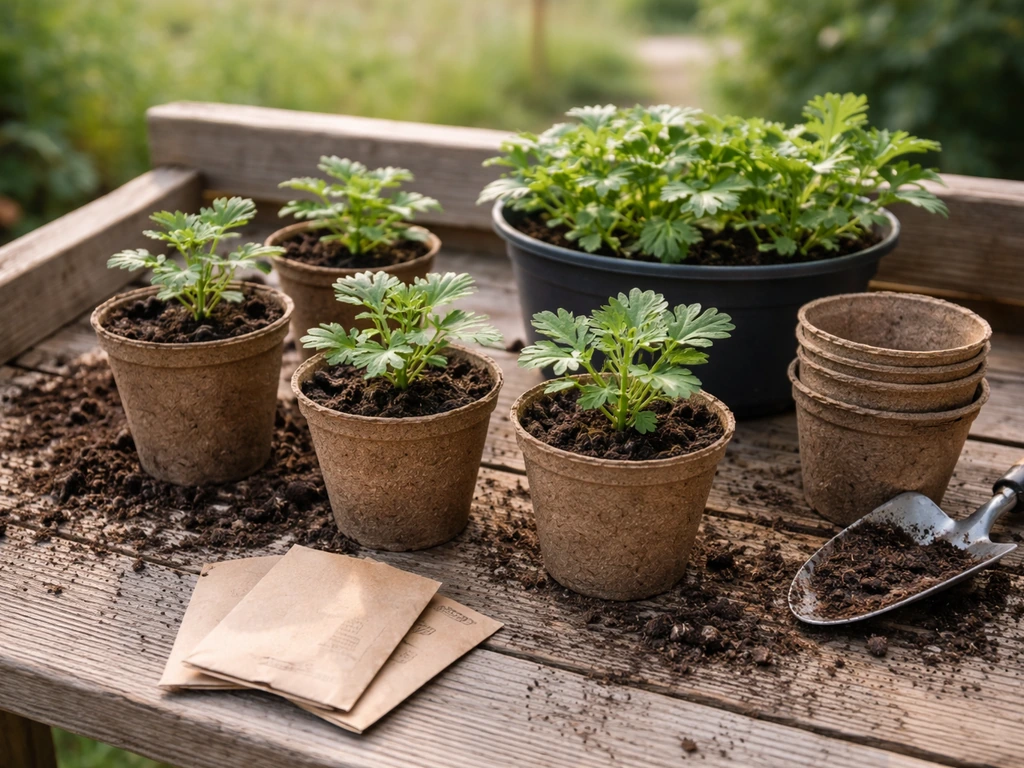
- Once rooted and actively growing, pot up into individual 9 cm pots and move to a bright, frost-free spot
If you've purchased rooted cuttings from a nursery, pot them up straight into 9 cm pots of multipurpose compost and grow on under cover until all frost risk has passed before moving outside.
Planting out, spacing, and transplanting
Plant chrysanthemums outdoors after your last frost date, once plants are well-rooted and have been hardened off. In most of the UK, this means late May to early June. Choose a spot that has been well prepared with compost-rich, free-draining soil.
Spacing depends on what you're growing for. Garden border plants need about 45 cm (18 inches) between plants to allow good airflow and bushy development. For exhibition disbud types grown in rows, the National Chrysanthemum Society (NCS) recommends roughly 25–30 cm (10–12 inches) between plants within a row and 30–35 cm (12–14 inches) between rows. For spray types grown for cutting, similar spacing gives each stem room to develop properly.
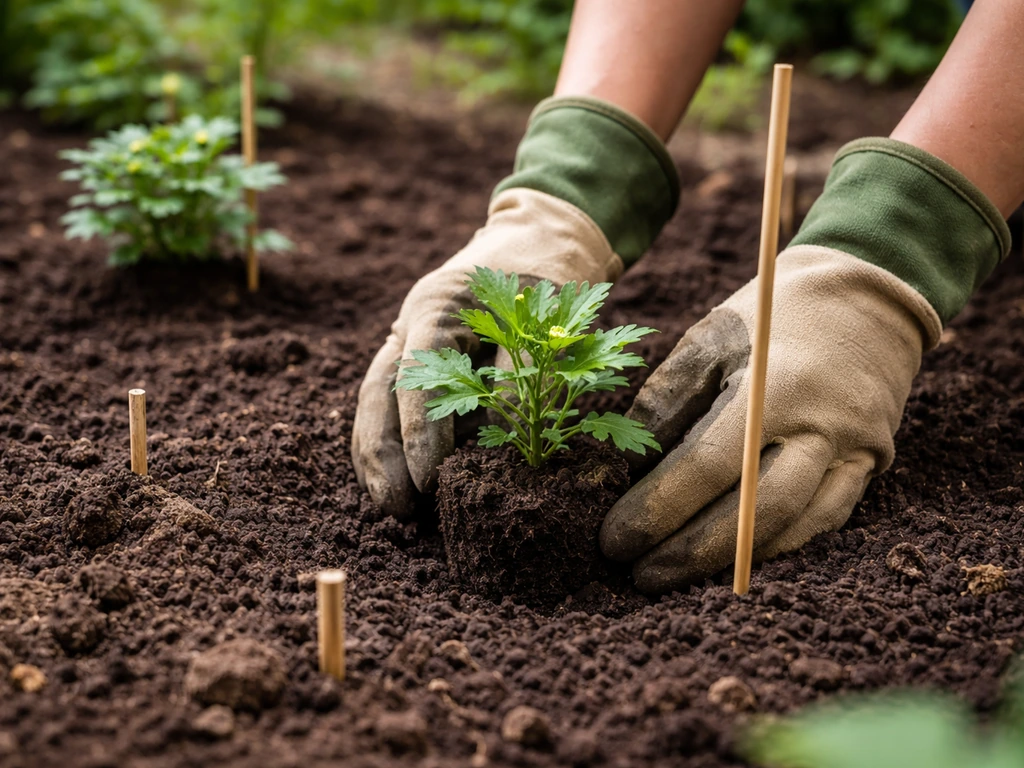
When transplanting, dig a hole just deep enough to set the rootball level with the surrounding soil. Firm in gently, water well, and if the weather is dry, water daily for the first week or two while roots establish. Taller varieties will need staking early: push a cane in at planting time rather than waiting until plants flop, which can damage roots.
Feeding, pinching, and keeping plants healthy
Feeding
About four weeks after planting out, give plants a balanced feed to support leafy growth and root development. A general-purpose fertiliser applied at roughly 1 to 1.5 lb per 100 sq ft (or follow your product's label for equivalent rates) works well at this stage. Once you see flower buds beginning to form, switch to a high-potash feed (like a tomato fertiliser) to support strong bloom development. Avoid overfeeding with nitrogen after midsummer as it pushes leafy growth at the expense of flowers.
Pinching for bushy plants and more flowers
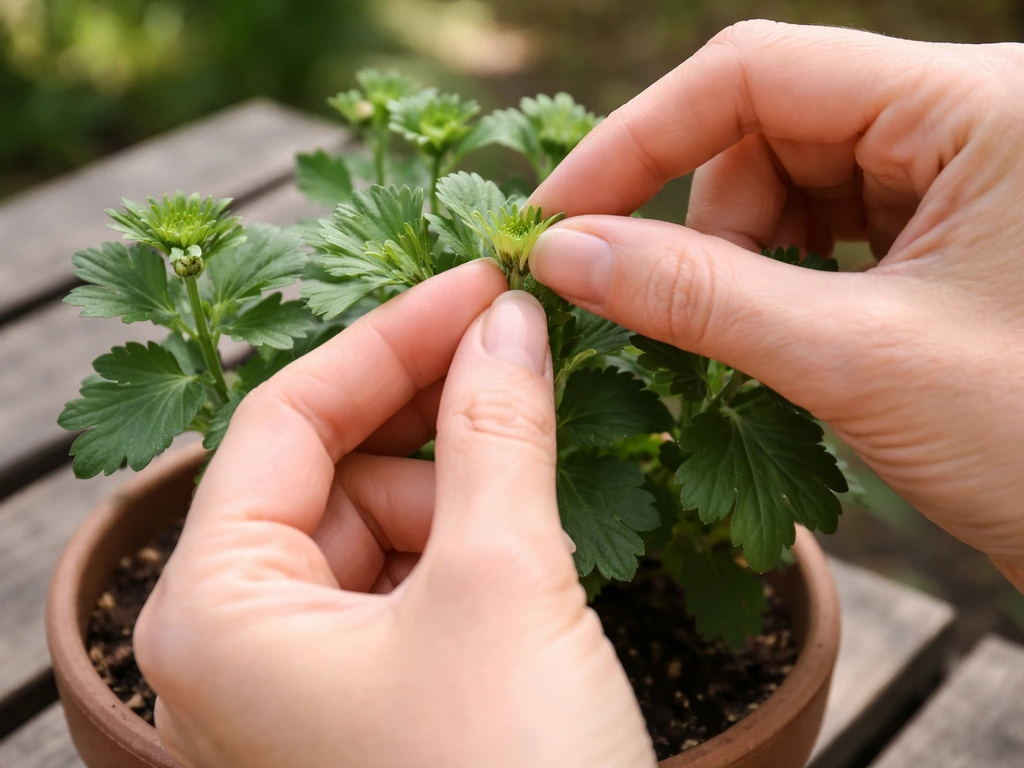
Pinching is the single most important growth management step for chrysanthemums. Without it, plants grow tall and weak and produce only a handful of blooms. When plants reach about 12–15 cm (5–6 inches) tall, pinch out the growing tip just above a leaf node. This forces the plant to branch and produce multiple flowering stems instead of one. Keep pinching side shoots every two weeks until midsummer, early-flowering varieties until around 10 June, mid-season types until around 20 June, and late varieties until around 1 July. University of Wisconsin Extension guidance also recommends continuing to pinch for most early-flowering chrysanthemums until mid-June, noting that high temperatures can affect growth and flowering Keep pinching side shoots every two weeks until midsummer, early-flowering varieties until around 10 June, mid-season types until around 20 June, and late varieties until around 1 July.. After those dates, stop pinching and let buds develop.
In the UK context, the RHS advises pinching side-shoot tips until about mid-summer, which aligns with this schedule. LoveTheGarden suggests pinching out the top 5 cm (2 inches) of the main shoot in late May to mid-June for garden varieties, which is a simpler version of the same principle. The key point is: stop in time. Pinch too late and you delay or prevent flowering.
Pests and diseases to watch for
The most common problems are aphids, spider mites, and gray mold (Botrytis cinerea). Check plants regularly, especially the undersides of leaves. Aphids cluster on young growth and can be controlled early with a strong jet of water or, for heavier infestations, insecticidal soap or horticultural oil. Spider mites thrive in hot, dry conditions and are notoriously hard to control once established, so good watering and airflow are your best prevention.
Gray mold appears as brown, water-soaked spots that develop into powdery gray-brown spore masses, usually in cool, damp, poorly ventilated conditions. Remove affected plant material immediately and improve airflow. Chrysanthemum white rust is a more serious disease causing leaf distortion, discoloration, and eventually defoliation. It can kill plants. If you suspect white rust, remove and destroy affected plants and do not compost them. Good plant hygiene, including removing dead leaves and not overhead watering in the evening, goes a long way to keeping disease in check.
| Problem | Symptoms | Action |
|---|---|---|
| Aphids | Sticky residue, distorted young shoots, visible clusters of insects | Water jet first; insecticidal soap or horticultural oil for heavy infestations |
| Spider mites | Fine webbing, stippled/pale leaves, especially in dry heat | Improve humidity and airflow; miticide if severe |
| Gray mold (Botrytis) | Brown water-soaked spots, gray powdery spore masses | Remove affected material; improve ventilation; avoid wet foliage at night |
| Chrysanthemum white rust | Pale spots on upper leaf, pustules underneath, distortion, defoliation | Remove and destroy plants; do not compost; avoid spreading soil/tools |
| Thrips/whitefly | Silvery streaking, sticky honeydew, white fly clouds when disturbed | Yellow sticky traps; insecticidal soap; good airflow |
Growing chrysanthemums in the UK: timing and climate
The UK climate is kind to chrysanthemums in some ways (cool autumns extend the flowering season beautifully) and tricky in others (wet winters and heavy clay soils are the main killers). Here's how to time everything for a UK growing season:
| Month | Task |
|---|---|
| January–February | Order rooted cuttings from specialist nurseries; overwinter stored stools in frost-free shed/greenhouse |
| February–March | Take cuttings from overwintered stools; sow annual types (carinatum, garland) indoors at 18°C |
| March–April | Pot up rooted cuttings; grow on under cover in a frost-free greenhouse or cold frame |
| April–May | Harden off plants; prepare outdoor beds with compost; plant out hardy annuals after last frost risk |
| Late May–June | Plant out perennial types after last frost; begin pinching when plants reach 12–15 cm tall |
| June–July | Continue pinching every two weeks until mid-June/early July depending on variety group; stake taller types |
| July–August | Stop pinching; switch to high-potash feed; disbud if growing for large single blooms |
| September–October | Main flowering season; harvest cut flowers in the morning; enjoy garden display |
| October–November | Lift tender types after first frost; store stools in frost-free location for overwintering |
| November–December | Label and store overwintered stools; discard any weak, diseased, or damaged plants |
Overwintering is where a lot of UK gardeners lose their plants. The NCS recommends lifting plants after the first frost, cutting stems back, and storing the root crowns (called stools) in boxes of barely moist compost in a frost-free but cool greenhouse, garage, or shed. Crucially, discard any stools that look weak, diseased, or damaged. Keeping poor material is how disease spreads to the following year's crop. In milder parts of the UK, hardy garden mums can sometimes survive winter in the ground if drainage is good, but waterlogging is usually the cause of death rather than cold alone.
Growing chrysanthemums for cut flowers (and from cut flowers)
Setting up for cut-flower production
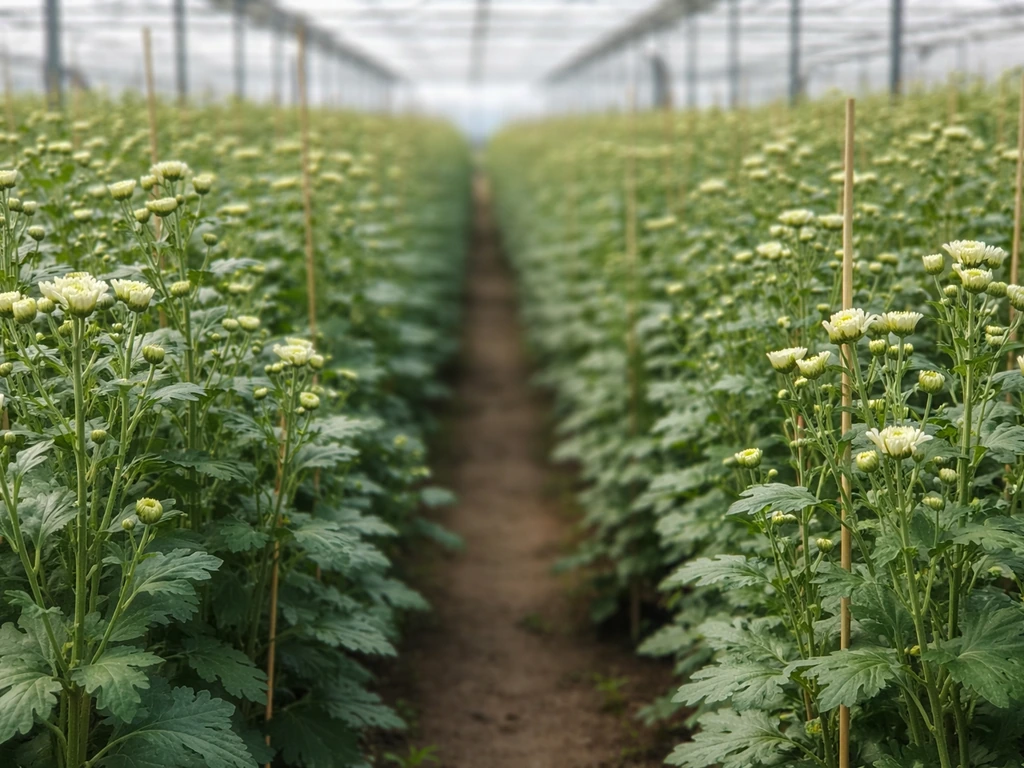
If cut flowers are your goal, spray types and disbud types are your best choices. Spray chrysanthemums give you multiple stems with clusters of smaller blooms per stem, which is exactly what you want for vase arrangements. Disbud types produce one large statement flower per stem after you remove all side buds, which is the classic florist chrysanthemum look.
For cut-flower production, grow plants in rows with 25–30 cm between plants and 30–35 cm between rows. Support with horizontal netting raised as plants grow, which keeps stems straight and vertical. The pinching schedule is the same as for garden plants: pinch to encourage branching, then stop by midsummer. For disbud types, once you have the number of stems you want, remove all side buds leaving only the terminal bud on each stem. For spray types, do the opposite: remove the terminal bud (the main central bud) and leave the side buds to develop into a spray, which is what the RHS describes for single-flowered types.
Harvest cut stems in the morning when temperatures are cool and flowers are just beginning to open. Cut stems at an angle with a sharp, clean knife, and put them straight into a bucket of cool water. Recut the stems and change the water every couple of days. Chrysanthemums are excellent cut flowers and typically last 10–14 days in a vase.
Can you grow chrysanthemums from a bunch of cut flowers?
Yes, and it actually works surprisingly well. Commercial chrysanthemums sold as cut flowers are vegetatively propagated, so the stems can root. Take a side shoot from a bought chrysanthemum stem, about 7–10 cm long with a clean cut just below a node. Strip the lower leaves and insert into a pot of perlite or cutting compost. Treat it exactly like a normal cutting: warm, humid, shaded until roots form. Not every cutting will take, and varieties from commercial bunches may not be the most garden-worthy plants, but it's a genuinely free way to build up stock and a satisfying experiment. Do this in spring for best results, when stems are fresh and conditions are warming up.
If you want to go deeper into specific types, the growing approach for disbud chrysanthemums and spray chrysanthemums differs enough in training and disbudding technique that each deserves its own attention. Similarly, if the annual types appeal, garland chrysanthemum and Chrysanthemum carinatum both have their own growing quirks that are worth exploring separately.
FAQ
How can I tell if my chrysanthemums are getting enough sun, especially if my site is partly shaded?
For hardy garden mums, don’t rely on spring planting alone, timing matters, wait until after hard frosts and soil is workable, then firm plants well and water to settle the rootball. After planting, keep beds evenly moist for 10 to 14 days to help root establishment, then shift toward “water deeply but not frequently” so roots can breathe.
What should I do if my chrysanthemums form buds but don’t bloom properly?
If bud formation starts but flowers never fully open, it is often either inconsistent moisture, excess nitrogen after midsummer, or stress from heat. Back off nitrogen, keep watering steady (no wilting then drought swings), and improve airflow, especially around the crown and leaf undersides.
Can you grow chrysanthemums in pots, and what changes should I make?
Yes, but only if drainage is excellent. In containers, use a free-draining potting mix, keep the pot elevated so excess water can drain, and water when the top couple of centimeters dry. Avoid letting containers sit in saucers overnight, and plan on more frequent feeding because nutrients leach faster than in beds.
How important is soil pH for chrysanthemums, and what if my soil is naturally alkaline or very acidic?
Aim for slightly acidic soil, around pH 6.5, but don’t aggressively chase numbers. If you know your soil is alkaline, add compost first and adjust with a suitable amendment gradually, retesting after a few months. Over-liming can cause micronutrient issues that show up as yellowing between veins.
How do I water chrysanthemums to prevent gray mold and other leaf problems?
Avoid overhead watering in the evening and don’t water directly onto foliage when possible, since wet leaves at night encourage gray mold. Use morning watering, water at the base, and make sure plants have enough spacing for airflow, these two habits often prevent repeat disease cycles.
What is the best first step for aphids, and when should I switch to treatment?
If you see aphids, start with the least disruptive option, rinse with a strong jet of water to knock them off, then inspect again after 2 to 3 days. For persistent infestations, spot-treat with insecticidal soap, targeting undersides of leaves, and avoid spraying tender new growth repeatedly in hot weather.
How can I prevent spider mites, and what if they already appear?
If spider mites take hold, they often worsen in dry conditions, the best early fix is to raise humidity around plants and improve watering consistency while also increasing airflow. Thoroughly check leaf undersides and treat promptly, because once colonies spread it becomes much harder to regain control.
What’s the most common pinching mistake and how do I avoid messing up the flowering date?
Don’t stop pinching at the first sign of flower buds, use the calendar cutoffs in the guide because stopping too early can reduce stem count, stopping too late can delay flowering. As a practical check, once you are within the intended “stop pinching” window, stop all pinching and focus on even watering and feeding for bloom support.
How do I fertilize chrysanthemums through the season without causing lots of leaf but few flowers?
Use a balanced feed about a month after planting out, then switch to a high-potash feed when buds begin to form. If leaves are growing very lush and dark after midsummer, you are likely still feeding too much nitrogen, pause or reduce nitrogen-type fertiliser to avoid fewer and smaller blooms later.
Can I overwinter chrysanthemums in the ground in milder areas, and when should I lift instead?
Yes, but it needs to be done carefully. Lift stools after the first frost, discard weak or diseased ones, store crowns barely moist in cool conditions, and keep them from freezing. In spring, re-pot and restart under cover before moving outdoors, otherwise cold snaps can delay growth and flowering.
How often should I water chrysanthemums if I’m not on a fixed schedule?
A good indicator is soil moisture and leaf feel, not a strict schedule. Water deeply until the root zone is wet, then wait until the top inch dries slightly before watering again, in summer heat this might be every few days, in cooler weather it can be longer.
What’s the best way to harvest and prepare chrysanthemum cut stems so they last longer in a vase?
For cut-flower stems, harvest in the morning when flowers are just starting to open, then keep stems hydrated immediately. If you want longer vase life, remove any leaves below the waterline and re-cut stem ends every couple of days, fresh cuts improve water uptake.
If I’m trying to root chrysanthemums from store-bought stems, how can I improve my success rate?
When rooting a side shoot from shop-bought stems, prioritize freshness (stems that still feel firm and green) and keep cuttings shaded with consistently humid conditions until you see new growth. Use a clean, sterile medium like perlite, and don’t overwater, the goal is moist not waterlogged, since rot is a common failure cause.
Next Article
How to Grow Marigolds from Dried Flowers Step by Step
Learn how to grow marigolds from dried flowers: extract viable seeds, test germination, sow correctly, then grow strong
