Camellias are surprisingly manageable once you match the right variety to your climate, give them acidic soil with good drainage, and resist the urge to overwater or over-fertilize. Get those three things right and you will have a shrub that blooms reliably for decades, sometimes even in winter when almost nothing else in the garden is flowering.
Camellias How to Grow: Step by Step Home Guide
Marcus Holloway
14 May 2026
Choosing the right camellia for your climate and space
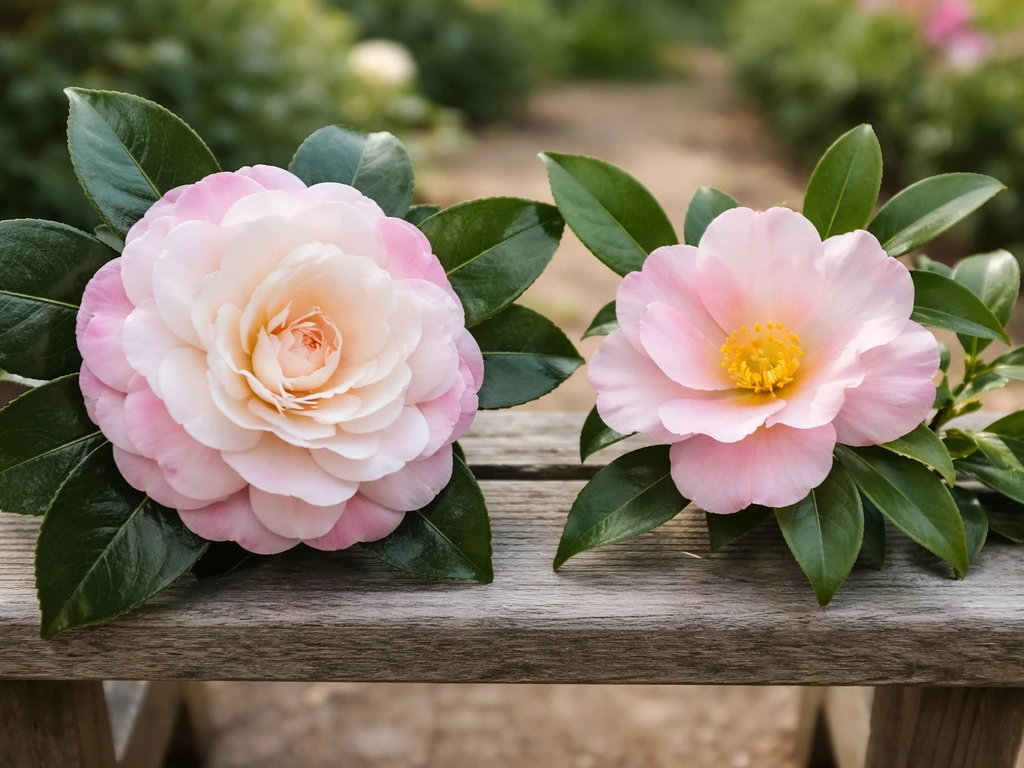
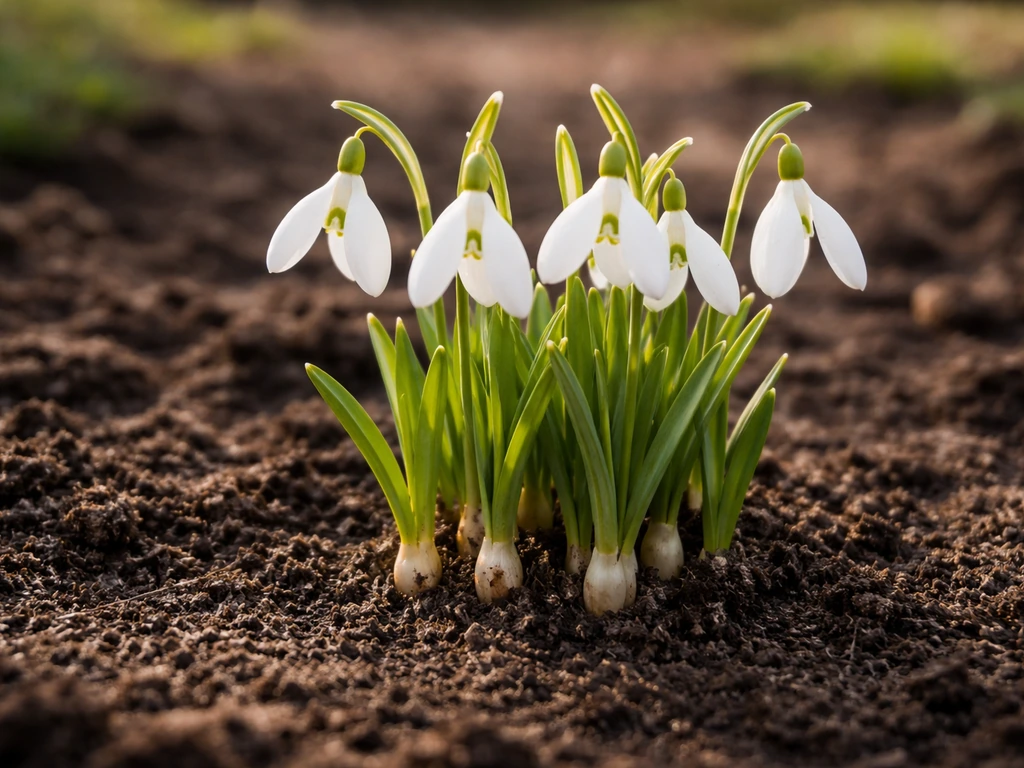
The two species you will see most often at nurseries are Camellia japonica and Camellia sasanqua, and choosing between them matters more than most gardeners realize. Snowdrops have their own set of planting and care needs, but you can plan them successfully in a similar way by matching the timing and site conditions to how they bloom how to grow snowdrops. Japonicas are the classic large-flowered camellias with blooms in late winter to spring.
They are hardy in USDA Zones 7 to 9 and prefer some shade, especially protection from harsh afternoon sun and drying winter winds. Sasanquas bloom earlier in the season, typically September through December, and they tolerate full sun to part shade much better than japonicas. If you have a sunny south- or west-facing spot, a sasanqua is almost always the smarter pick.
If you garden in Zone 6b and have been told camellias are impossible, check out cold-hardy hybrids like the 'Just Chill' series, which have been bred specifically to push hardiness into colder territory. They still need a sheltered spot and winter protection, but they make camellia growing possible in climates that would knock out a standard japonica. Beyond hardiness, think about size. Camellias can grow anywhere from compact 4-foot shrubs up to 15-foot specimens depending on variety. Read the mature size on the label before you buy, and leave plenty of room so you are not hacking it back every year.
| Species / Type | Bloom Season | Hardiness (USDA) | Sun Tolerance | Best For |
|---|---|---|---|---|
| Camellia japonica | Late winter to spring | Zones 7–9 | Part shade preferred | Classic large flowers, shaded gardens |
| Camellia sasanqua | September to December | Zones 7–9 | Full sun to part shade | Sunny spots, fall color, hedges |
| Cold-hardy hybrids (e.g., Just Chill) | Varies by cultivar | Zone 6b with protection | Part shade to shade | Northern gardens, borderline climates |
Best planting site: light, soil, pH, and drainage
Camellias have a reputation for being fussy, but that reputation mostly comes down to one thing: soil pH. They need acidic soil, ideally in the range of 4.5 to 6.5. Above 6.5, iron and other nutrients become unavailable to the plant, and you start seeing yellowing leaves (iron chlorosis) even when the plant is growing in otherwise decent soil. Before you plant, do a simple soil pH test. If your soil reads above 6.5, work in sulfur or plant in a raised bed or container filled with acidic potting mix rather than fighting your native soil.
Light-wise, most japonicas want dappled shade or morning sun with afternoon shade, especially in hot climates. Too much direct summer sun scorches the leaves and stresses the plant right when it is setting buds for next year. Sasanquas are more flexible and can handle a full-sun position if they have consistent moisture. Wherever you plant, the one non-negotiable is drainage. Camellias will not tolerate waterlogged roots. If water pools in your planting area after heavy rain and does not drain within a couple of hours, either raise your beds, improve the soil with coarse organic matter, or grow in containers.
When and how to plant (in-ground vs container)
The best time to plant camellias in-ground is fall in mild climates (Zones 8 and 9), which gives roots several months to establish before summer heat arrives. Apply the same thinking to snapdragons when to grow them, since timing affects how well they establish and bloom when to grow snapdragons. In Zone 7 or colder, spring planting after the last hard frost is safer so young roots are not hit by their first winter before they have settled in. Avoid planting in the height of summer heat if you can help it.
Planting in the ground
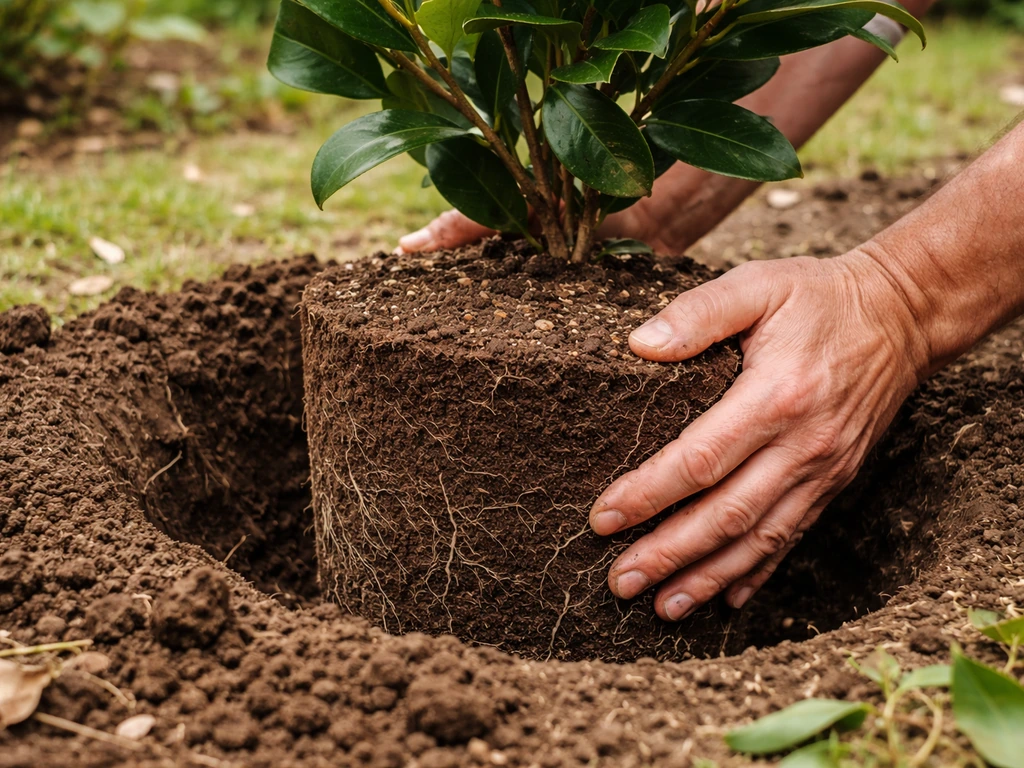
- Dig a hole twice as wide as the root ball but only as deep as the root ball is tall. You want the top of the root ball to sit slightly above the surrounding soil level, not buried.
- If the plant is in a container with a tight, circling root ball, use a hose to wash away some of the potting mix and gently tease the roots outward so they can grow into the surrounding soil. The American Camellia Society specifically recommends this step to prevent girdling roots.
- Backfill with your native soil amended with compost or pine bark fines to improve drainage and organic matter. Do not add excessive fertilizer to the planting hole.
- Water thoroughly after planting and keep the soil consistently moist (not wet) for the first growing season.
- Space plants at least as wide as their expected mature spread so air can circulate freely.
Growing camellias in containers
Container growing is a great option if your garden soil is alkaline, your space is limited, or you want to bring the plant under cover during cold snaps. Use an acidic potting mix formulated for camellias, azaleas, or rhododendrons. Start in a container that is only modestly larger than the root ball: a plant doing well in a 1-gallon nursery pot should be potted up to roughly a 3-gallon container, not a giant 15-gallon one. Once the camellia has reached the container size you want, repot every two to three years in the same-size pot, refreshing the mix and trimming any circling roots. Container plants dry out faster than in-ground plants, so check soil moisture more frequently.
Starting from seed or cuttings
Most home gardeners buy nursery plants, which is the quickest route to blooms. If you want another easy, colorful option beyond camellias, snapdragon flower how to grow guides can help you plan the right site, sowing time, and care steps. But if you want to try propagating, cuttings are far more reliable than seed and preserve the parent plant's characteristics.
Take semi-hardwood cuttings in early summer, dip them in a rooting hormone (around 8,000 ppm IBA in talc form works well for C. japonica), and root them in a humid environment. Growing from seed is a longer project: camellia seeds can achieve about 90% germination but need to be kept moist at all times, as they lose viability quickly if they dry out.
Expect at least two months of cool stratification after harvest, and then years of patience before a seed-grown plant blooms.
Watering and fertilizing for healthy growth and blooms
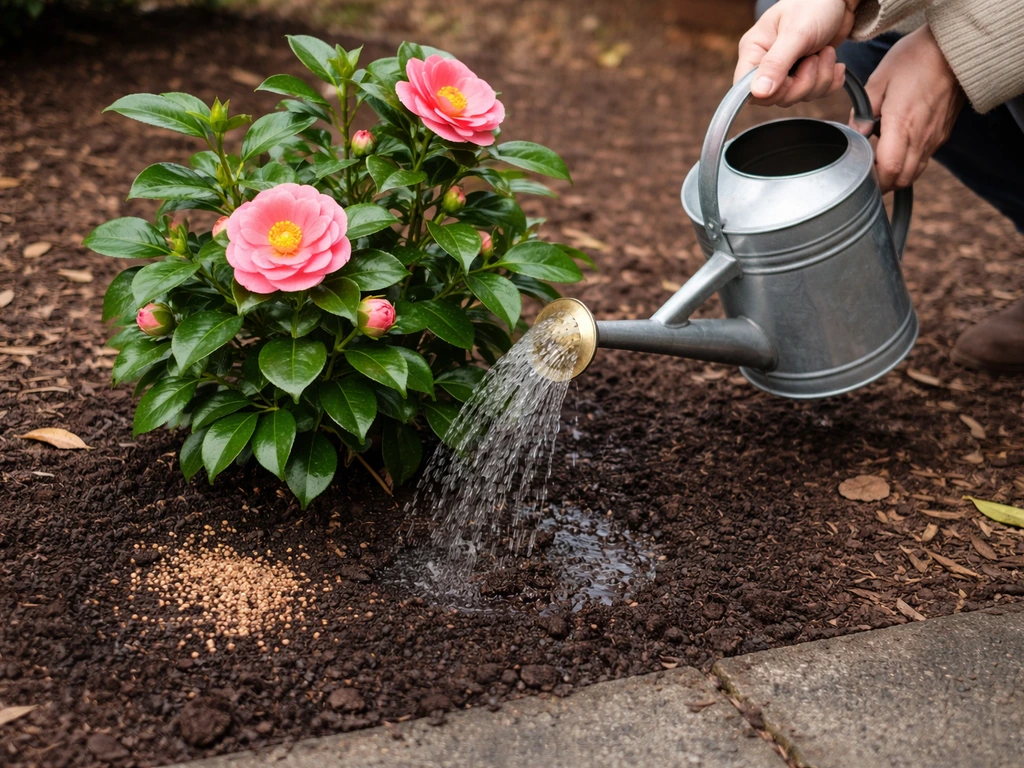
Camellias need consistent moisture, especially in their first two or three years and during summer when they are quietly setting next year's flower buds. If you want to branch out beyond camellias, learn how to grow cowslips for another rewarding spring bloom. Letting the soil dry out significantly during summer is one of the main causes of bud drop the following bloom season. Aim for deep, infrequent watering rather than light daily sprinkles: water when the top inch or two of soil feels dry, and water slowly so moisture reaches the roots rather than running off.
For fertilizing, use an acidic slow-release fertilizer formulated for camellias, azaleas, or rhododendrons. Apply it once in early spring as new growth starts, and optionally again in early summer. Stop fertilizing by midsummer, no later than the end of July. Late-season nitrogen pushes tender new growth that can be damaged by cold and, more importantly, disrupts the plant's natural preparation for dormancy and bud set. Never fertilize a stressed, drought-stricken, or newly planted camellia: fix the underlying problem first, then feed.
Pruning and shaping without harming flowers
Timing is everything with camellia pruning. Camellias set their flower buds for the following season during the summer months, so any pruning done after bud set simply removes next year's blooms. The safe window is right after the current season's flowers have finished, before summer bud set begins, which generally means before July. Prune immediately after the last blooms fade.
You do not need to prune camellias heavily or often. The main goals are removing dead, damaged, or crossing branches; opening up the interior of the shrub so light and air can penetrate (this reduces disease pressure and encourages more blooms on interior wood); and shaping the plant if it has outgrown its space. Oregon State University Extension recommends pruning right after flowering to give the plant the full growing season to recover and set buds on the new growth.
Use sharp, clean pruners and make cuts just above a leaf node or branch junction. For hard renovation pruning on an overgrown camellia, you can cut back quite severely and the plant will typically reshoot, though it may take a season or two to rebloom well.
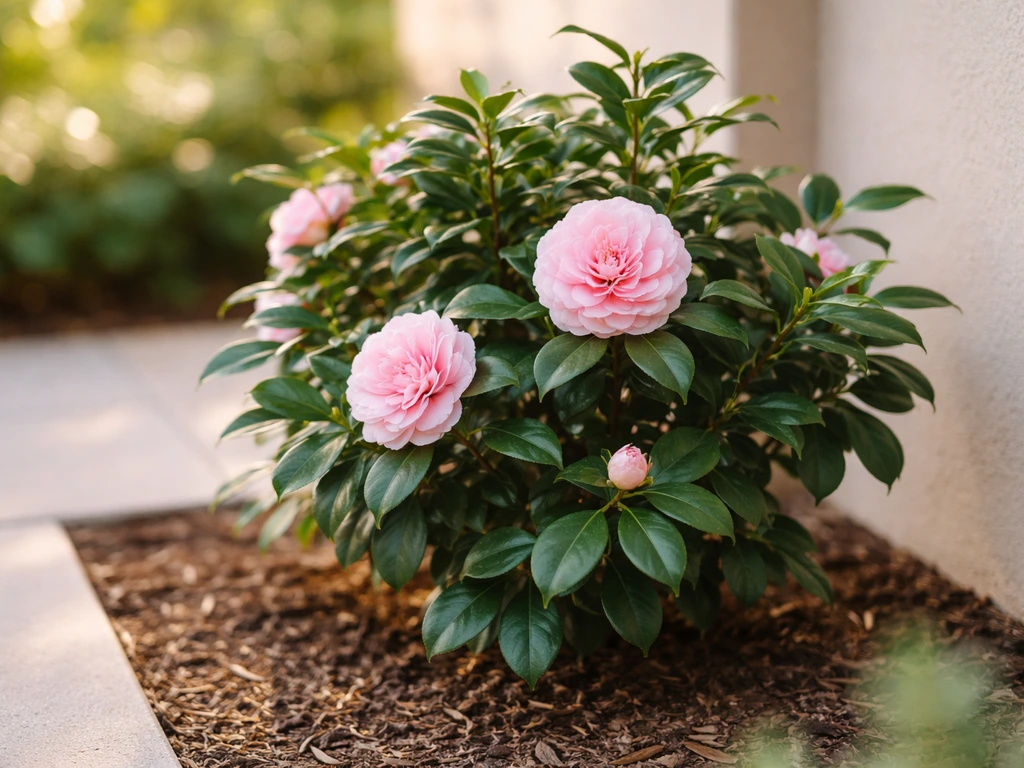
Mulch, winter and sun protection, and general seasonal care
Mulch is one of the easiest wins in camellia care. Apply a 2- to 3-inch layer of organic mulch (pine bark, pine straw, or shredded wood) around the base of the plant, keeping it a few inches away from the trunk. Mulch moderates soil temperature, retains moisture during dry summers, suppresses weeds, and as it breaks down it gently acidifies the soil. Refresh the mulch layer each spring.
In Zone 7 and colder, or wherever hard frosts are possible, give your camellia some extra protection in late fall. Burlap windbreaks on the exposed sides help prevent desiccation from cold, drying winds. For container camellias, move pots into an unheated garage or shed when prolonged hard freezes are forecast: the roots are the most vulnerable part since they are not insulated by the ground. Young in-ground plants in their first or second winter benefit from a thick layer of extra mulch piled over the root zone.
Watch out for direct midday and afternoon sun on japonicas in summer, particularly in Zones 8 and 9. A little afternoon shade not only prevents leaf scorch but also helps the plant hold onto soil moisture and keeps it from heat-stressing during the critical period of bud initiation. If your japonica was planted in full sun and is struggling, a shade cloth or nearby fast-growing shrub can make a genuine difference.
Troubleshooting: bud drop, yellowing leaves, pests, and diseases
Bud drop
Buds dropping before they open is the most common complaint from camellia growers, and it almost always traces back to one of a handful of causes: underwatering during summer bud development, large temperature swings around bloom time, transplant stress from a recent move, or a site that simply does not suit the plant. If your camellia dropped buds this year, think back to last summer: did it go through any dry spells? Did you move it recently? Fixing the watering consistency and giving a newly planted camellia another full season to settle in usually resolves the problem.
Yellowing leaves
Yellow leaves with green veins (interveinal chlorosis) are the classic sign of iron deficiency, almost always caused by soil pH that is too high rather than a genuine lack of iron in the soil. Test your pH first. If it is above 6.5 or 7.0, the iron is there but locked up and unavailable. Lower the pH gradually with elemental sulfur or switch to an acidifying fertilizer. Applying chelated iron as a foliar spray gives temporary relief, but correcting the pH is the real fix. Plain overall yellowing with eventual leaf drop can indicate overwatering or root rot: check drainage and ease up on water.
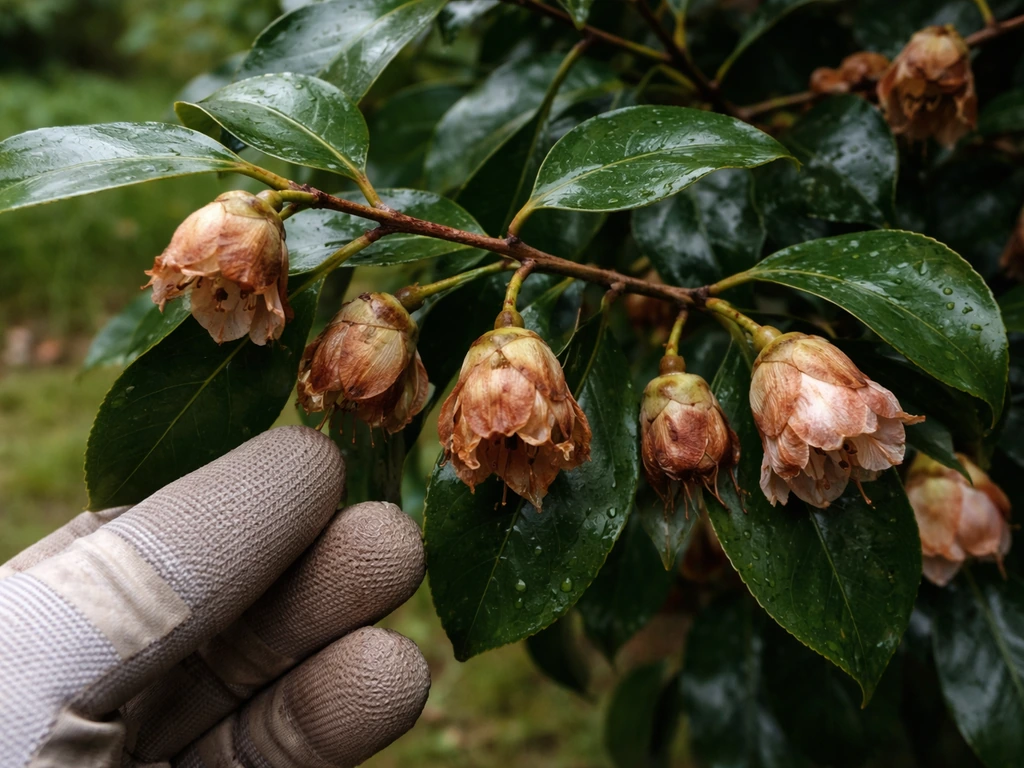
Petal blight and flower diseases
Camellia petal blight is a fungal disease that causes flowers to turn brown and drop prematurely. A telltale sign is veins in the petals that appear darker than the surrounding tissue, with browning that starts near the center of the flower and spreads outward. It is most severe in wet, humid conditions during bloom season. Remove and dispose of affected flowers promptly (do not compost them), and rake up fallen petals since the fungus overwinters in debris on the ground. Replacing old mulch under the plant each year also helps reduce the spore load. Fungicide applications are of limited practical value for home gardeners once blight is established, so sanitation and good air circulation are your main tools.
Pests: tea scale and others
Tea scale (Fiorinia theae) is the pest most specifically associated with camellias. You will spot it as a crusty, white or gray coating on the undersides of leaves, often with yellowing above. Light infestations on a healthy plant often do not require treatment beyond improving the plant's overall vigor with proper watering and fertilizing. For heavier infestations, horticultural oil sprays applied on mild days (above about 40°F but below 90°F) coat and smother the scale.
The American Camellia Society notes that horticultural oil sprays, applied early on mild days and used according to label directions, can be part of controlling tea scale (Fiorinia theae) horticultural oil sprays applied early on mild days can smother tea scale. Follow the label carefully, ensure good coverage of the leaf undersides, and repeat applications as directed.
Avoid spraying in full sun or when temperatures are extreme. The broader principle with camellia pests is integrated pest management: identify the problem accurately before treating, and start with the least-invasive approach.
Quick-reference troubleshooting guide
| Symptom | Likely Cause | Fix |
|---|---|---|
| Buds drop before opening | Underwatering in summer, temperature swings, transplant stress | Improve summer watering consistency; avoid moving established plants |
| Yellow leaves with green veins | Iron chlorosis from high soil pH | Test and lower pH; apply chelated iron for temporary relief |
| Overall yellowing, soggy soil | Overwatering or root rot | Improve drainage; reduce watering frequency |
| Flowers turn brown and drop early | Camellia petal blight (fungal) | Remove affected blooms; clean up fallen petals; replace mulch annually |
| White or gray crust on leaf undersides | Tea scale infestation | Apply horticultural oil spray per label; improve plant vigor |
| Leggy, sparse growth with few blooms | Too much shade or pruned at wrong time | Increase light if possible; prune only right after bloom |
Your seasonal camellia care checklist
Once a camellia is established it is honestly not a high-maintenance plant. Running through this checklist each season keeps it healthy with minimal effort. Snapdragons, for example, also have specific growing requirements, so it helps to know what they need before you plant minimal effort.
- Spring: Apply slow-release acidic fertilizer as new growth emerges; refresh mulch layer to 2 to 3 inches; prune to shape immediately after the last blooms fade (before July).
- Summer: Water deeply and consistently, especially during dry spells; do not fertilize after late July; check leaf undersides for scale or other pests.
- Fall: Plant new camellias in mild climates; apply winter mulch in Zone 7 and colder; move container plants to shelter if hard freezes are forecast.
- Winter: Enjoy the blooms (especially on sasanquas); protect young plants from desiccating wind with burlap screens in cold climates; avoid any pruning that would remove current-season buds.
If you enjoy growing shrubs with long bloom seasons and structural garden presence, camellias fit neatly alongside other cottage-garden and cutting-garden favorites. The patience and attention to soil pH you develop growing camellias transfers well to other acid-loving plants and to fine-tuning the growing conditions that make any flowering plant perform at its best.
If you are also working out how to grow tall snapdragons, focus on site choice and consistent watering so your plants do not stall during peak growth. If you are also thinking about snapdragons, focus on choosing the right growing spot and soil so they can bloom reliably without stress acid-loving plants. Cowslips also need the right soil and light conditions, and learning the basics of how to grow cowslips will help you get reliable blooms.
Snapdragons are grown from seed or nursery plants, and they do best in cool weather with full sun, evenly moist soil, and light feeding grow snapdragons.
FAQ
What’s the fastest way to tell if my camellia problem is pH versus watering?
Do a soil pH test first if you see yellowing, especially with green veins. If the plant looks wilted, buds are dropping, or the soil stays wet and heavy, focus on drainage and watering consistency. If the plant looks “hungry” but the soil is dry, correct moisture before fertilizing, because stressed plants can’t use nutrients well even when pH is right.
Can I grow camellias in the same bed as other plants that prefer neutral soil?
You can, but you must manage the camellia’s soil zone. Use an acidifying strategy targeted to the camellia (raised bed pocket or container-like area within the bed) so you do not continually lower the pH for nearby plants. Keep mulch and fertilizer acidic only around the camellia roots.
How do I adjust my watering schedule in hot climates without causing bud drop?
Water deeply when the top 1 to 2 inches dry out, then pause, rather than watering lightly every day. In extreme heat, check more often because evaporation accelerates, but keep the “deep soak, then wait” pattern so roots stay evenly moist during bud initiation.
Should I remove buds if I see them forming but the plant is still small?
Usually, no. If a young camellia is struggling due to transplant shock, inconsistent moisture, or cold damage, the better approach is to correct the site and watering so more buds can hold next season. If you routinely get bud drop before bloom, focus on last summer’s care, because that’s when the buds were set.
Why do my camellia leaves look scorched but the plant gets some shade?
Shade that comes too late in the day can still leave japonicas exposed during the hottest sun angles. Look at the actual afternoon sun pattern, and consider adding afternoon shade or relocating the plant slightly so the leaves are not hit by direct midday and early afternoon light during summer.
What mulch is best if my goal is to maintain acidic soil?
Pine bark and pine straw are strong choices because they tend to support slightly acidic conditions as they break down. Avoid using materials that repeatedly raise pH, and keep mulch a few inches away from the trunk so you do not trap moisture against the stem.
Is it better to grow camellias in-ground or in containers if my soil drains slowly?
If water pools after rain, containers or raised beds are often the better fix. Even though container care requires more frequent checks, they allow you to control drainage and use the correct acidic potting mix immediately, without waiting to overhaul heavy native soil.
How do I prevent root problems when I’m trying to be “generous” with water?
Use a soil probe or finger test and water only when the top layer dries. If you see algae, constant dampness, or the ground remains saturated after rain, improve drainage with coarse organic matter and consider raising the bed. Overwatering shows up as eventual yellowing and decline, which can be confused with nutrient issues if you skip pH testing.
How can I tell the difference between tea scale and other leaf spotting or insects?
Tea scale is typically a crusty white or gray coating on the underside, often with yellowing above. If you rub the leaf underside and the “coating” does not behave like normal spotting, suspect scale. For light infestations, focus on plant vigor first, then use horticultural oil only when temperatures are suitable.
What should I do if my camellia stopped blooming after a hard pruning?
If pruning happened too late in the season, the plant may have removed next year’s buds. For severe renovation, expect delayed or reduced flowering for one or two seasons. After pruning, prioritize consistent moisture and avoid late-season nitrogen so the plant can reset and prepare buds properly.
Is foliar chelated iron a good long-term solution for yellow leaves?
It can give temporary color improvement, but it does not correct nutrient availability if soil pH remains too high. Use pH testing and gradually acidify the soil or switch to an appropriate acidic fertilizer plan, then use chelated iron only as a short-term bridge if needed.
When should I treat camellia petal blight, and what’s the practical limit for fungicides?
Start with sanitation, remove affected flowers, and rake fallen petals to reduce overwintering spores. Fungicides are often not very useful once blight is established in home gardens, so the most reliable approach is improving airflow, watering to avoid prolonged wetness, and refreshing mulch to reduce spore load.
Next Article
How to Grow Snowdrops from Bulbs Step by Step
Step-by-step guide to grow snowdrops from bulbs: planting time, depth, spacing, soil, and early care for repeat blooms.