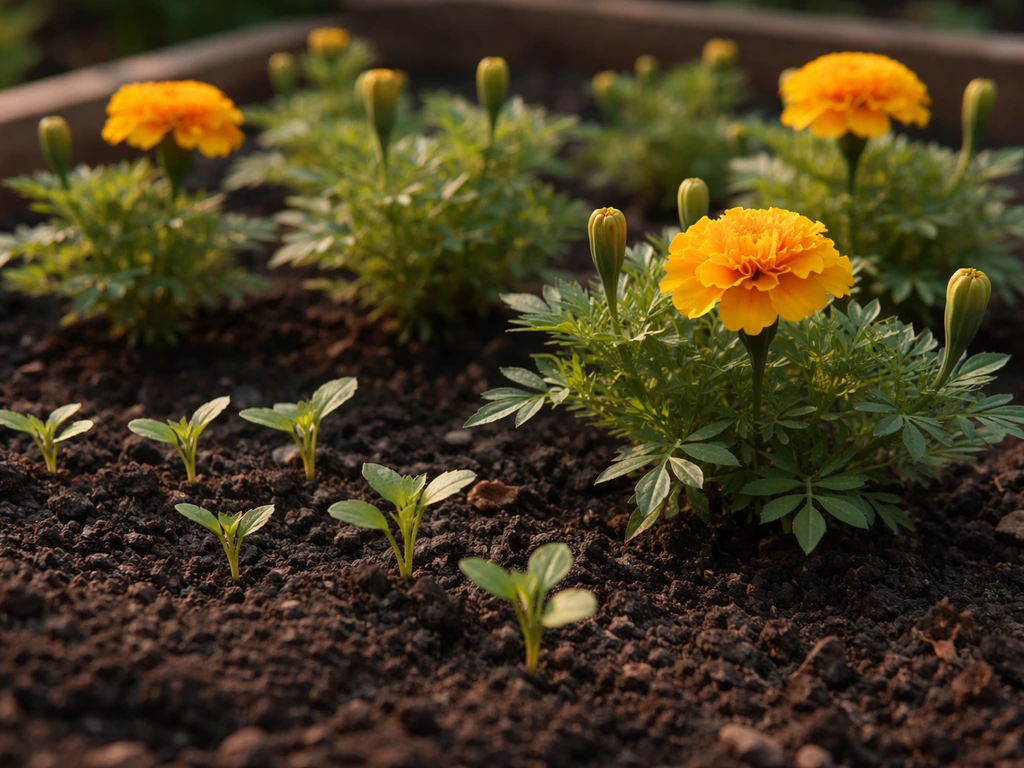
Yes, you can absolutely grow marigolds from dried flowers, and it works surprisingly well. The dried flower head is essentially a seed pod packed with viable achenes (the long, skinny seeds inside). Pull the head apart, separate the seeds from the chaff, give them a quick viability check if they've been sitting around for a while, then sow them about 1/4 inch deep in warm, moist soil. Under the right conditions, you'll see sprouts in as little as 5 to 7 days. Here's exactly how to do it from start to finish.
How to Grow Marigolds from Dried Flowers Step by Step

Marcus Holloway
3 May 2026

How to find viable seeds inside a dried marigold flower
Not every dried flower head holds usable seeds, so knowing what to look for saves you time and frustration. First, pick the right heads. You want flower heads that are very withered and dried out, not just faded. When you squeeze a truly dry head, it feels papery and almost crumbly. If you're not sure it's dry enough, try the snap test: crack the head open and pull out a single achene (the seed). If it snaps cleanly when you bend it, it's dry. If it bends or feels soft, give the head another week or two to dry further before extracting.
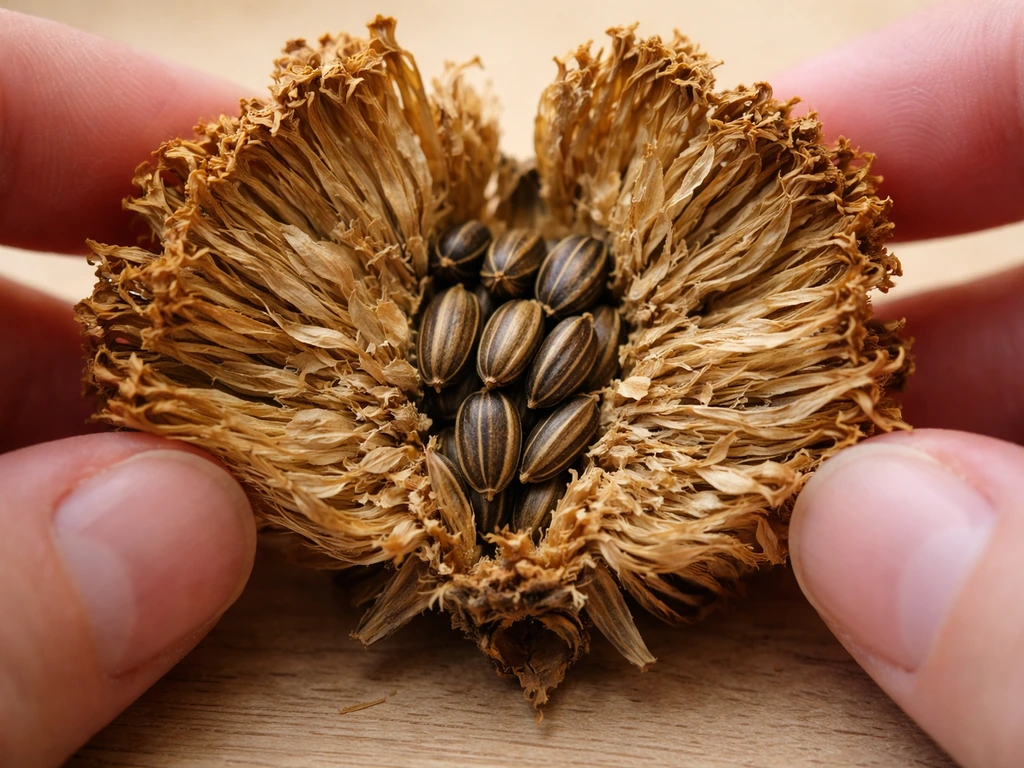
Once you have a dry head, pull it apart from the base and let the seeds fall out. Marigold achenes are easy to spot once you know what you're looking for: they're thin, narrow, and about 6 to 10 mm long, black or very dark brown at one end with a lighter cream-colored tip at the other. That dark, fully formed achene is your target. The pale, papery fluff around them is just chaff, and you can blow or shake it away. Flat, tiny, completely pale pieces are usually empty or unfertilized seeds and not worth planting.
If your seeds have been stored for more than a year, or you're just not sure how viable they are, run a quick paper towel test before you commit to a full sowing. Dampen a paper towel so it's moist but not dripping, lay 10 seeds on one half, fold the towel over them, seal the whole thing in a zip-close bag, and leave it somewhere warm (around 70°F). Check it after 5 to 7 days. Count how many have sprouted a little white root (the radicle). If 7 or more out of 10 germinate, your seed is in good shape. If you're only getting 4 or 5, sow more densely to compensate. Fewer than 3 out of 10 and it's worth sourcing fresh seed instead.
When and where to sow: indoor vs. outdoor timing
Marigolds aren't frost-hardy, so your last frost date is the anchor for everything. For indoor starting, begin 4 to 6 weeks before your last expected frost if you're growing African marigolds (Tagetes erecta), or 6 to 8 weeks before last frost for French types (Tagetes patula), which benefit from the longer head start. For direct outdoor sowing, wait until frost danger has completely passed and soil has warmed up. Cold, wet soil is one of the biggest enemies of marigold germination, and seeds sown into cold ground often rot before they can sprout.
Starting indoors gives you a real advantage: earlier blooms, better control over germination conditions, and a stronger plant by the time it hits the garden. That said, marigolds are one of the easier annuals to direct sow if you'd rather skip the indoor setup. They germinate fast, establish quickly, and don't mind a slightly later start. If you're in a warm climate (zones 9 and up), direct sowing in early spring works beautifully. In shorter-season climates, indoors is the smarter call.
Setting up for sowing: containers, soil, and planting depth
For indoor starting, use a seed-starting tray with drainage holes or any small containers you have on hand: recycled yogurt cups, plastic cell trays, or small nursery pots all work fine. Fill them with a good seed-starting mix, not regular garden soil or heavy potting mix. Seed-starting mixes are fine-textured, drain well, and don't compact around tender roots the way potting soil can. Moisten the mix before filling your containers so it's evenly damp all the way through, not just wet on the surface.
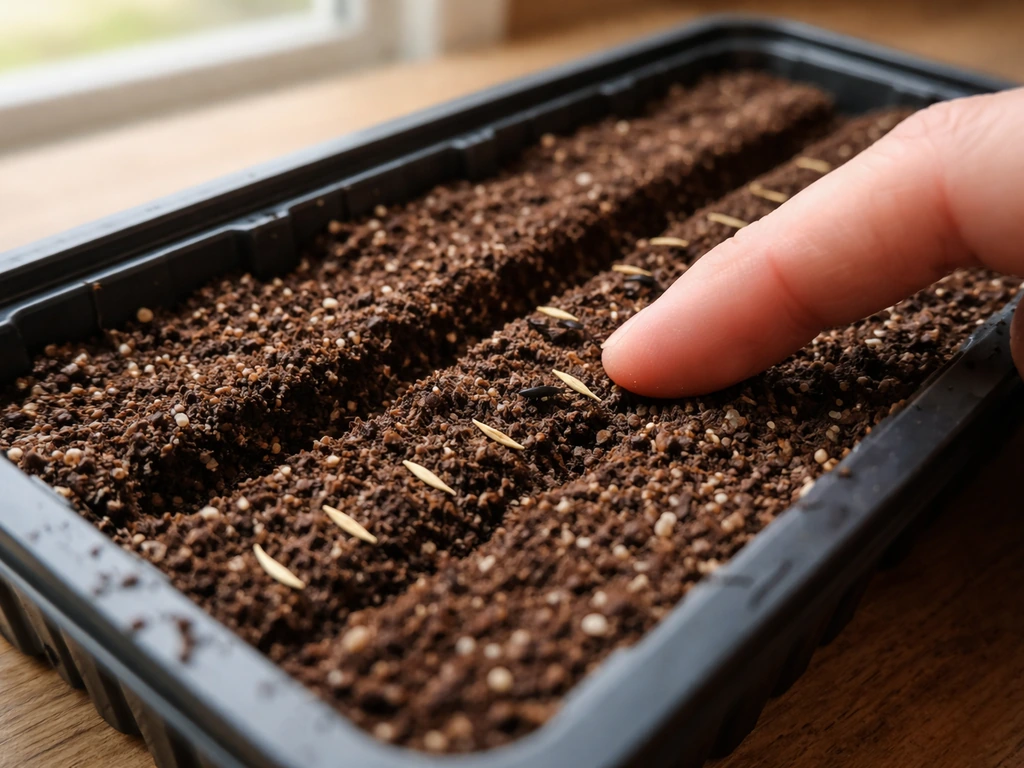
Plant your marigold seeds about 1/4 inch deep. That's roughly the depth of a fingernail pressing into the mix. Press each seed down lightly and cover it fully with mix. This is important: seeds left sitting on the surface dry out fast and don't make good soil contact, which kills germination. Lightly press the surface after covering so there are no air gaps between the seed and the mix. For outdoors, prepare the soil by loosening the top few inches and removing debris, then sow at the same 1/4 inch depth and water gently.
Getting seeds to sprout: light, warmth, moisture, and what goes wrong
Warmth is the single most important factor for fast, reliable marigold germination. Aim for a soil temperature of 68 to 75°F (20 to 24°C). At this range, expect sprouts in 3 to 7 days. Johnny’s Selected Seeds reports marigold seed germination takes about 4, 7 days at 75, 80°F (24, 27°C) At this range, expect sprouts in 3 to 7 days.. For a step-by-step walkthrough, you can also watch how to grow marigolds from seed on YouTube how to grow marigolds from seed youtube. Below 65°F, germination slows significantly and the seeds become more vulnerable to rotting. A heat mat set under your seed tray is cheap insurance and makes a real difference, especially if your indoor space tends to run cool in spring.
Marigold seeds don't need light to germinate, so covering your tray with a clear plastic dome or plastic wrap to hold in humidity is fine at this stage. Once you see the first sprouts, remove the cover immediately and move the tray to a bright spot or directly under grow lights. At that point, light becomes critical. A sunny south-facing window works if it gets 6 or more hours of direct sun daily, but grow lights positioned a few inches above the seedlings are more reliable and prevent the leggy stretching that happens when light is insufficient.
Keep the mix consistently moist but never soggy. Bottom watering (setting the tray in a shallow dish of water and letting the mix soak it up) is ideal because it avoids disturbing seeds and keeps the surface from staying wet, which is the main trigger for damping-off. Never let the mix dry out completely at this stage. At the same time, don't leave standing water under your tray for more than 30 minutes.
Troubleshooting germination problems
- Seeds not sprouting after 10+ days: soil is likely too cold or seeds were planted too deep. Check temperature and try lifting one seed to see if it's swelling or rotting.
- Seedlings falling over at the base (damping-off): caused by a fungal complex that thrives in wet, stagnant conditions. Remove affected seedlings immediately, improve airflow with a small fan, and let the surface dry slightly between waterings.
- Pale, stretched seedlings: not enough light. Move closer to the light source or increase hours.
- Seeds rotting before sprouting: mix was too wet, or the space was too cold. Let the medium dry slightly between waterings and raise the temperature.
After germination: thinning, transplanting, and early feeding
Once seedlings are up and have their first set of true leaves (the second set that appears, which look like actual marigold leaves rather than the rounded seed leaves), thin them so only one seedling remains per cell. If you sowed in a tray without individual cells, thin to about 2 inches apart. Use scissors to snip unwanted seedlings at soil level rather than pulling them, which disturbs the roots of the ones you're keeping. I know it feels brutal to cut healthy seedlings, but crowded seedlings compete for light and airflow and end up weaker.
If you started indoors, hardening off before transplanting is non-negotiable. About a week to 10 days before your transplant date, start setting seedlings outside in a sheltered, partly shaded spot for a few hours each day, gradually increasing sun exposure and outdoor time over the course of that week. This adjusts them to wind, temperature fluctuation, and stronger light so they don't go into shock when they hit the garden. Skipping this step often results in scorched, wilted transplants that take weeks to recover.
Early fertilizing is simple: once seedlings have their first true leaves, feed with a half-strength balanced liquid fertilizer (something like a 10-10-10 or similar) once a week. Don't overdo it at this stage. Too much nitrogen early on pushes leafy growth at the expense of roots and eventually flowers. Light, consistent feeding is the move.
Growing through to flowering: spacing, water, fertilizer, and maintenance
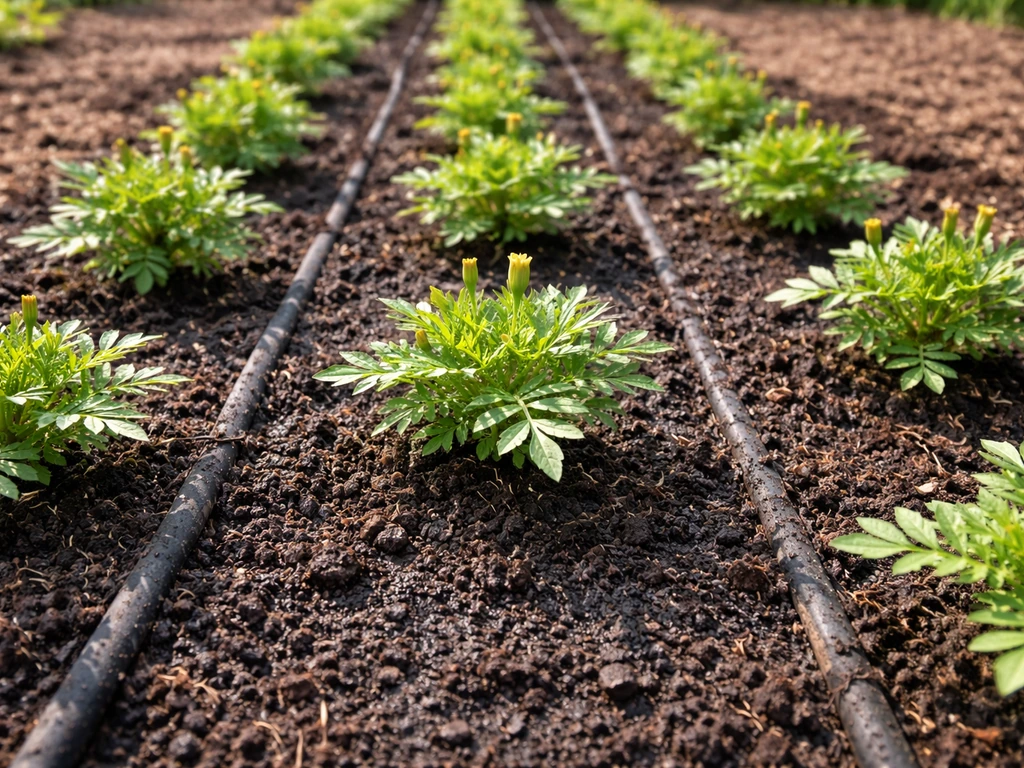
When transplanting into the garden (or thinning direct-sown seedlings), spacing depends on your variety. French marigolds (Tagetes patula) do well at 6 to 10 inches apart. African marigolds (Tagetes erecta), which grow much larger, need 12 to 18 inches. Good spacing isn't just about giving plants room to grow; it's about airflow, which reduces disease pressure significantly.
Marigolds like full sun, meaning at least 6 hours of direct sunlight daily, and they're quite drought-tolerant once established. During active growth and flowering, water deeply but infrequently, letting the top inch of soil dry out between waterings. Always water at the base of the plant and avoid wetting the foliage, which invites fungal problems. In hot summer conditions, they may need watering every few days; in cooler, cloudier weather, once a week is often enough.
For fertilizing established plants, switch to a phosphorus-forward formula (something like 5-10-5) once buds start forming, because phosphorus supports flowering rather than leaf growth. Feed every 3 to 4 weeks through the season. Deadheading spent blooms, which means pinching or cutting off faded flowers right at the base of the flower stem, keeps plants producing new blooms continuously. If you let flowers go to seed without harvesting, the plant slows down its flowering. Staying on top of deadheading is one of the easiest ways to keep a marigold producing all season.
Pests, diseases, and the problems marigolds actually get
Marigolds have a reputation for being pest-repellent, and there's some truth to that, but they're not immune. Here's what to actually watch for: USU Extension describes damping-off as being caused by multiple soilborne pathogens, including Pythium, Rhizoctonia, Fusarium, and Phytophthora species.
| Problem | What it looks like | What to do |
|---|---|---|
| Spider mites | Fine webbing on undersides of leaves, stippled or bronze foliage, especially in hot dry weather | Spray plants with a strong jet of water to dislodge mites; repeat daily for a week. Insecticidal soap works for heavier infestations. |
| Aphids | Clusters of small soft insects on stems and new growth, sticky residue | Knock off with water or apply insecticidal soap. Beneficial insects like ladybugs often handle them naturally. |
| Thrips | Silvery streaking or distortion on petals and leaves | Remove heavily affected flowers; neem oil or spinosad spray for persistent problems. |
| Powdery mildew | White powdery coating on leaf surfaces, usually in humid or crowded conditions | Improve airflow by spacing plants properly. Remove affected leaves. Fungicide (sulfur-based or potassium bicarbonate) if it spreads. |
| Botrytis (gray mold) | Gray fuzzy mold on flowers or stems, common in wet/humid spells | Remove affected plant parts immediately, improve air circulation, avoid overhead watering. |
| Damping-off (seedlings) | Seedlings collapse at the soil line, often in dense, wet setups | Prevent with good airflow and by avoiding overwatering. Affected seedlings cannot be saved; remove and adjust conditions for the rest. |
| Root rot (Pythium) | Plants wilt despite adequate water, roots look brown and mushy | No recovery once advanced. Prevent with well-draining soil and careful watering. Fungicide drenches can slow spread if caught early. |
Root-knot nematodes are worth mentioning if you've had problems with them in the past: some research suggests marigolds can actually help suppress nematode populations in surrounding soil, but the marigolds themselves can be susceptible. If nematodes are an issue in your beds, avoid planting marigolds in the same spot repeatedly and rotate with other crops.
Harvesting seeds and your end-of-season checklist
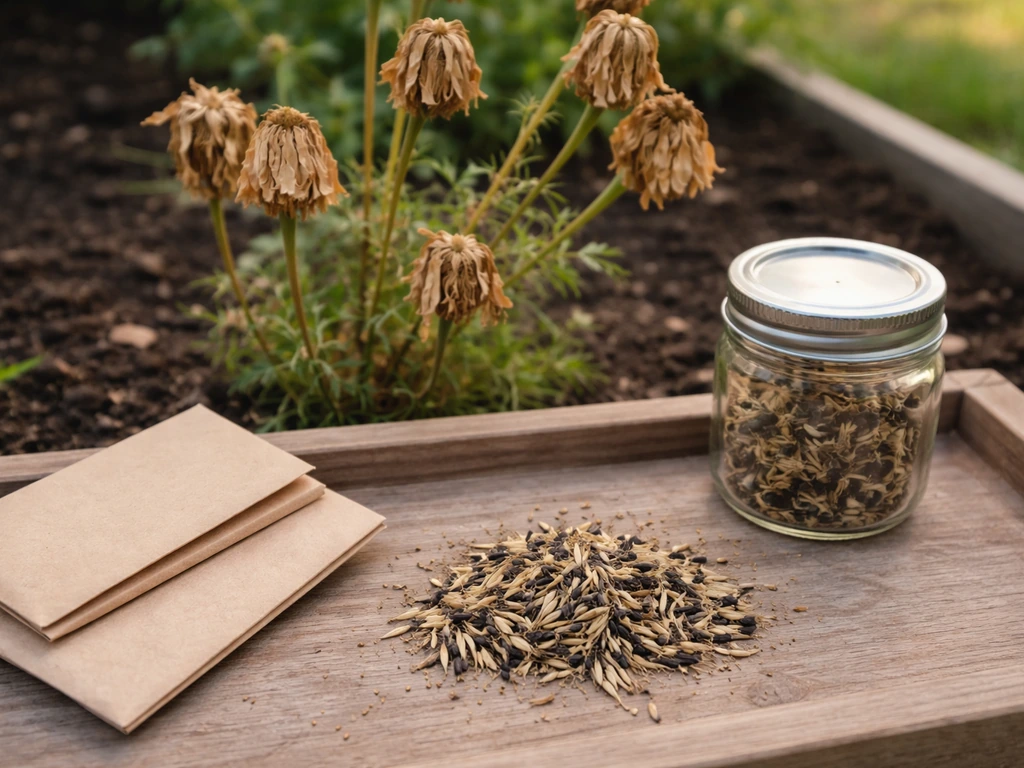
To keep the cycle going, let some flower heads dry fully on the plant at the end of the season instead of deadheading everything. Once the head is completely withered and papery, cut it from the plant with a couple inches of stem, and let it dry further indoors on a paper towel or screen for a week or two if there's any doubt. Then extract the seeds, clean out the chaff, and store them in a paper envelope or small jar in a cool, dark, dry spot. A refrigerator works well for long-term storage. Label everything with the variety name and the date.
Seeds stored in fluctuating temperatures or humidity (like a garage or garden shed) lose viability much faster. Under good storage conditions, marigold seed stays viable for about 2 to 3 years, but germination rates do decline over time. Seeds stored poorly may drop in viability by half within just 6 months. This is exactly why running the paper towel viability test is so useful before you sow seed that's been sitting around for a season or two.
Your simple growing checklist
- Collect dried flower heads that are fully withered and papery (snap test: the seed should break cleanly, not bend).
- Extract achenes by pulling the head apart at the base; keep the dark, fully formed seeds and discard pale chaff.
- Run a paper towel viability test if seeds are more than a year old: 7 out of 10 germinating means good seed.
- Time your sowing: 6 to 8 weeks before last frost indoors (French types), 4 to 6 weeks for African types, or direct sow after frost danger has passed.
- Fill containers with moist seed-starting mix and plant seeds 1/4 inch deep, fully covered.
- Keep soil at 68 to 75°F for germination; expect sprouts in 3 to 7 days.
- Move seedlings to bright light immediately after sprouting to prevent legginess.
- Water from the bottom, keep moist but not soggy, and maintain good airflow to prevent damping-off.
- Thin to one seedling per cell once true leaves appear.
- Harden off indoor-started seedlings over 7 to 10 days before transplanting outdoors.
- Space French types 6 to 10 inches apart, African types 12 to 18 inches apart.
- Deadhead spent blooms regularly to keep plants flowering continuously.
- Watch for spider mites, aphids, and powdery mildew; treat early before they spread.
- At season's end, leave some heads to dry on the plant, harvest, clean, and store seeds for next year.
The dried-flower-to-seed pathway is genuinely one of the most satisfying things you can do in a garden: you're essentially getting a free season of plants from flowers you already grew. If you want to explore other propagation methods, growing marigolds from stem cuttings or directly from petals are topics worth looking into as you get more comfortable with the plant. If you're wondering how to grow marigold from petals, the key is to use clean, fresh petals and keep them consistently warm and lightly moist while they try to root directly from petals. If you want another way to propagate, you can also learn how to grow marigold from stem cuttings. But for sheer reliability and volume of plants, starting from seeds you've extracted yourself is hard to beat.
FAQ
Can I plant dried marigold petals or whole dried flowers without extracting the seeds first?
Generally no. Dried marigold petals usually will not form a plant because the seeds are inside the flower head as achenes. If you plant whole heads, some might rot or mold before usable seeds germinate, so it’s best to extract the dark, fully formed achenes and sow those at the usual shallow depth.
How do I tell the difference between full marigold seeds and empty chaff more reliably?
Use a two-step check. First, only keep dark brown to black achenes with a lighter tip, discard pale papery fluff and tiny fully pale pieces. Second, for borderline cases, do the paper towel viability test (10 seeds, warm area, check for radicles after 5 to 7 days) before sowing everything.
What’s the best way to store extracted marigold seed so it stays viable for more than a year?
Dry the seeds well after cleaning, then store them sealed in a paper envelope or small jar in a cool, dark, dry place. Avoid places with humidity swings like garages or sheds. If possible, refrigeration helps, and label each container with variety and harvest date so you don’t mix old and new seed.
Why did my marigolds fail to sprout even though I planted the seeds correctly?
Most failures come from cold, soggy soil, or poor seed contact. If your soil was below about 65°F, germination slows and seeds may rot. If seeds were left on the surface or not pressed into moist mix, they dry out fast. Also check that you removed the clear plastic cover as soon as sprouts appear, since lingering high humidity can worsen damping-off.
Do marigolds need light to germinate, and should I cover the tray after sowing?
Light is not required for germination, so covering with soil to about 1/4 inch is the main requirement. However, once you see sprouts, you should remove any humidity cover and provide strong light quickly (bright window with sufficient direct sun, or grow lights) to prevent leggy, weak growth.
How often should I water before and after seedlings emerge?
Before emergence, keep the seed-starting mix evenly moist but not soggy. Bottom watering helps prevent disturbing seeds and reduces standing wetness. After sprouts appear, continue bottom watering as needed, and don’t leave water sitting under the tray more than about 30 minutes. When in doubt, wait for the surface to begin to dry slightly before watering again.
Can I sow dried-flower marigold seeds directly outdoors, and what’s the safest timing?
Yes, but only after frost risk is completely past and the soil has warmed. If you sow while it’s still cool and wet, germination is slower and seed rot risk increases. In shorter-season climates, indoor starting is often more reliable because it gets plants established before weather turns favorable.
Should I plant marigold seeds in pots first or straight into the garden bed?
Choose based on your season length. Indoor starting is helpful for earlier blooms and for controlling moisture and warmth. Direct sowing is simpler and works well in warm regions or when spring temperatures reliably reach the mid-to-high 60s°F or warmer in the top few inches.
What if my seedlings are crowded, do I really need to thin them?
Yes. Thinning improves airflow and reduces disease pressure. Don’t pull seedlings out if possible, snip at soil level with scissors to avoid disturbing the roots of the ones you keep. For a tray with cells, thin to one seedling per cell, and for flat sowing aim for about 2 inches between seedlings.
When do marigolds have ‘true leaves,’ and why does fertilizing depend on that?
True leaves are the second set, after the initial rounded seed leaves. Fertilize once true leaves appear because it gives seedlings time to build basic roots first. Use half-strength balanced liquid fertilizer and feed about once a week, since too much nitrogen early can promote leafy growth over flowering.
How do I transplant without shocking marigolds, and what’s the hardening-off schedule?
Harden off for about a week to 10 days before transplanting by gradually increasing outdoor exposure. Start in a sheltered, partly shaded spot for a few hours daily, then increase direct sun and time outdoors step by step. If you skip this, plants are more likely to wilt or scorch and take longer to recover.
My marigolds bloom but stop producing, is something wrong with my care?
Often it’s a deadheading issue. If you let blooms fully go to seed, flowering slows. Pinch or cut faded flowers right at the base of the flower stem to keep the plant pushing new blooms. Also check spacing and watering habits, since poor airflow and consistently wet foliage can affect overall vigor.
Do marigolds attract pests, or are they fully pest-free?
They repel some pests but are not immune. If you’ve had root-knot nematode problems before, marigolds can still be affected, even if they may suppress nematode populations in the surrounding soil. Rotate crops and avoid replanting marigolds repeatedly in the same bed if nematodes are a known issue.
Can I save seed from my own plants the same way I started with dried flowers?
Yes. Let a few flower heads dry fully on the plant at season end, then cut them and dry further indoors if you’re unsure. Extract the seeds, remove chaff, and store them sealed and labeled. This helps preserve your variety and improves the odds you’ll have seed that matches your original flower type.
Next Article
How to Help Marigolds Grow: Seed to Flower Guide
Step-by-step seed to flower tips for how to help marigolds grow: planting, watering, soil, feeding, and troubleshooting.